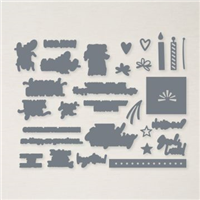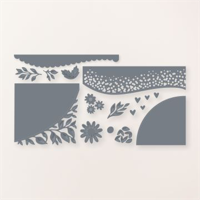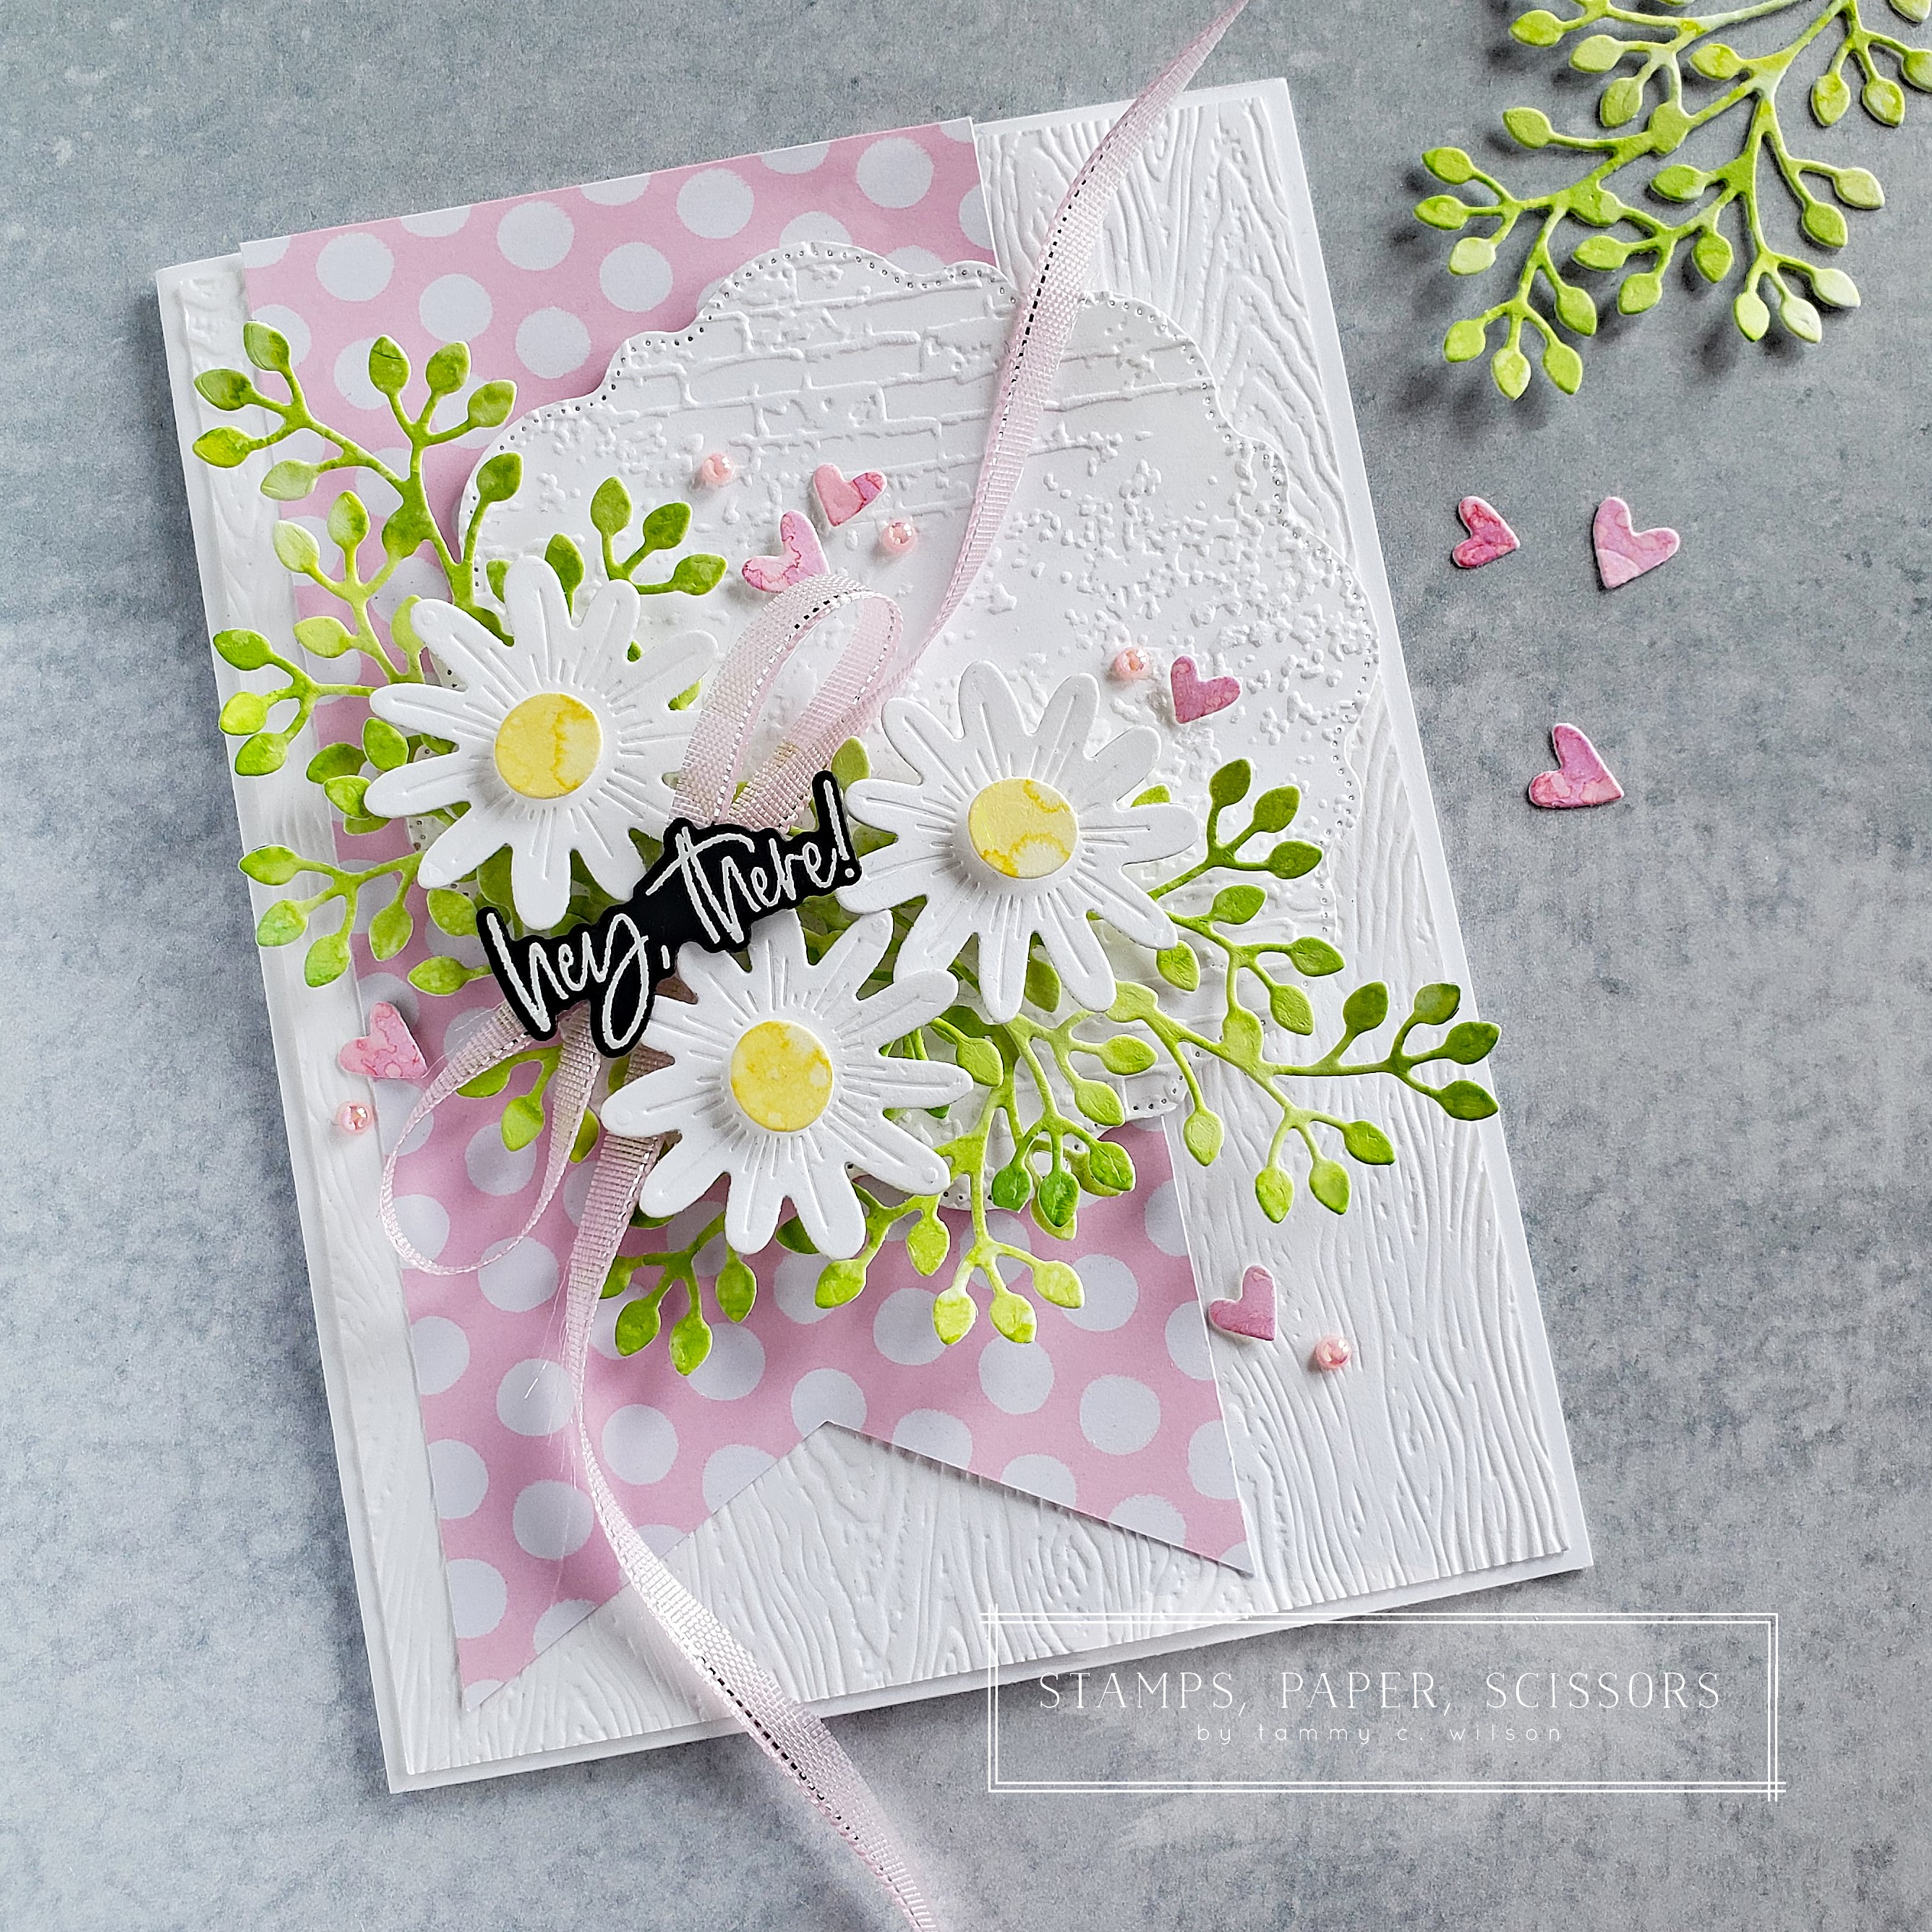
02.14.24…..Hey there, and Happy Valentine’s Day, my stampin’ friends! I just love the tiny hearts and the little daisy dies that are in the Around the Bend Dies! And then…..I decided to combine them with one of the branch dies from the Textured Floral Dies. The heat-embossed sentiment is from the Charming Sentiments Stamp Set. I think it’s always fun to combine dies and stamps like this, and it gives your products more versatility as well. Hope this card inspires you to create a card or project with a combination of some of your favorite dies and stamps!
Don’t miss out on the SALE-BRATION!!!
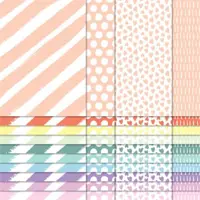
This promotion ends on February 29, 2024…and quantities are limited on these exclusive products!
CLICK HERE TO SHOP WITH ME…AND EARN YOUR FREE SALE-A-BRATION PRODUCTS TODAY!
Stampin’ Up! also has a fantastic offering for customers who sign up to be a Stampin’ Up! demonstrator during Sale-A-Bration!
Customers who join our fun crafting community as a new demonstrator can get $125 USD worth of product…
…PLUS our Stampin’ Glass Mat Studio (a $60 USD value) for just $99 USD!
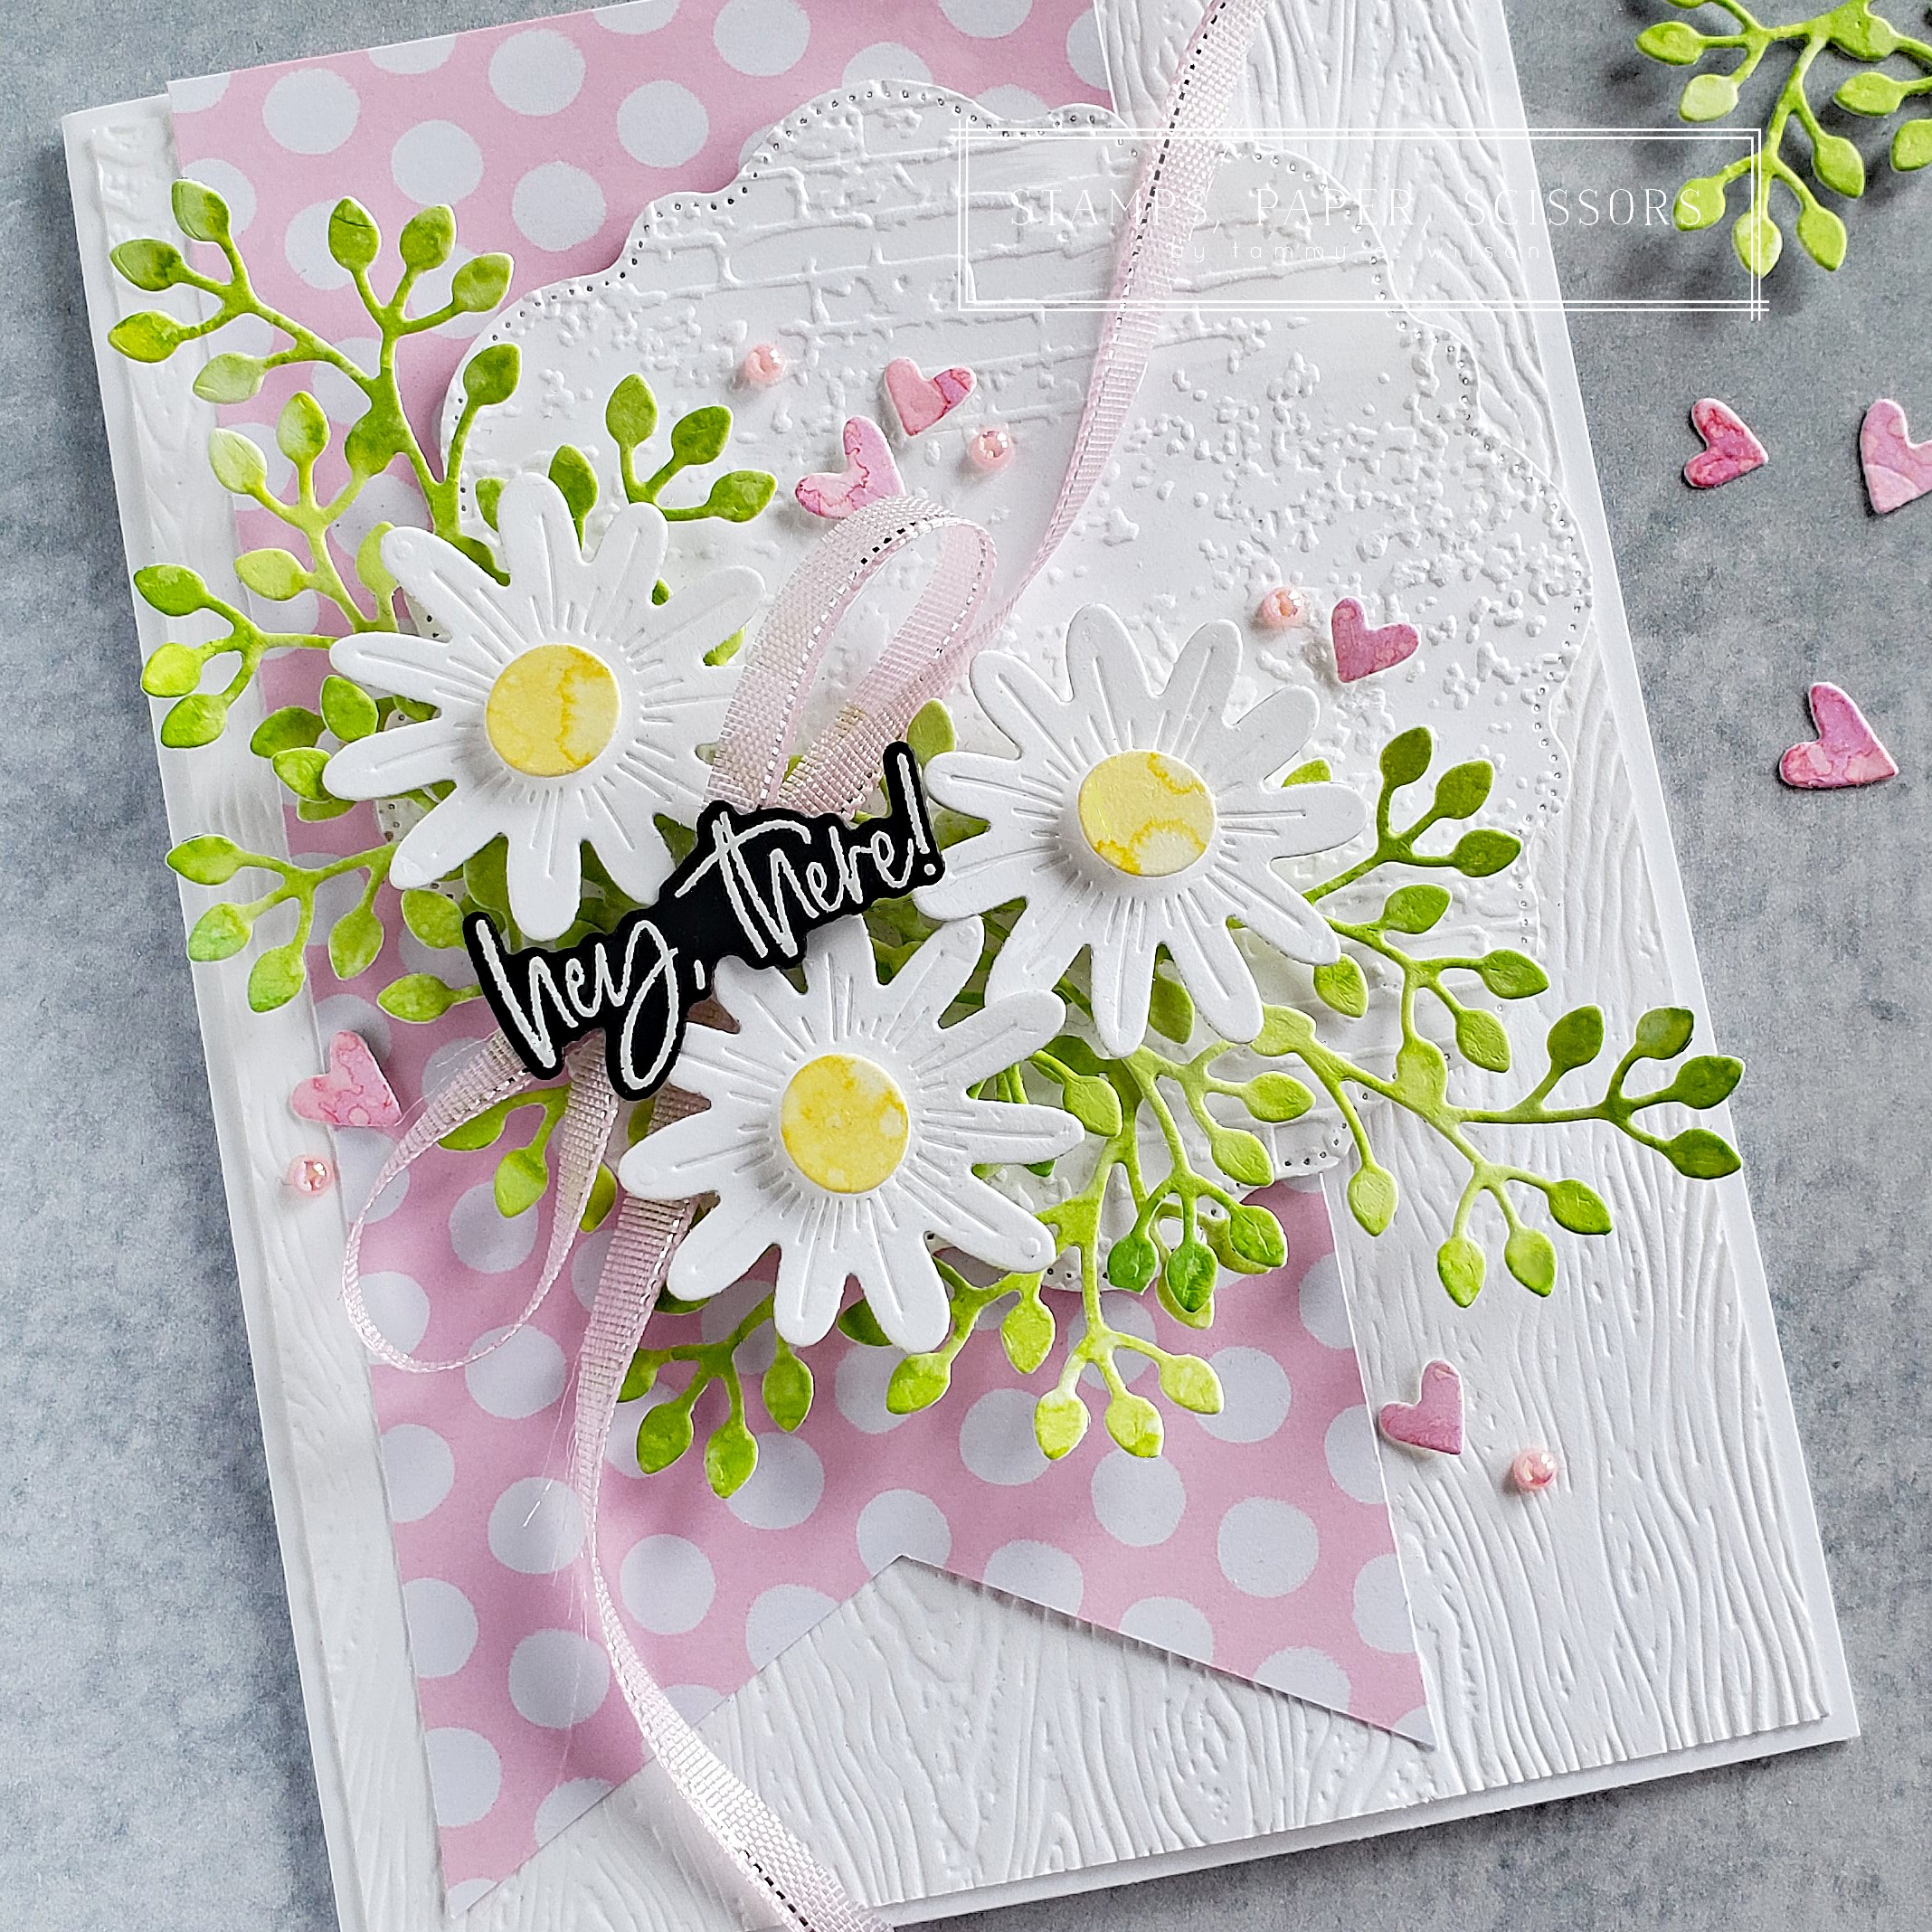
For this card, I started with Basic White Thick Cardstock, embossed it with the Timber 3D Embossing Folder, and adhered it to a Basic White Thick Cardstock base. I then added a strip of Subtles 6″ x 6″ Designer Series Paper (in Bubble Bath), and notched it at the bottom. For the next layer, I used one of the Thoughtful Expressions Dies to cut out a label from Basic White Thick Cardstock. After I embossed it with the Exposed Brick 3D Embossing Folder, I used Stampin’ Dimensionals to adhere it to the card base.
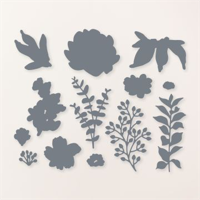
To create the daisies, I used the Around the Bend Dies. I cut out the daisies from Basic White Thick Cardstock. For the center of the daisies, I used a Blending Brush to add Daffodil Delight to Basic White Thick Cardstock, and then used a Water Painter to splatter water droplets. After I dried the paper with a Heat Tool, I die cut the centers of the daisies.
To create the branches, I used a Blending Brush to add Granny Apple Green to Basic White Thick Cardstock, and then used a Water Painter to splatter water droplets. After I dried the paper with a Heat Tool, I die cut the branches with one of the Textured Floral Dies.
To create the tiny hearts, I used a Blending Brush to add Melon Mambo to Basic White Thick Cardstock, and then used a Water Painter to splatter water droplets. After I dried the paper with a Heat Tool, I die cut the hearts with one of the Around the Bend Dies.
The sentiment (from the Charming Sentiments Stamp Set) was heat-embossed on Basic Black Cardstock, using my Versamark Pad and White Stampin’ Emboss Powder. To cut out the sentiment, I used one of the Sentiment Silhouettes Dies. Tucked underneath the sentiment is some Bubble Bath ribbon (cut in half lengthwise) from the the Sheer Ribbon Combo Pack. For a bit of bling, I sprinkled on several Blooming Pearls.

To place an order through my Stampin’ Up! Demonstrator Website,
click on the shopping cart below…


To place an order, you can click on one of the supply items below: