

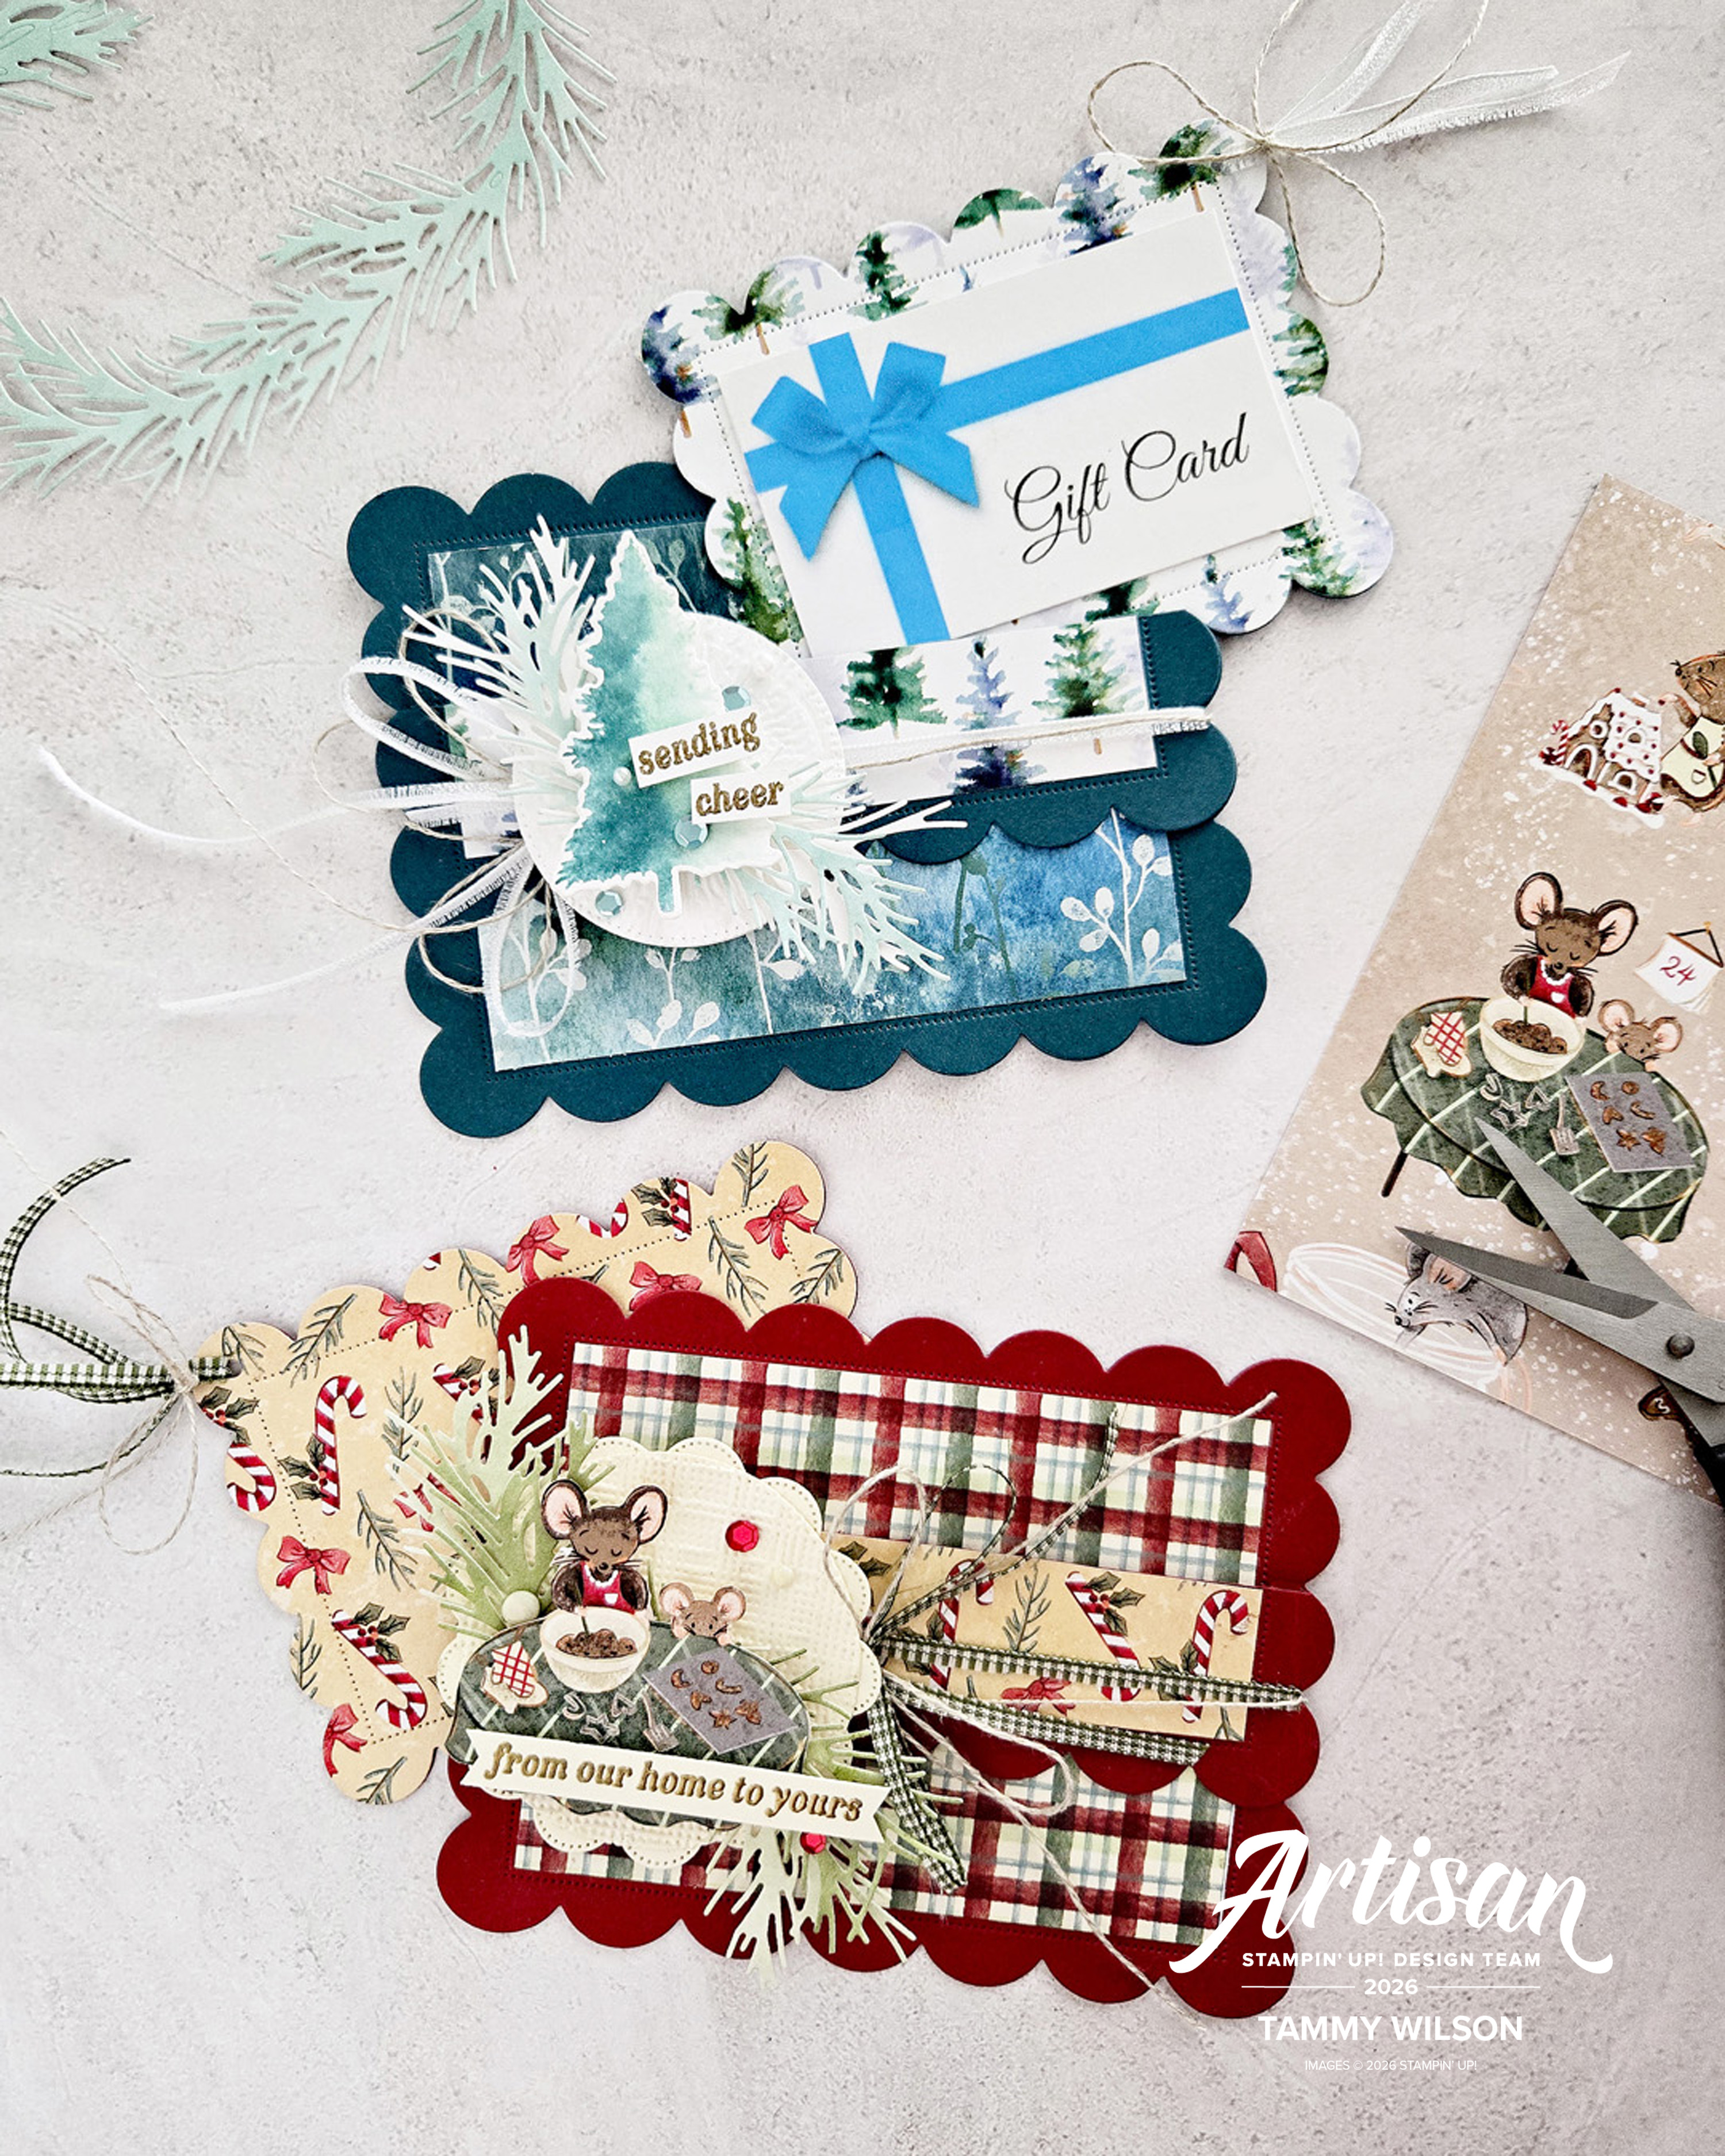
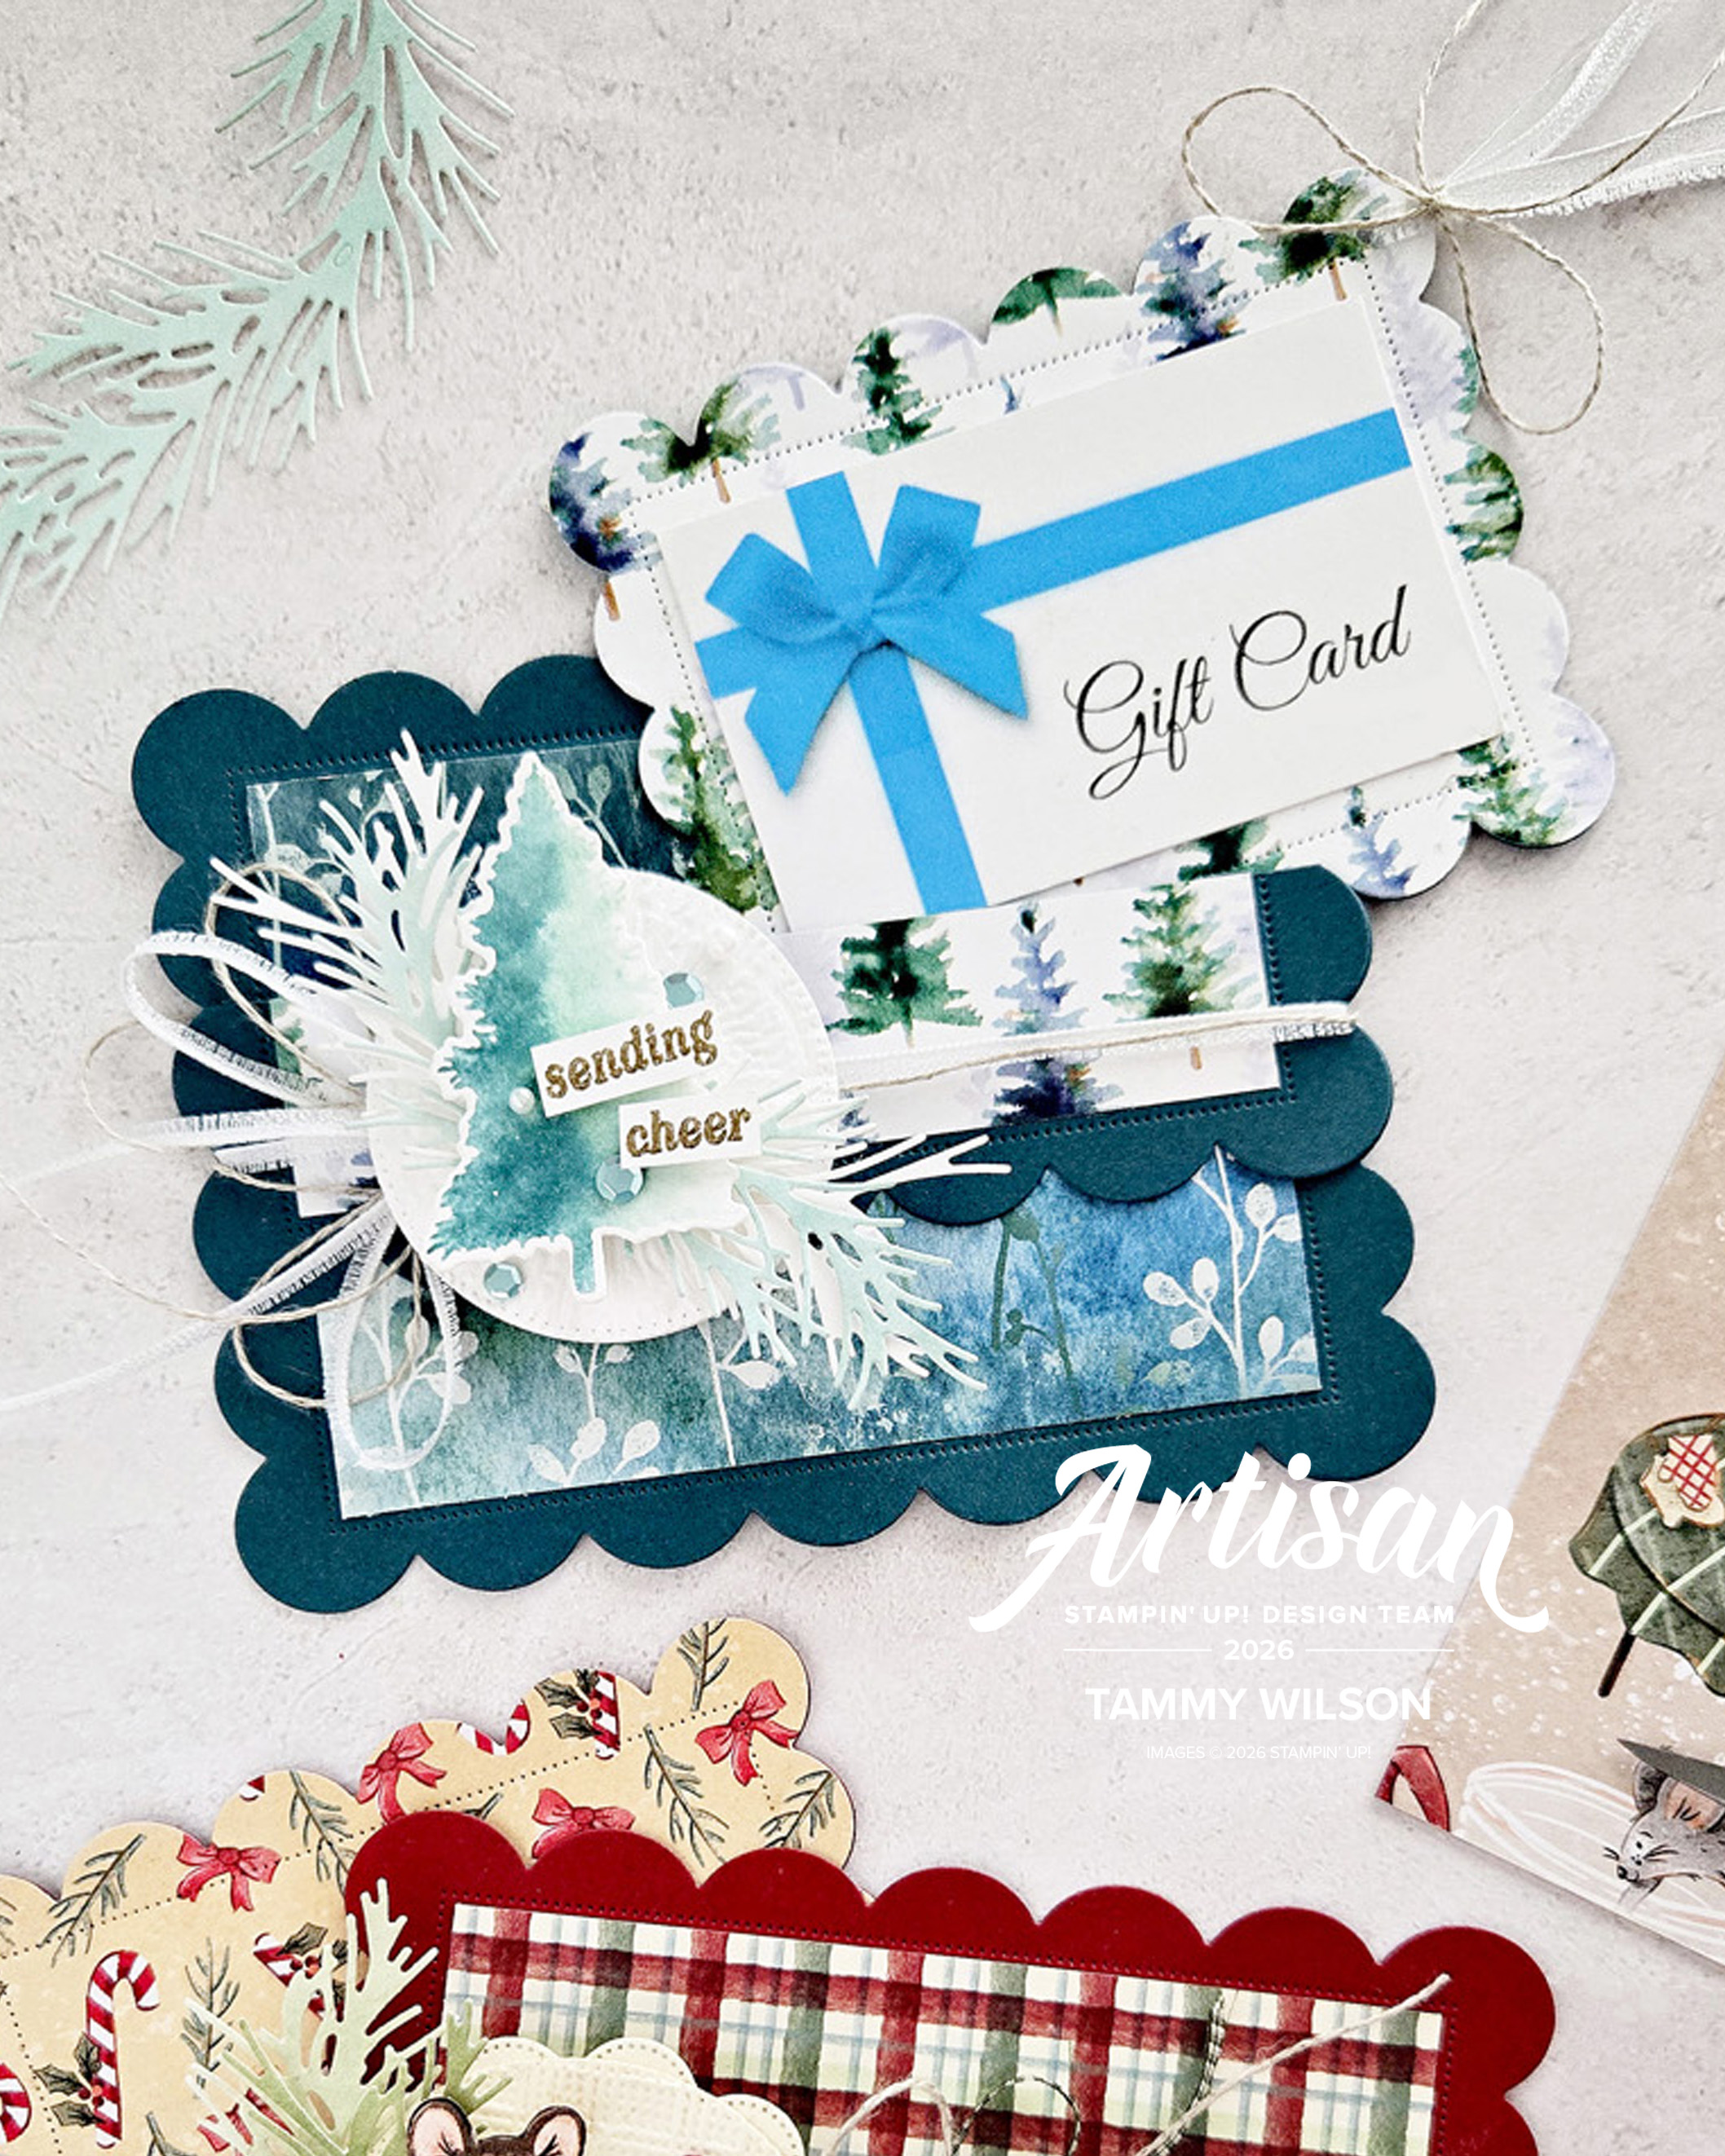
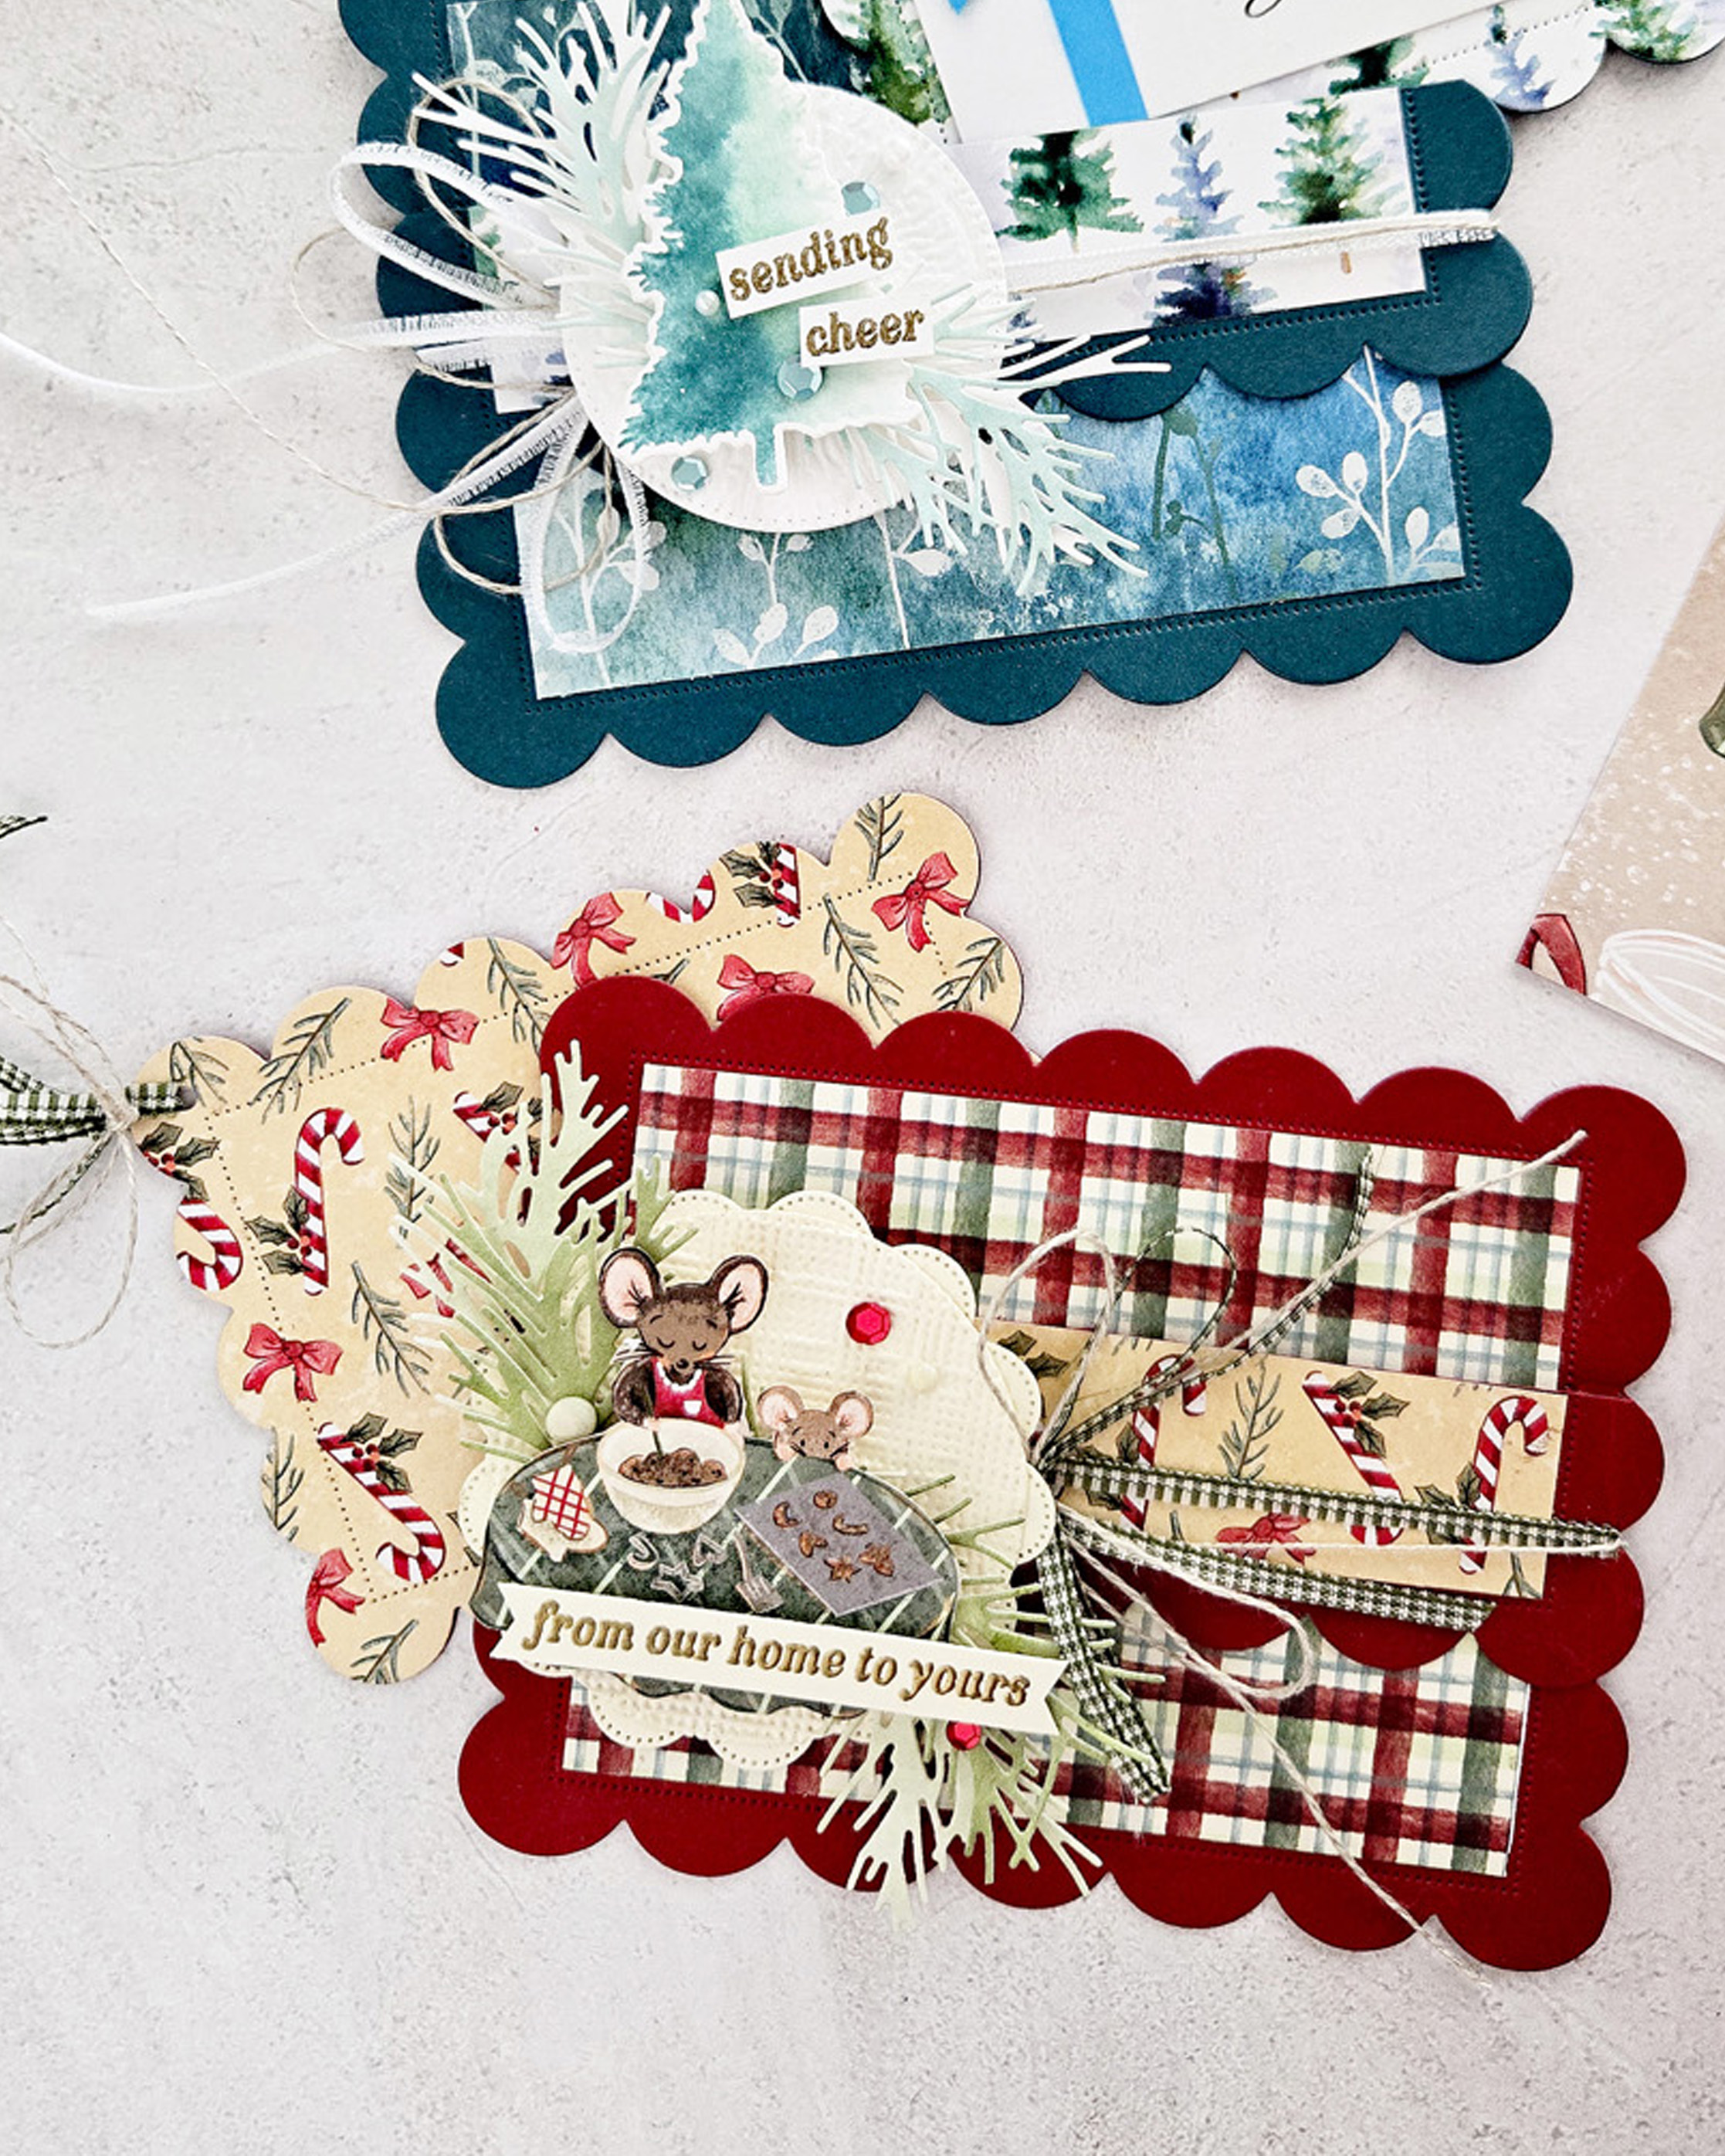
10.27.2026…..Happy Saturday, my stampin’ friends! Today, I’m sharing two gift card holders that I created for my November 2026 Tips & Techniques post, as a memberpf Stampin’ Up! Artisan Design Team. I used the Scalloped Christmas Cheer Dies to create the gift card pocket and tag, then added Designer Series Paper, die cuts, ribbon and embellishments. I hope this card inspires you to create a couple of these gift card holders for your holiday gift giving!
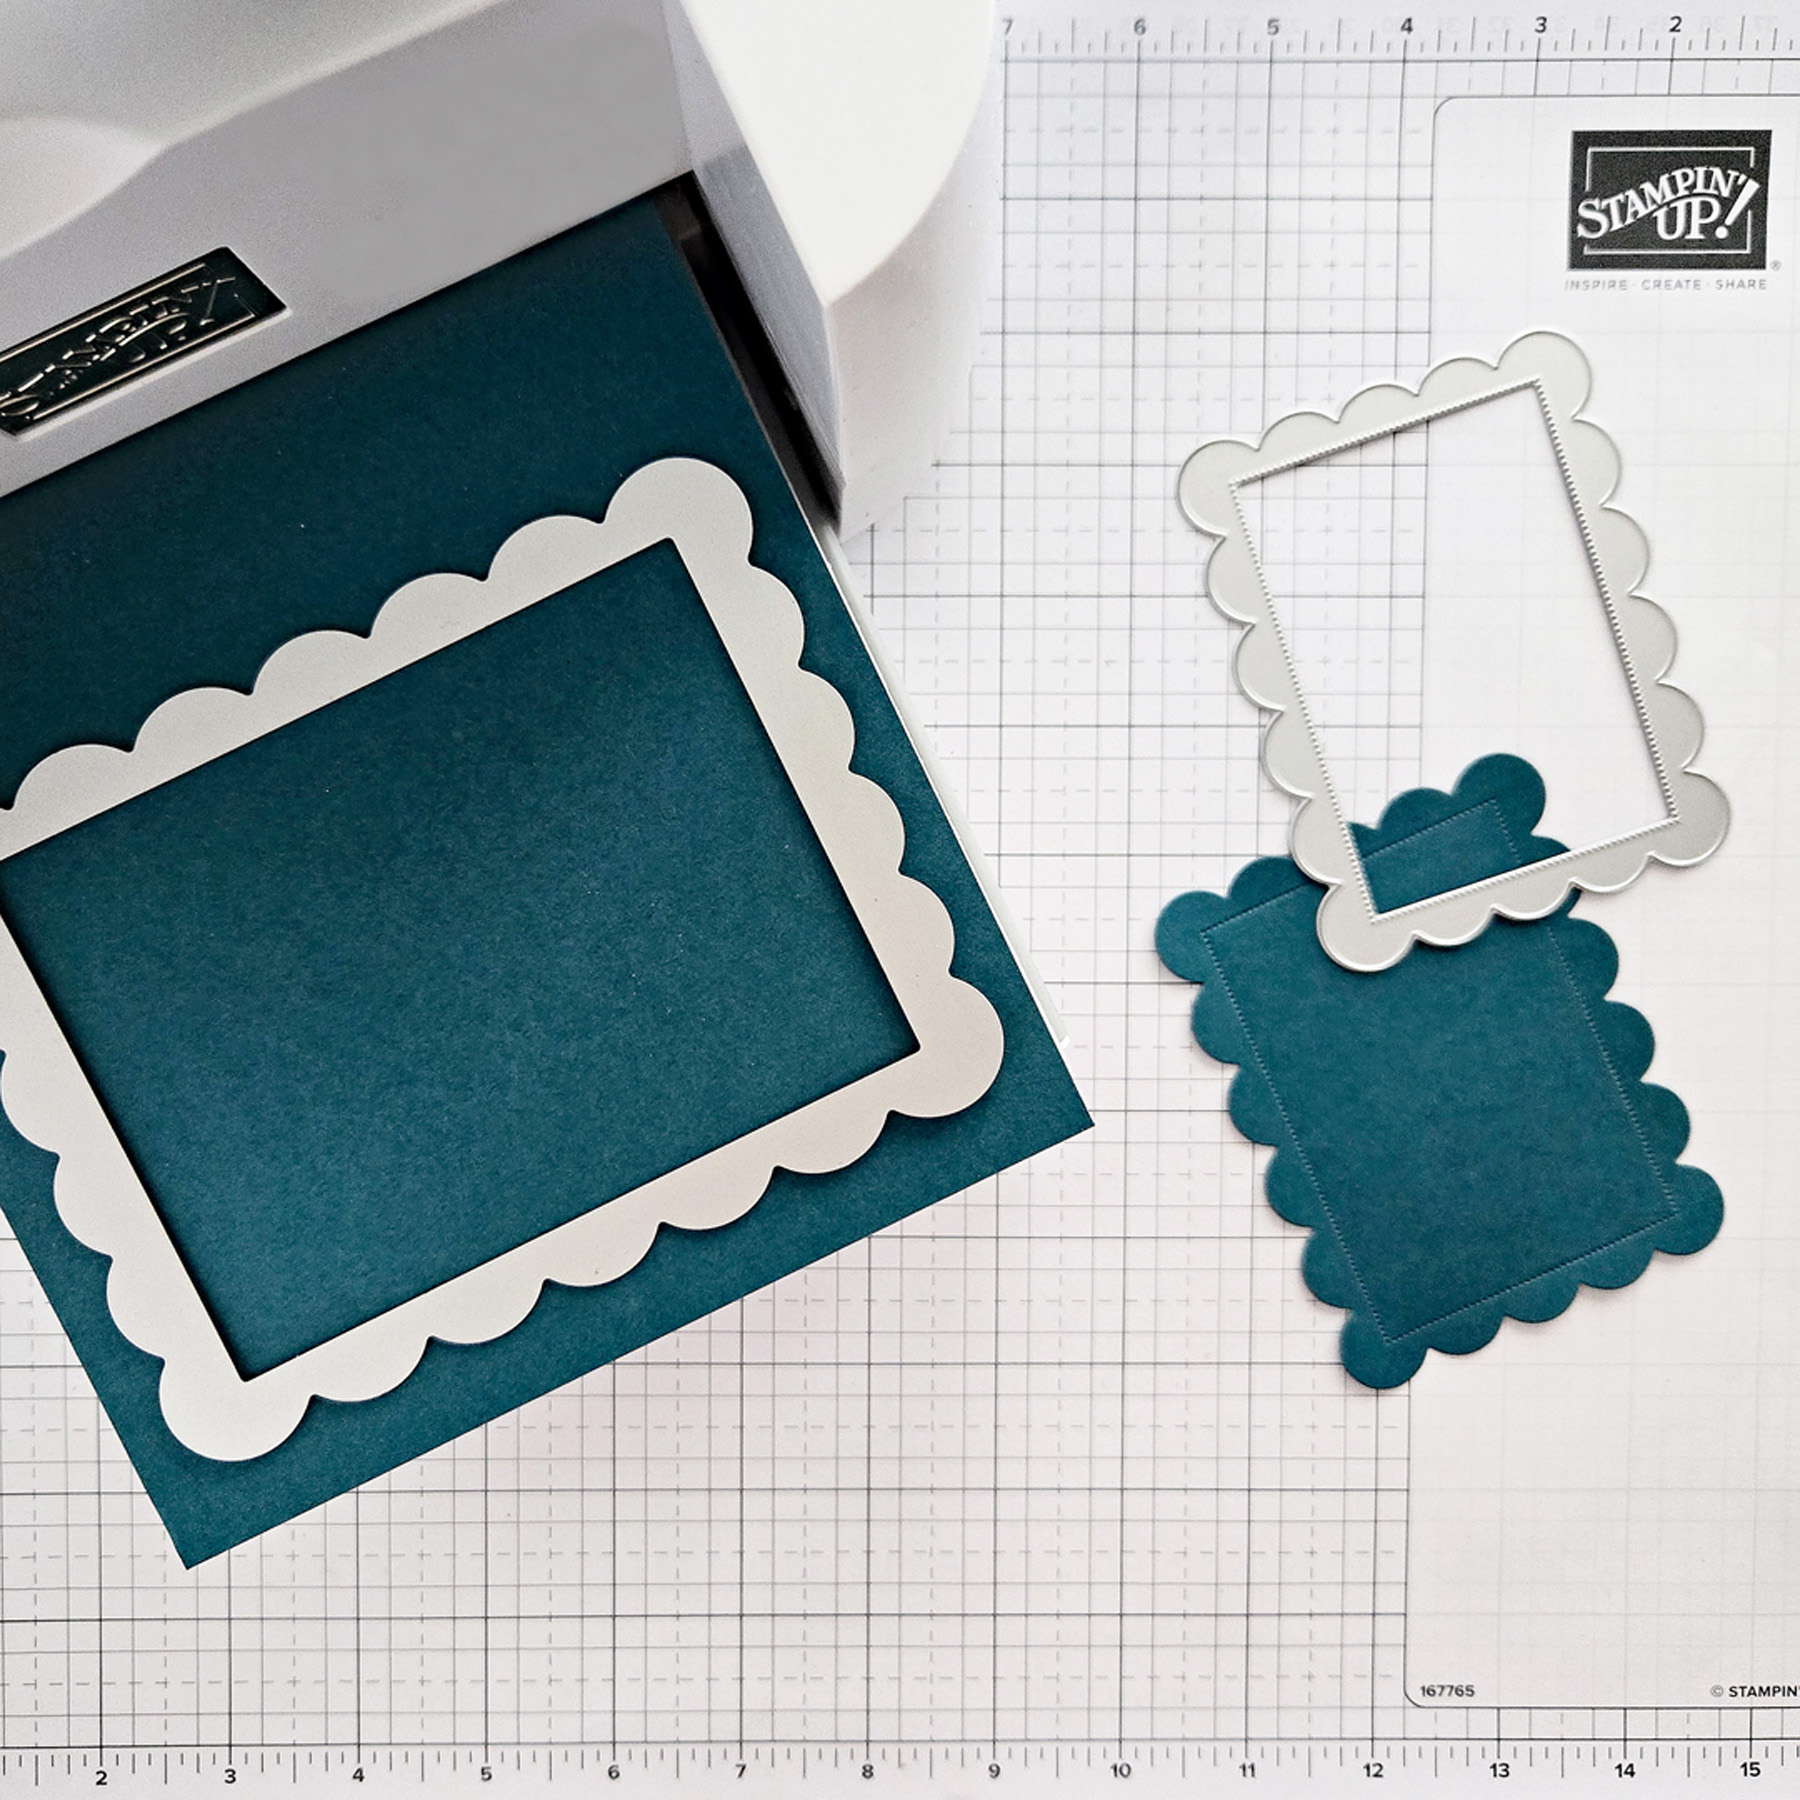
Use the two largest Scalloped Christmas Cheer Dies, along with your favorite cardstock, to create a gift card holder.
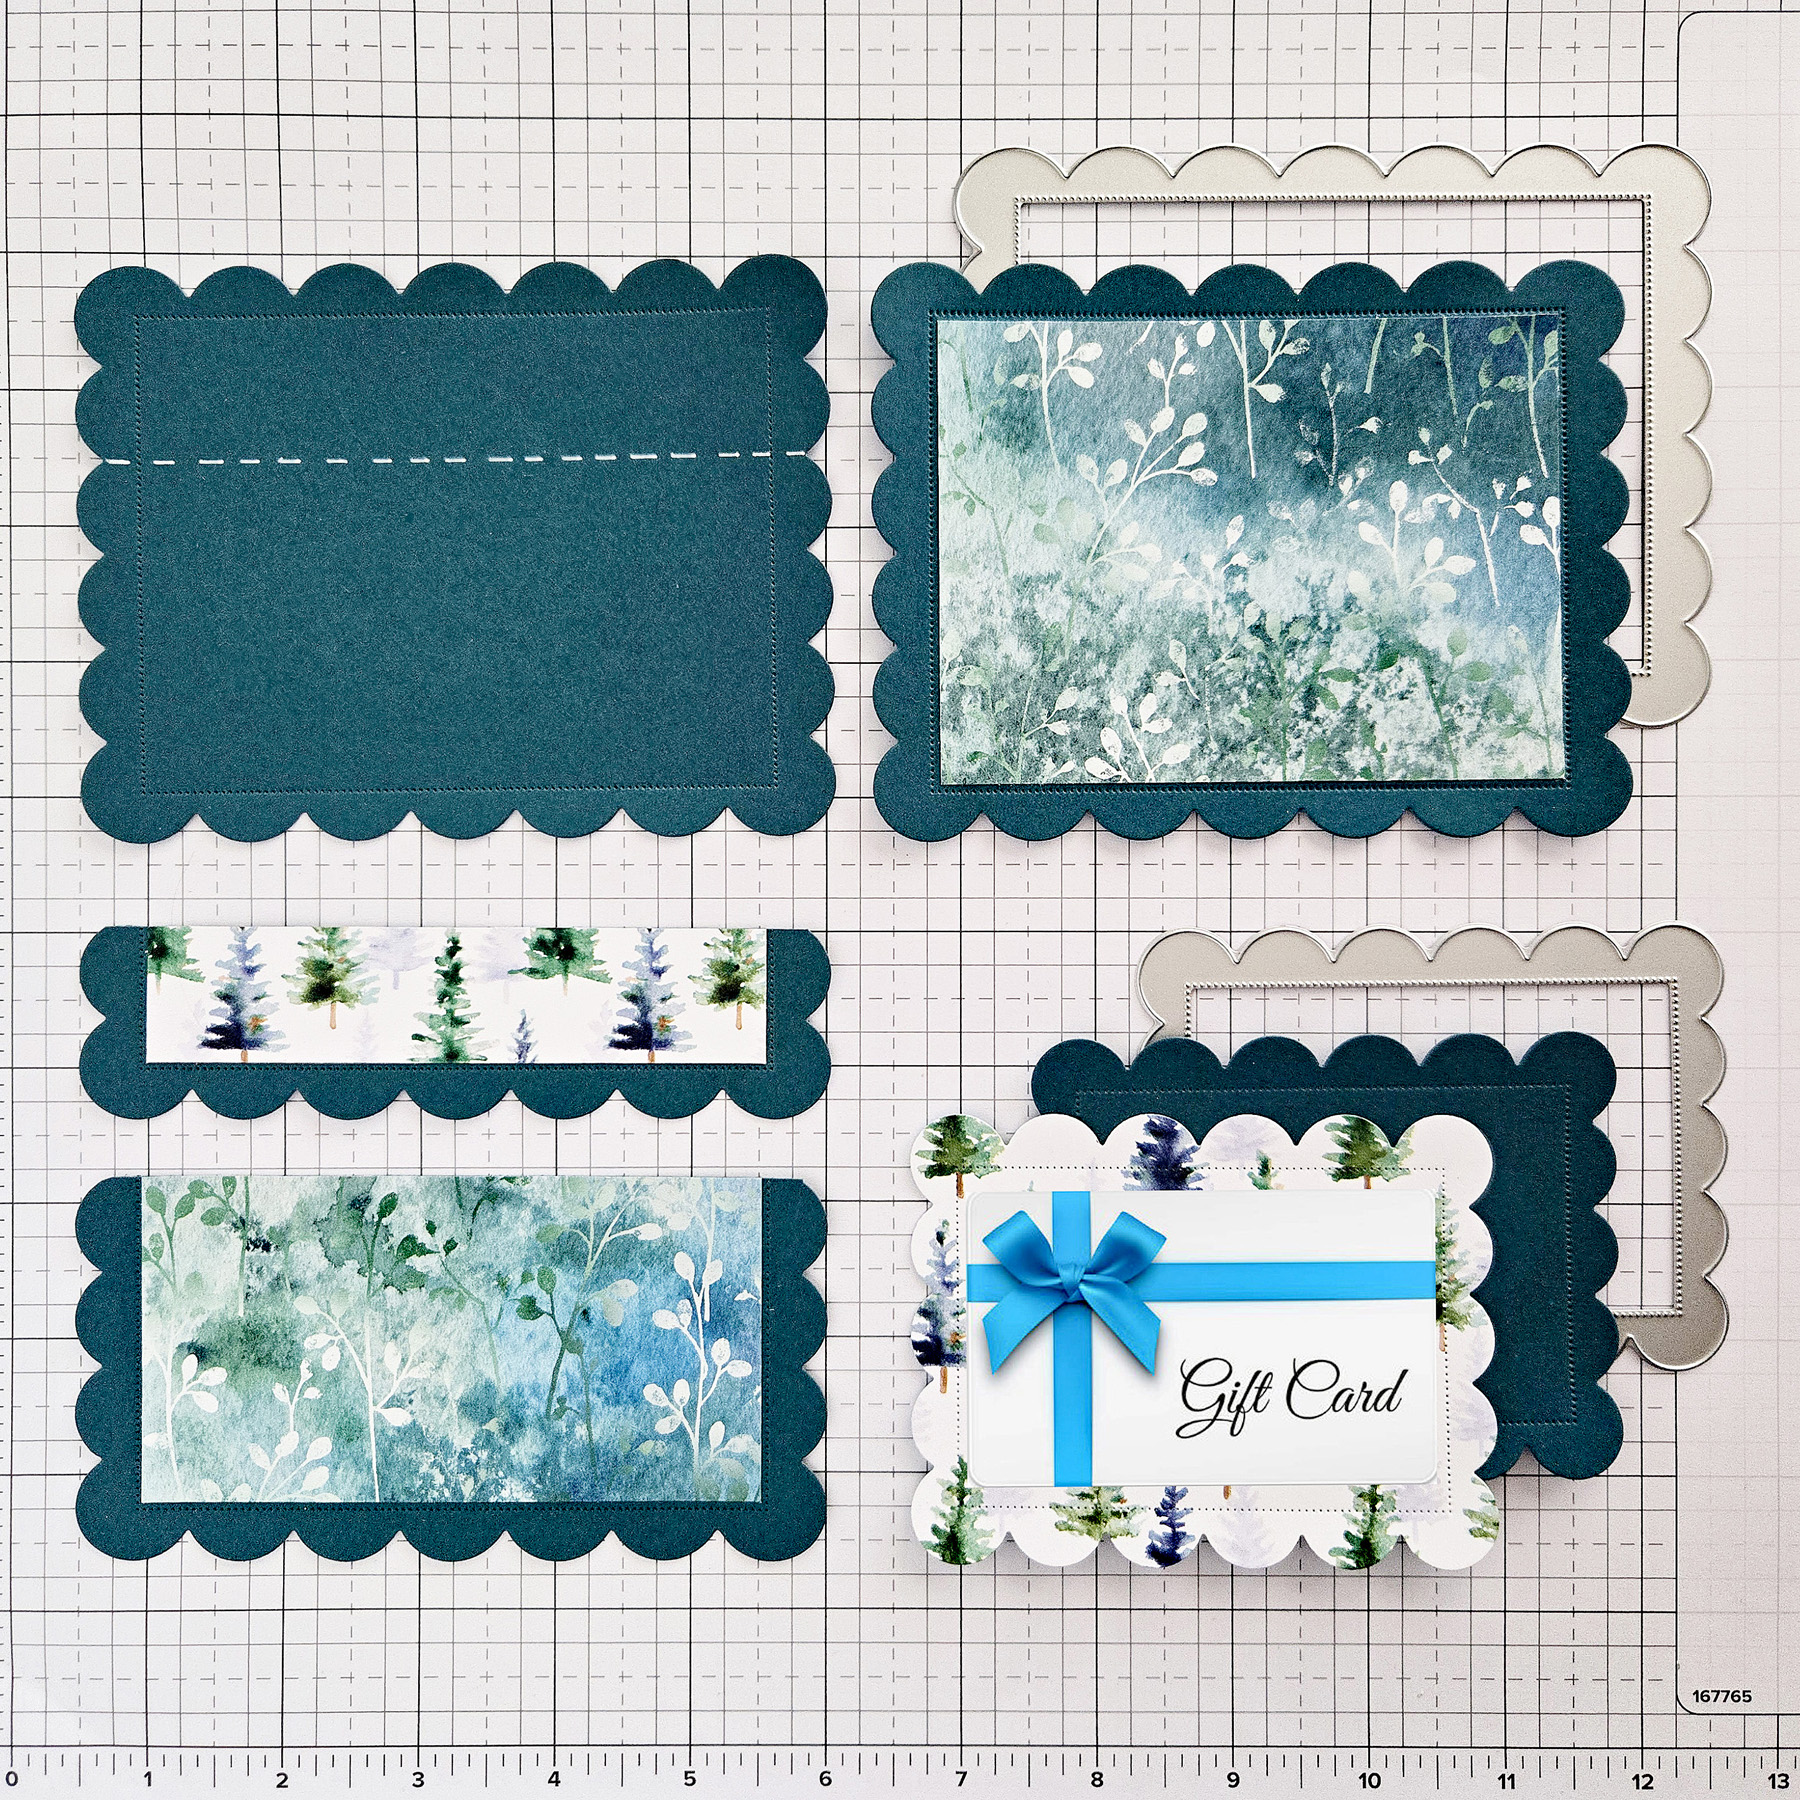
STEP 1: To create the gift card holder, use the largest die to cut out two rectangles from cardstock. Cut one of the rectangles along the dotted line, as shown, and this will be used to create the pocket for your gift card. The other rectangle will be the base. Add your favorite DSP, as shown. For the tag, use the next largest die to cut one rectangle from cardstock, and one from the DSP. (Once the gift card holder is finished, use Mini Glue Dots to adhere the gift card to the DSP rectangle.)
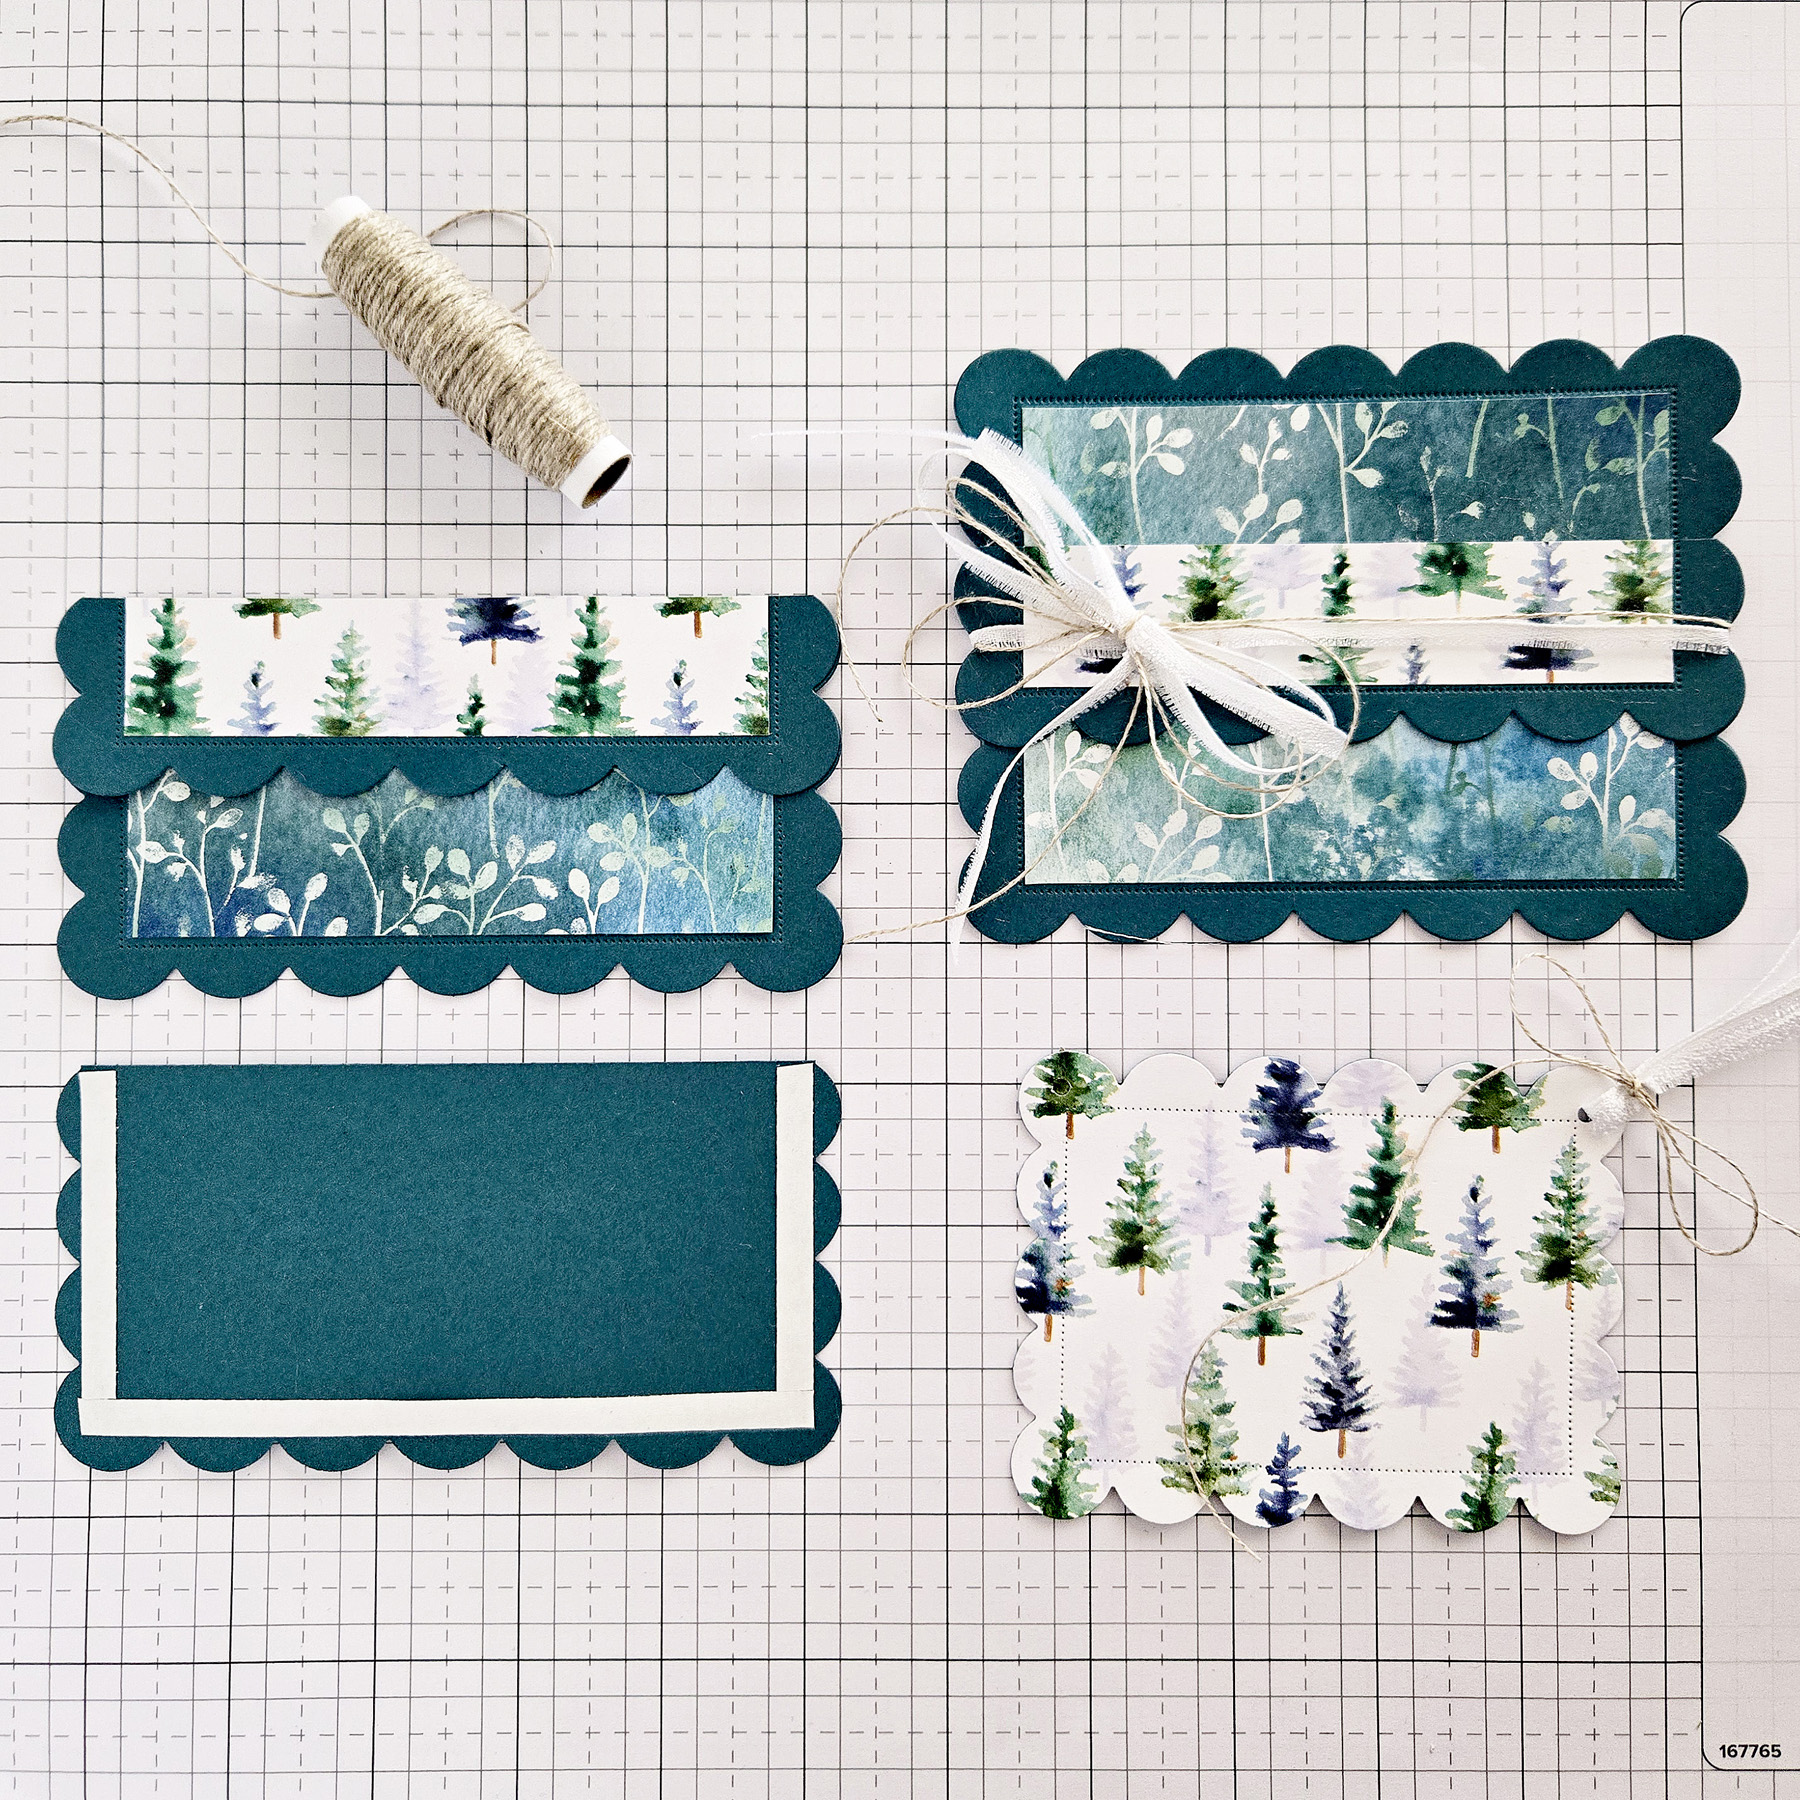
STEP 2: To create the pocket, adhere the smaller strip (that you cut from the rectangle) to the larger strip, as shown. Add Tear & Tape Adhesive to the back (along both sides and the bottom only), and adhere it to the base. To create the tag, adhere the DSP rectangle to the cardstock rectangle. Add Linen Thread and/or ribbon to the gift card holder and tag, to add an extra bit of texture.
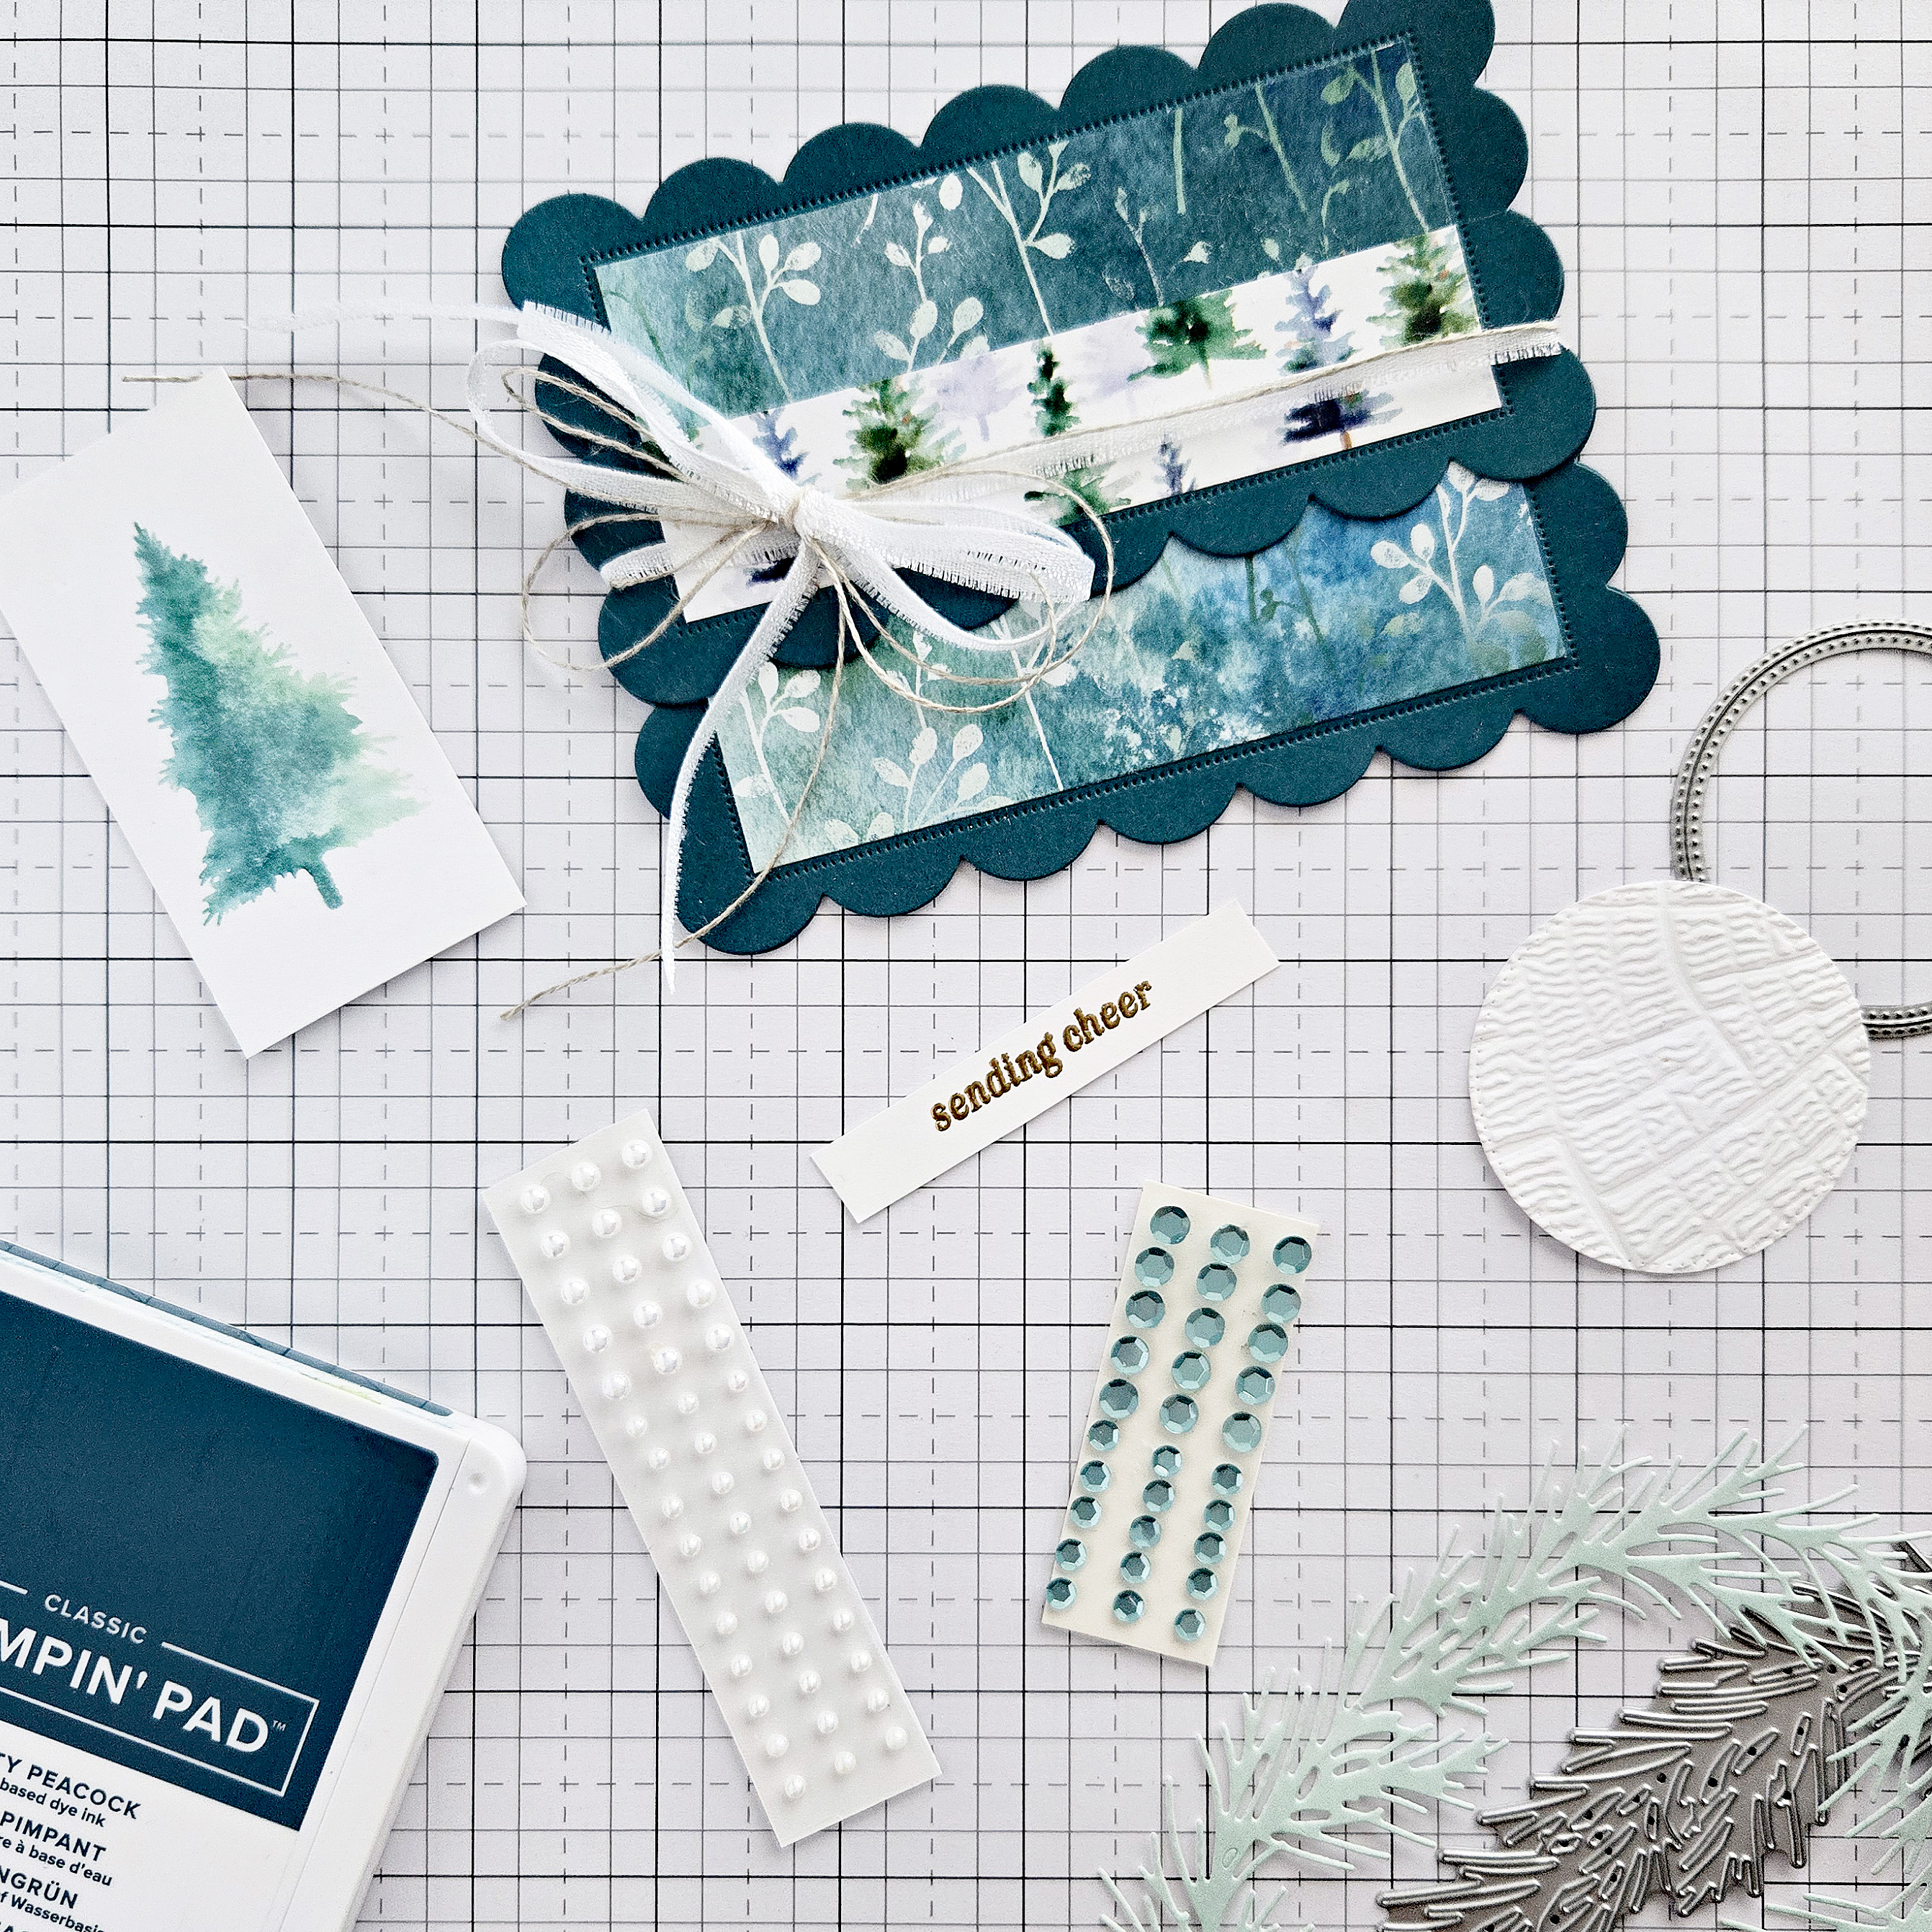
Use your favorite die cuts, stamped images, heat-embossed sentiments, and embellishments to decorate the gift card holder, as desired.
Wishing you creativity always,

To place an order, click on one of the products below:
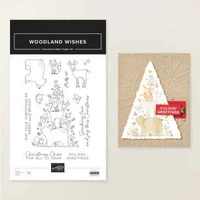

Price: $21.00

Price: $17.00

Price: $11.00
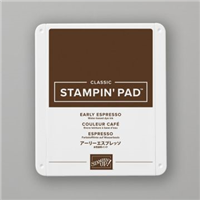
Price: $11.00

Price: $12.00
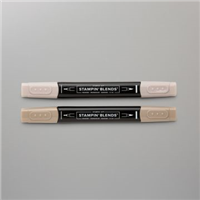
Price: $12.00
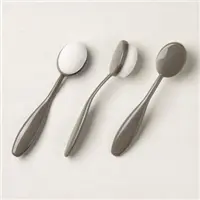
Price: $17.00

Price: $9.50
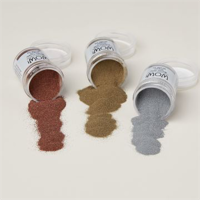
Price: $21.00
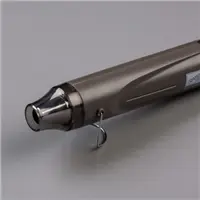
Price: $34.00

Price: $8.50

Price: $9.00
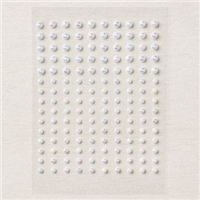
Price: $8.00

Price: $8.50

Price: $12.00

Price: $41.00

Price: $30.00
Price: $5.00
Price: $5.00


