10.12.2026…..Happy Monday, my stampin’ friends! Today, I’m sharing the alternative projects that I created for the Stampin’ Up Paper Pumpkin Facebook page, as a member of the Stampin’ Up Artisan Design Team. I created all of these projects, using the September 2026 Aspens of Gratitude Paper Pumpkin Kit. In addition to using the supplies in the kit, I also used additional Stampin’ Up! products for each of the projects as well. I hope projects inspire you to create some extra cards and projects using the wonderful kit as well!
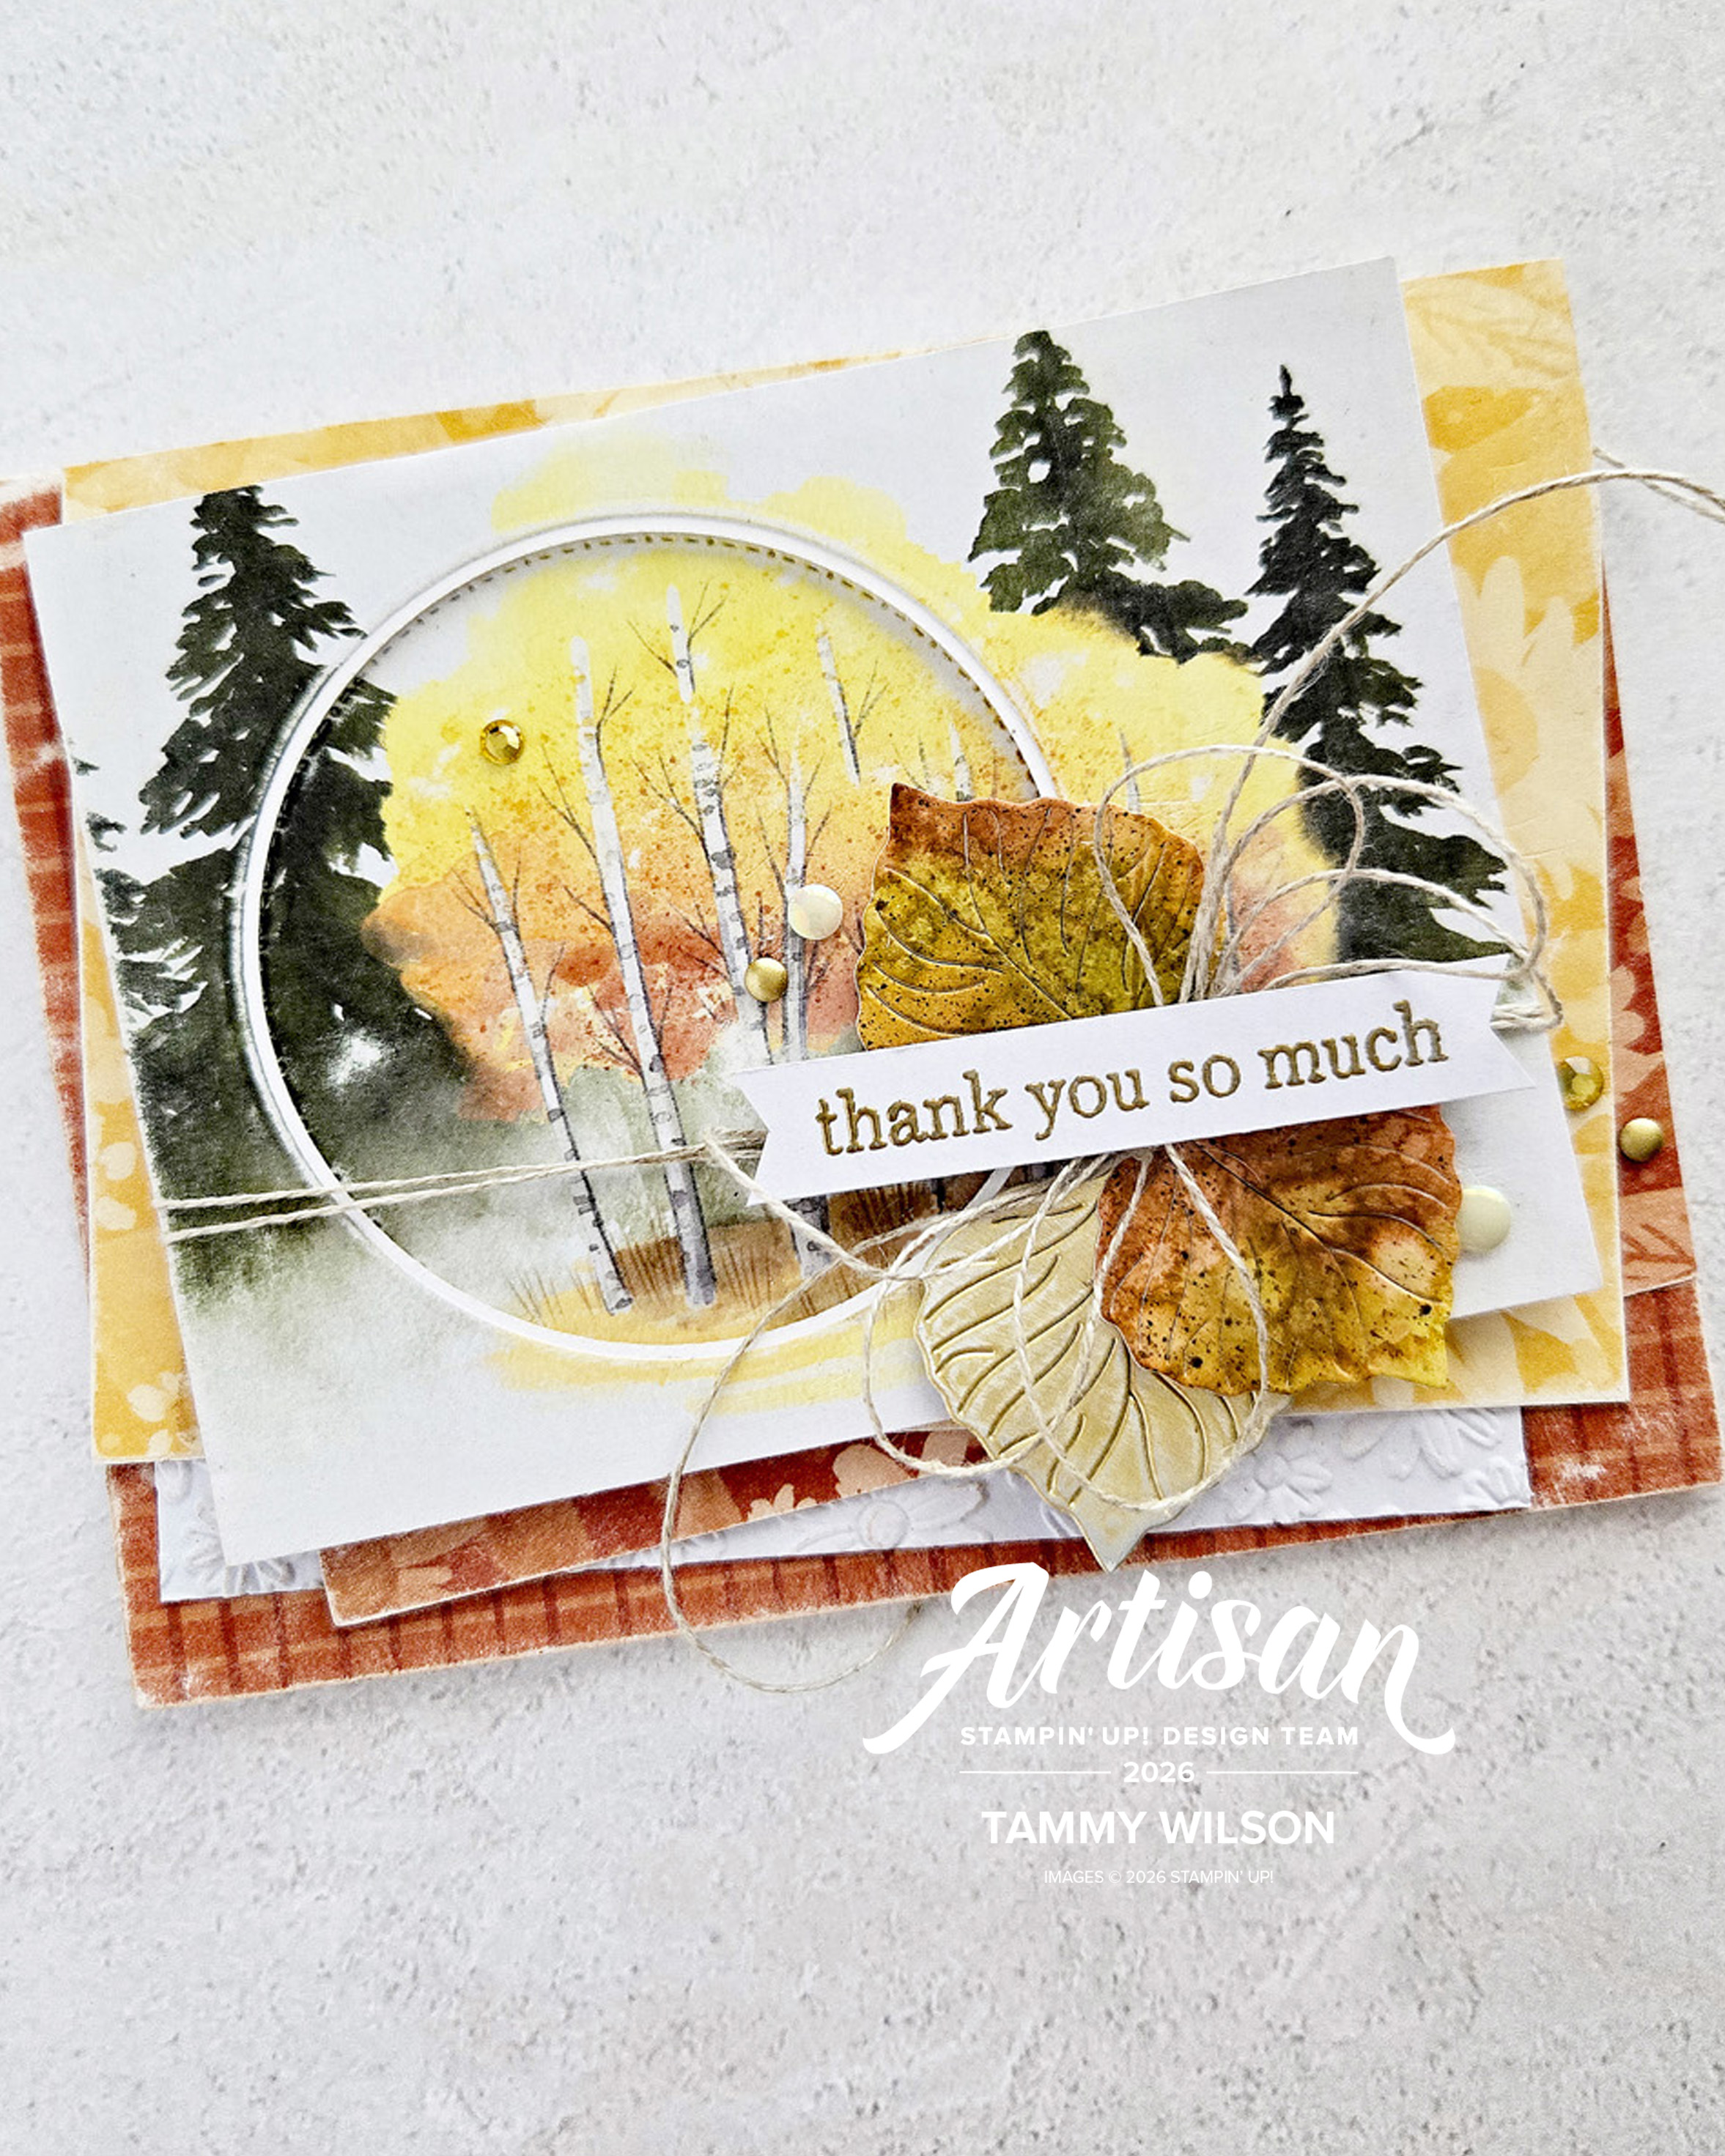
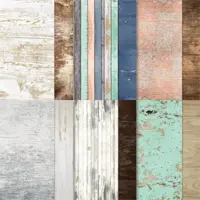
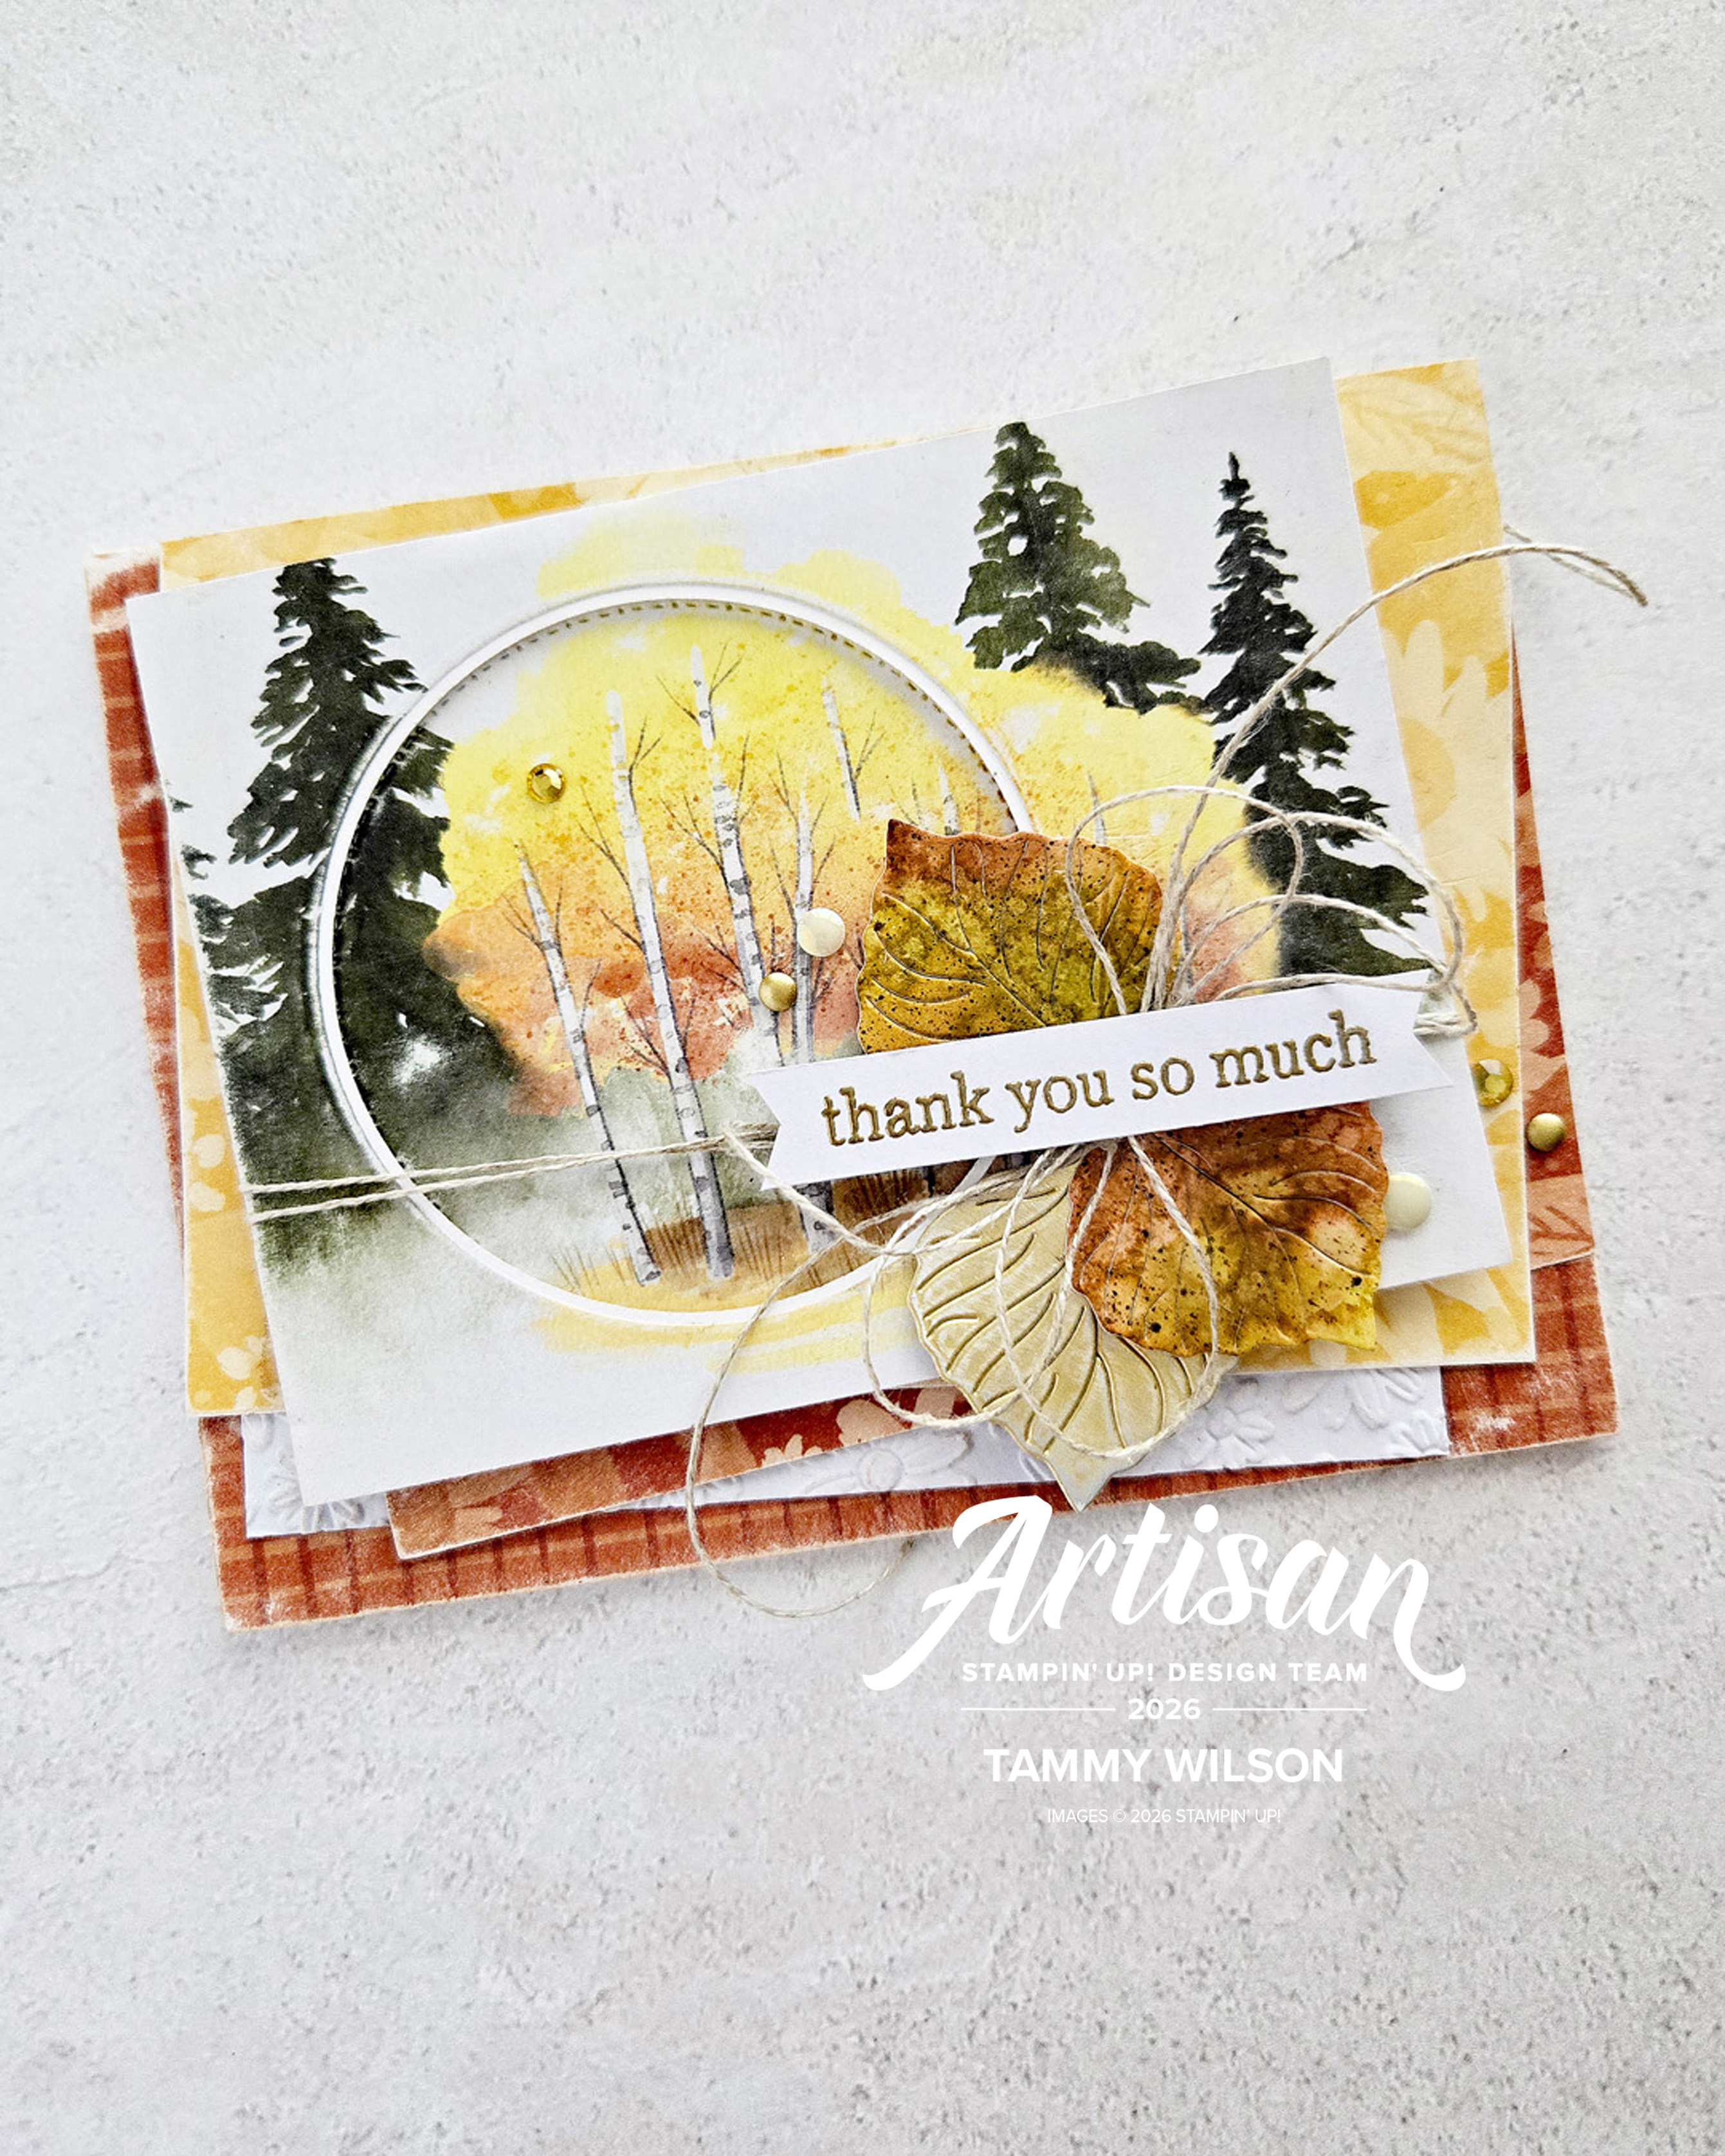
For this card, I used several layers of the Sunflower Fields DSP, and distressed them with a Sanding Block. I also added a white layer that was embossed with the Lazy Daisy 3D Embossing Folder. To create the “window”, I used the circle die (from the Detailed Flora Add-On Dies) along with a Stylish Shapes circle die (approximately 3-1/8” diameter).
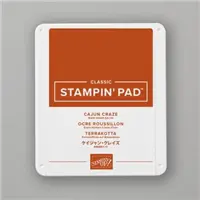
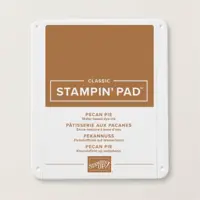
To create the leaves, I used the leaf die (from the add-on dies) to cut out a leaf from a Gold Foil Sheet, and sand with a sanding block. For the other two leaves, I used Blending Brushes to add Cajun Craze, Golden Glow, and Pecan Pie to Basic White Thick Cardstock. Use a Water Painter to splatter water droplets.
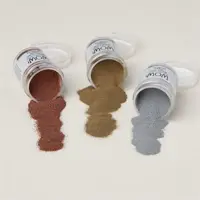
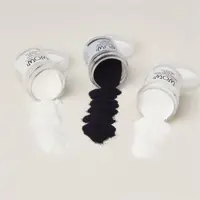
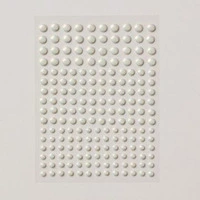
The sentiment was heat-embossed the sentiment using Gold Embossing Powder. I also added a Linen Thread bow. For a bit of bling, I sprinkled on the kit embellishments, along with Gold Adhesive-Backed Dots and Antique Pearls.
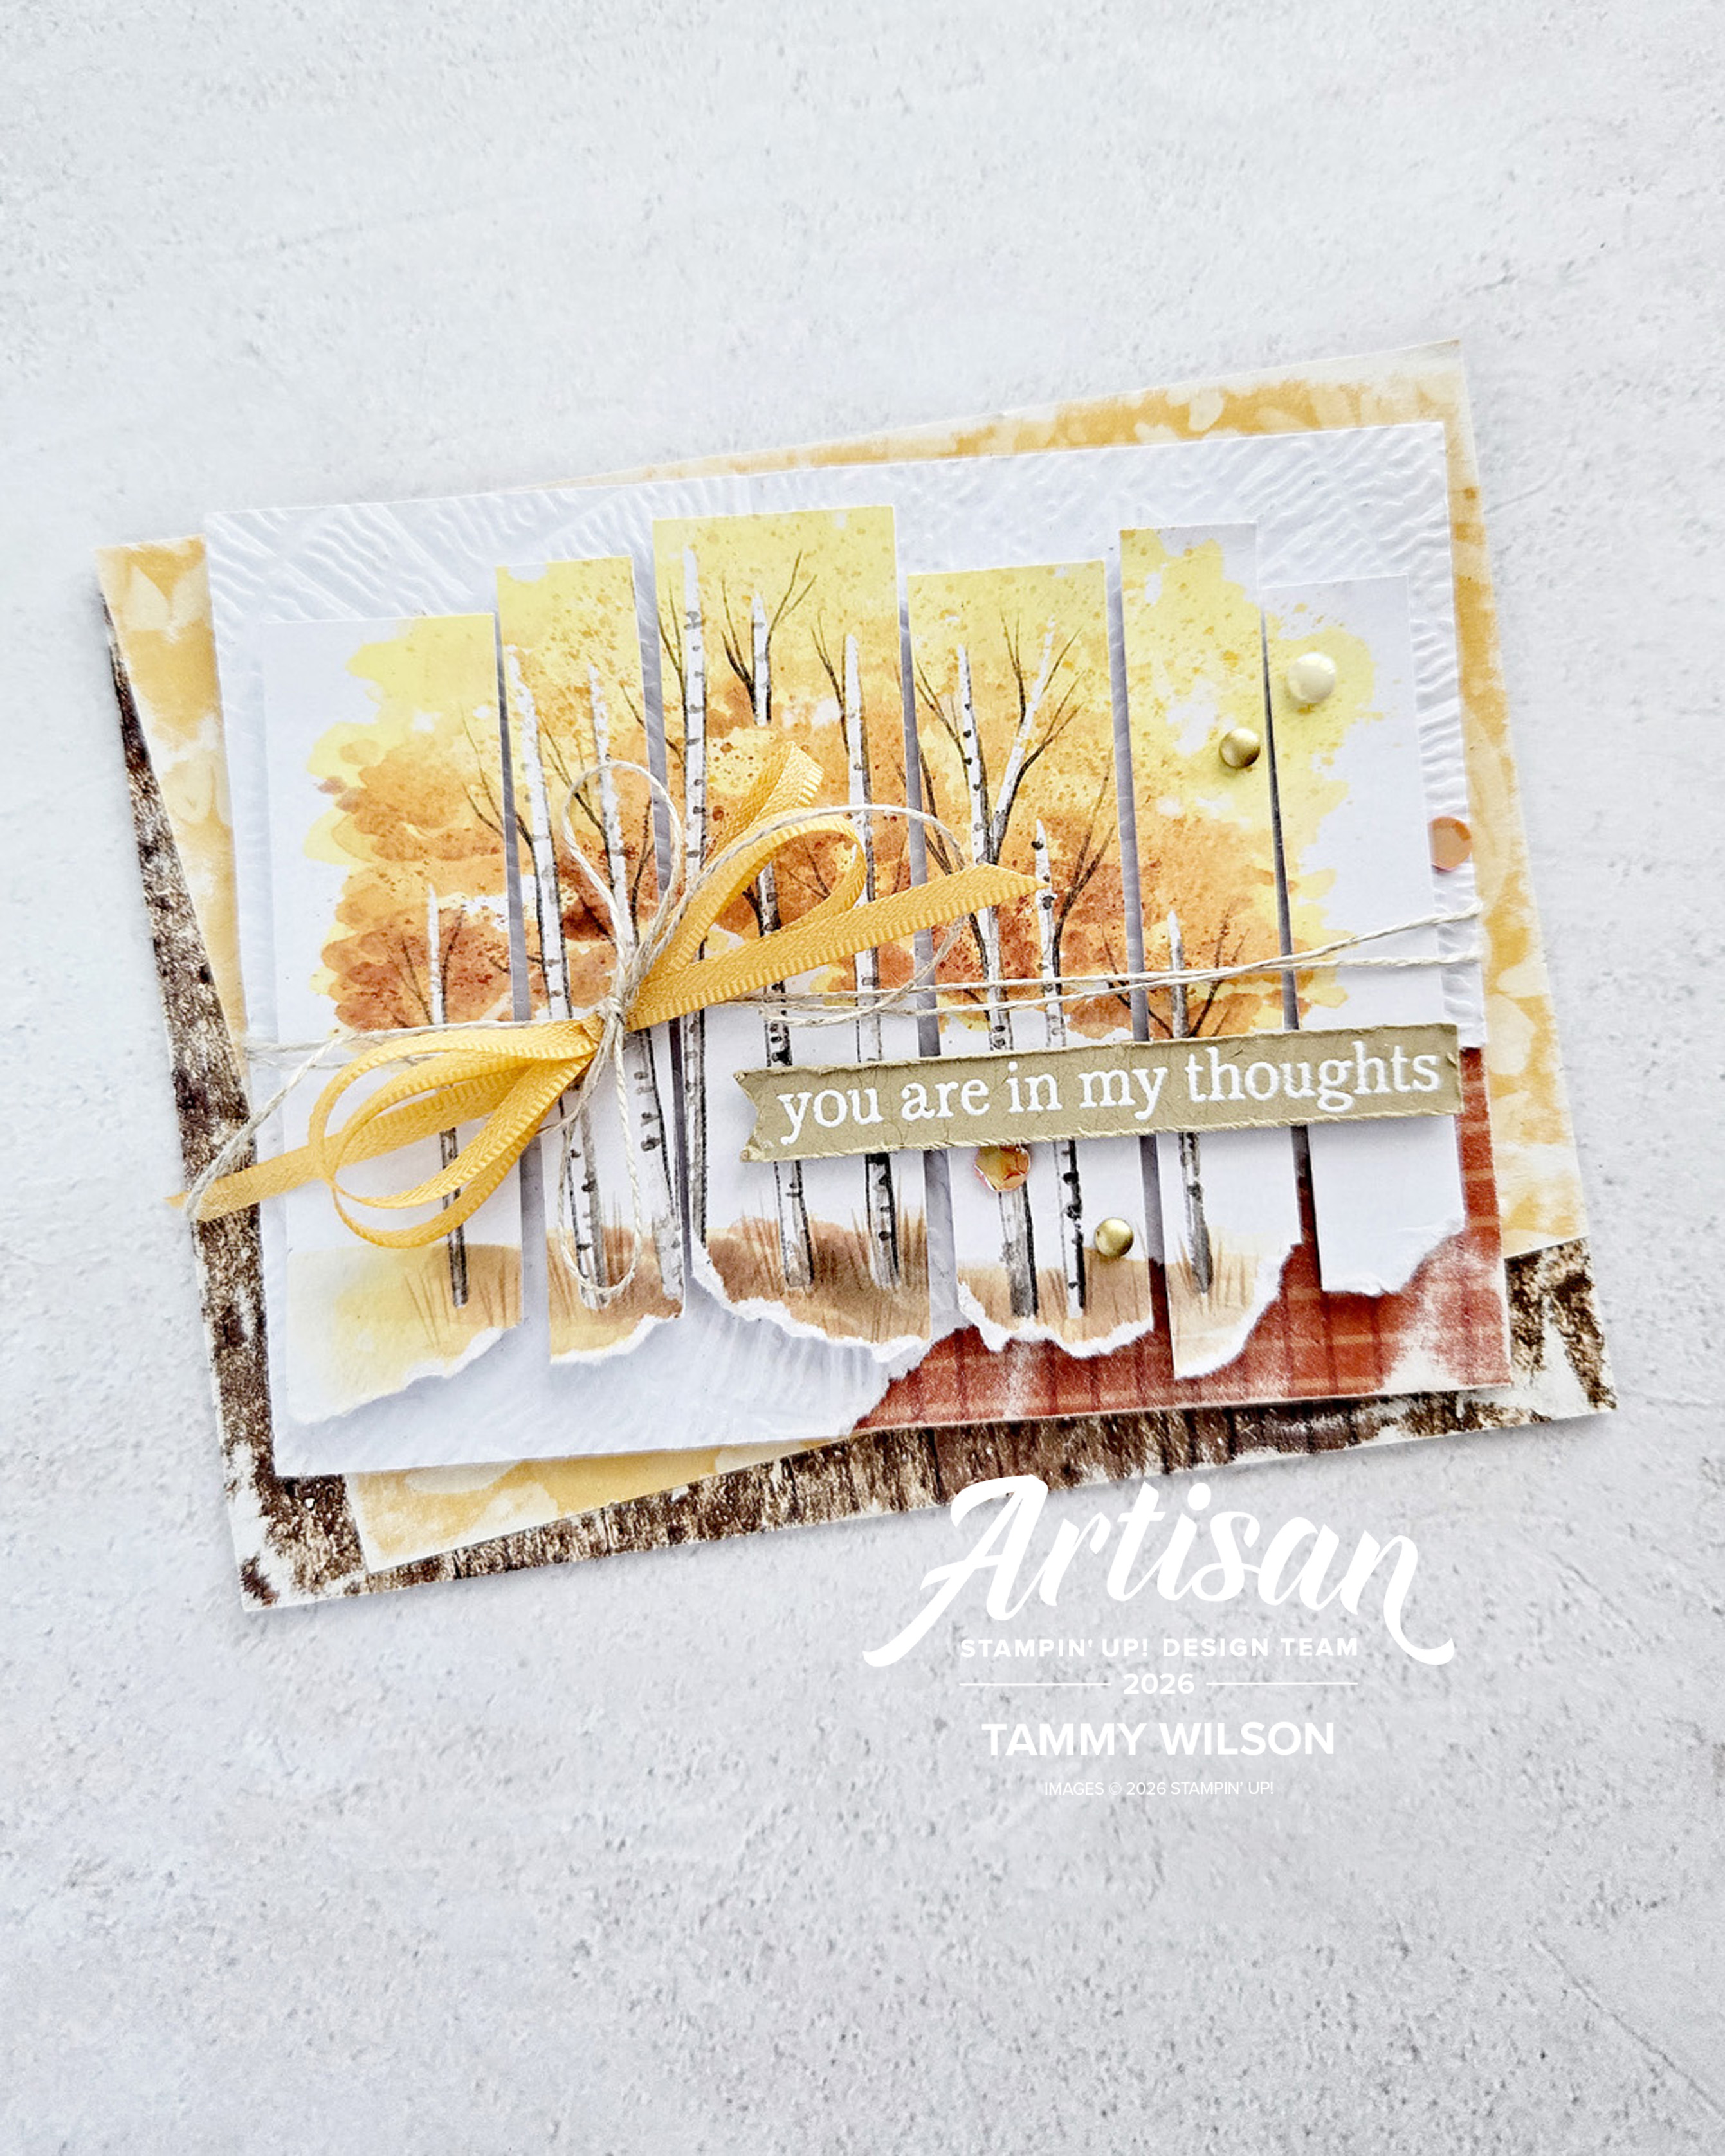
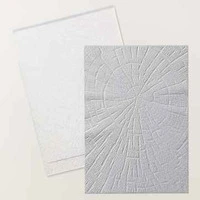
For the second card, I used layers of the Country Woods DSP and the Sunflower Fields DSP, and distressed them with a Sanding Block. I also added a white layer that was embossed with the Textured Tree Ring 3D Embossing Folder. Next, I cut the front of the card base into six (6) strips, varying the length and width, and tore off the bottom edges.
The sentiment was heat-embossed on Crumb Cake Cardstock. I also added Golden Glow 3/8” Bordered Ribbon (cut in half lengthwise) and Linen Thread. For a bit of bling, I sprinkled on Sunset Sparkle Sequins, Gold-Adhesive Backed Dots, and Antique Pearls.
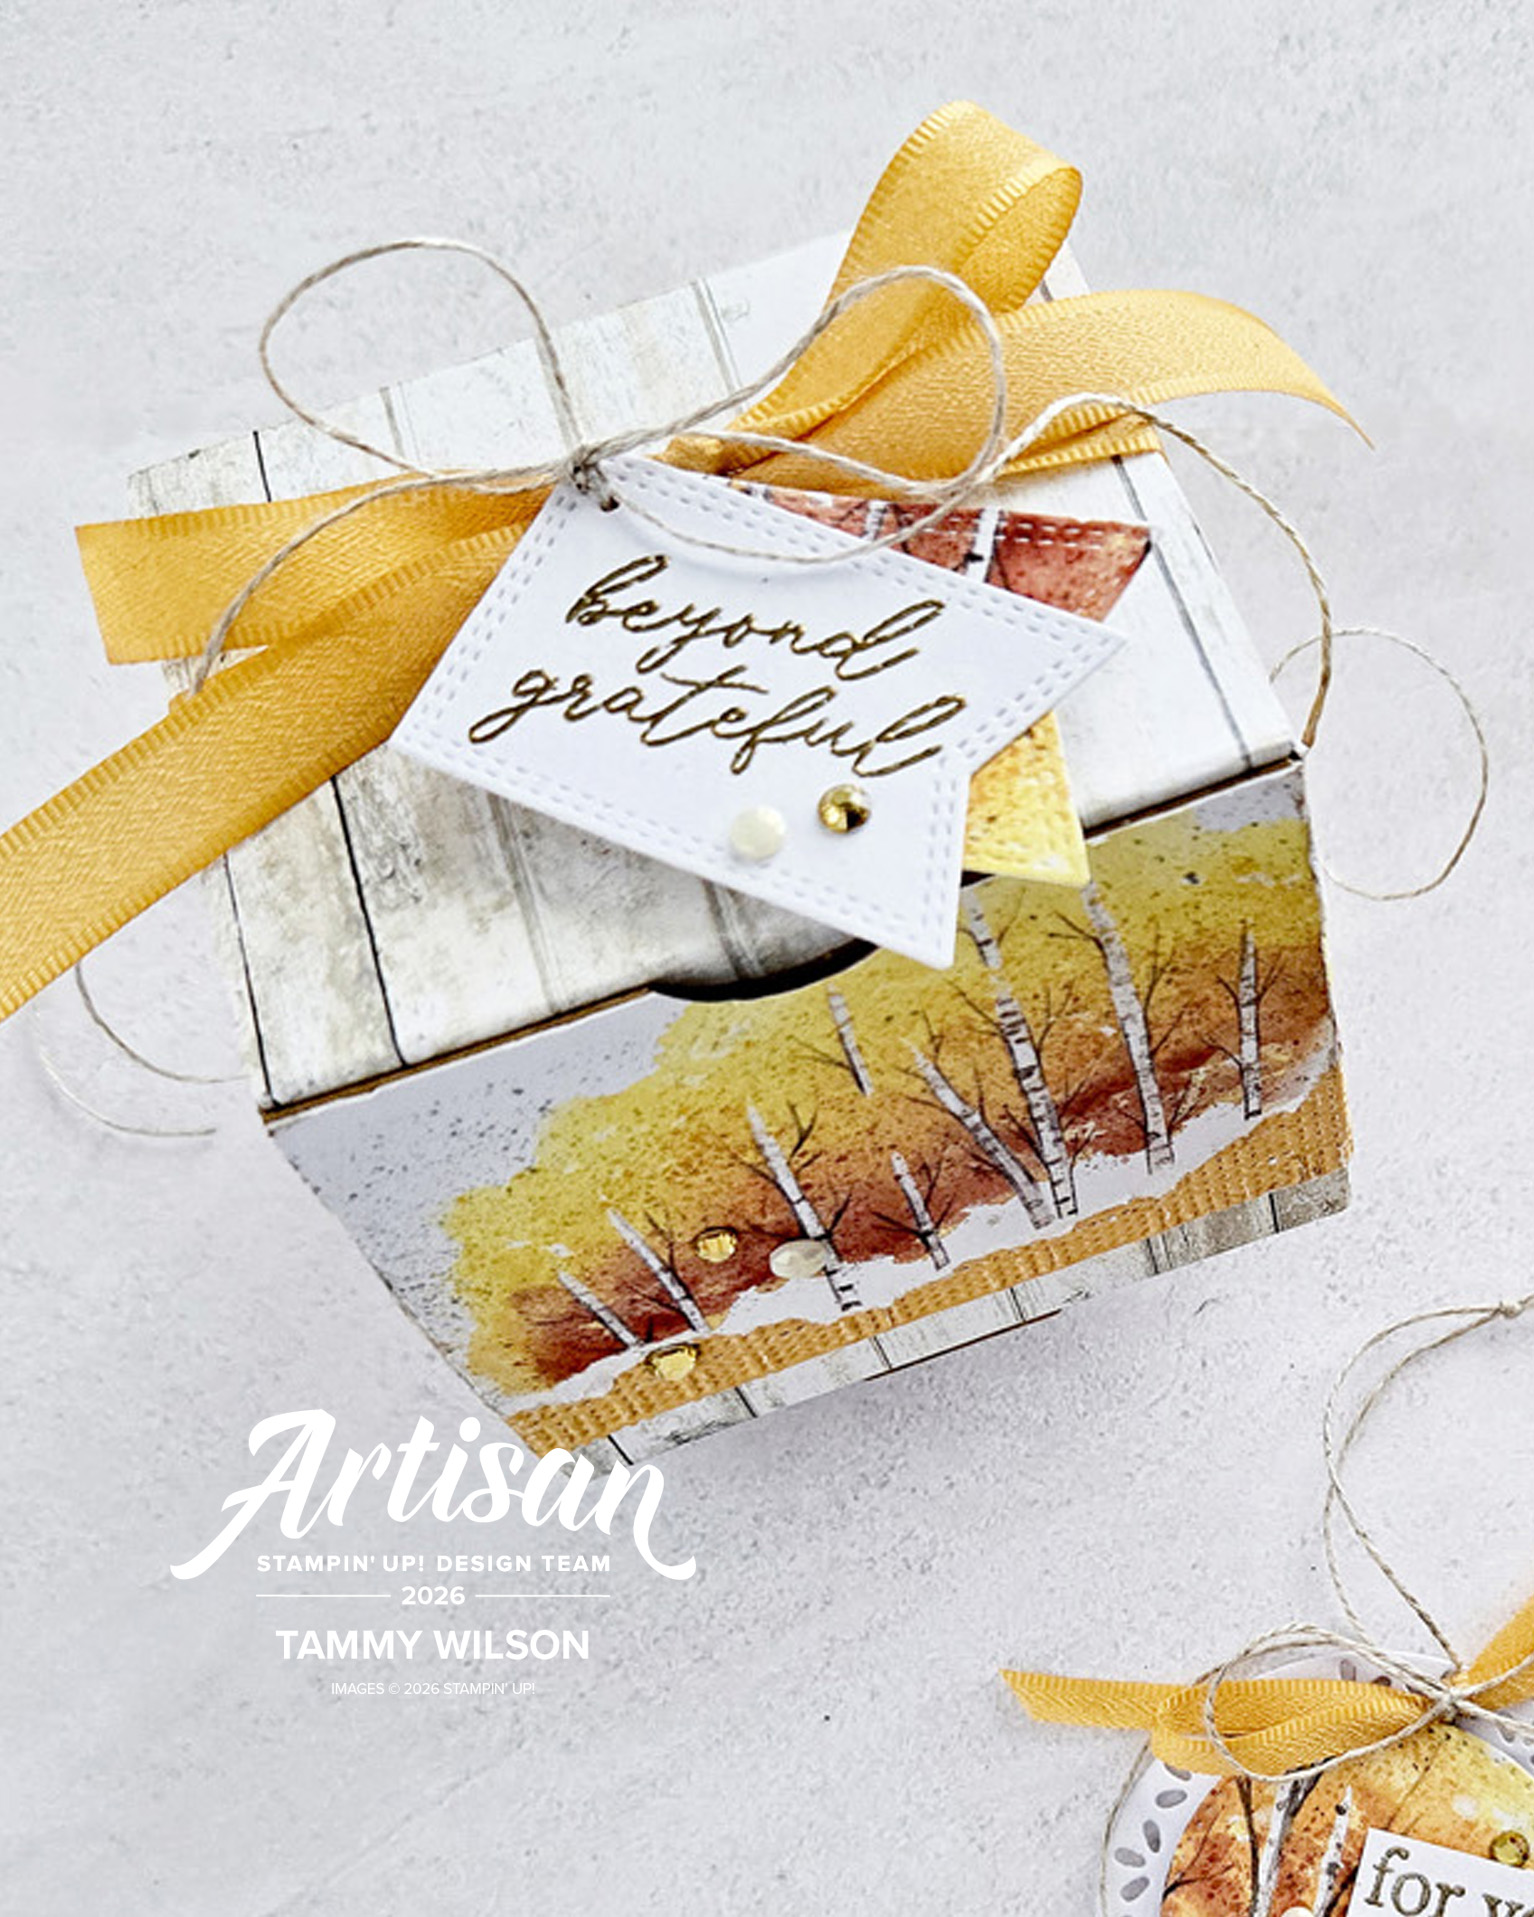
To create the gift box, I started with an Advent Treat Box. I used Country Woods DSP to cover the entire lid of the box, and used the same DSP to add a small border around the entire bottom perimeter of the box. Next, I cut off the flaps from the envelopes from the kit. Emboss them with the Softly Woven 3D Embossing Folder. I trimmed them into small strips as needed, and layered them on top of the DSP border. I then cut down two of the card fronts, to create four panels (one for each side of the box), tore off the bottom edge, and layered on top of the other paper.
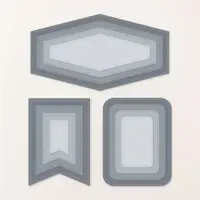
I heat-embossed the sentiment, using Gold Embossing Powder, and cut out with one of the Nested Essentials Dies. I used the same die to cut out a flag from one of the card bases, and layered the two flags together. I used Golden Glow 3/8” Bordered Ribbon to tie a bow around the box. I also sprinkled on the kit embellishments, along with Antique Pearls.
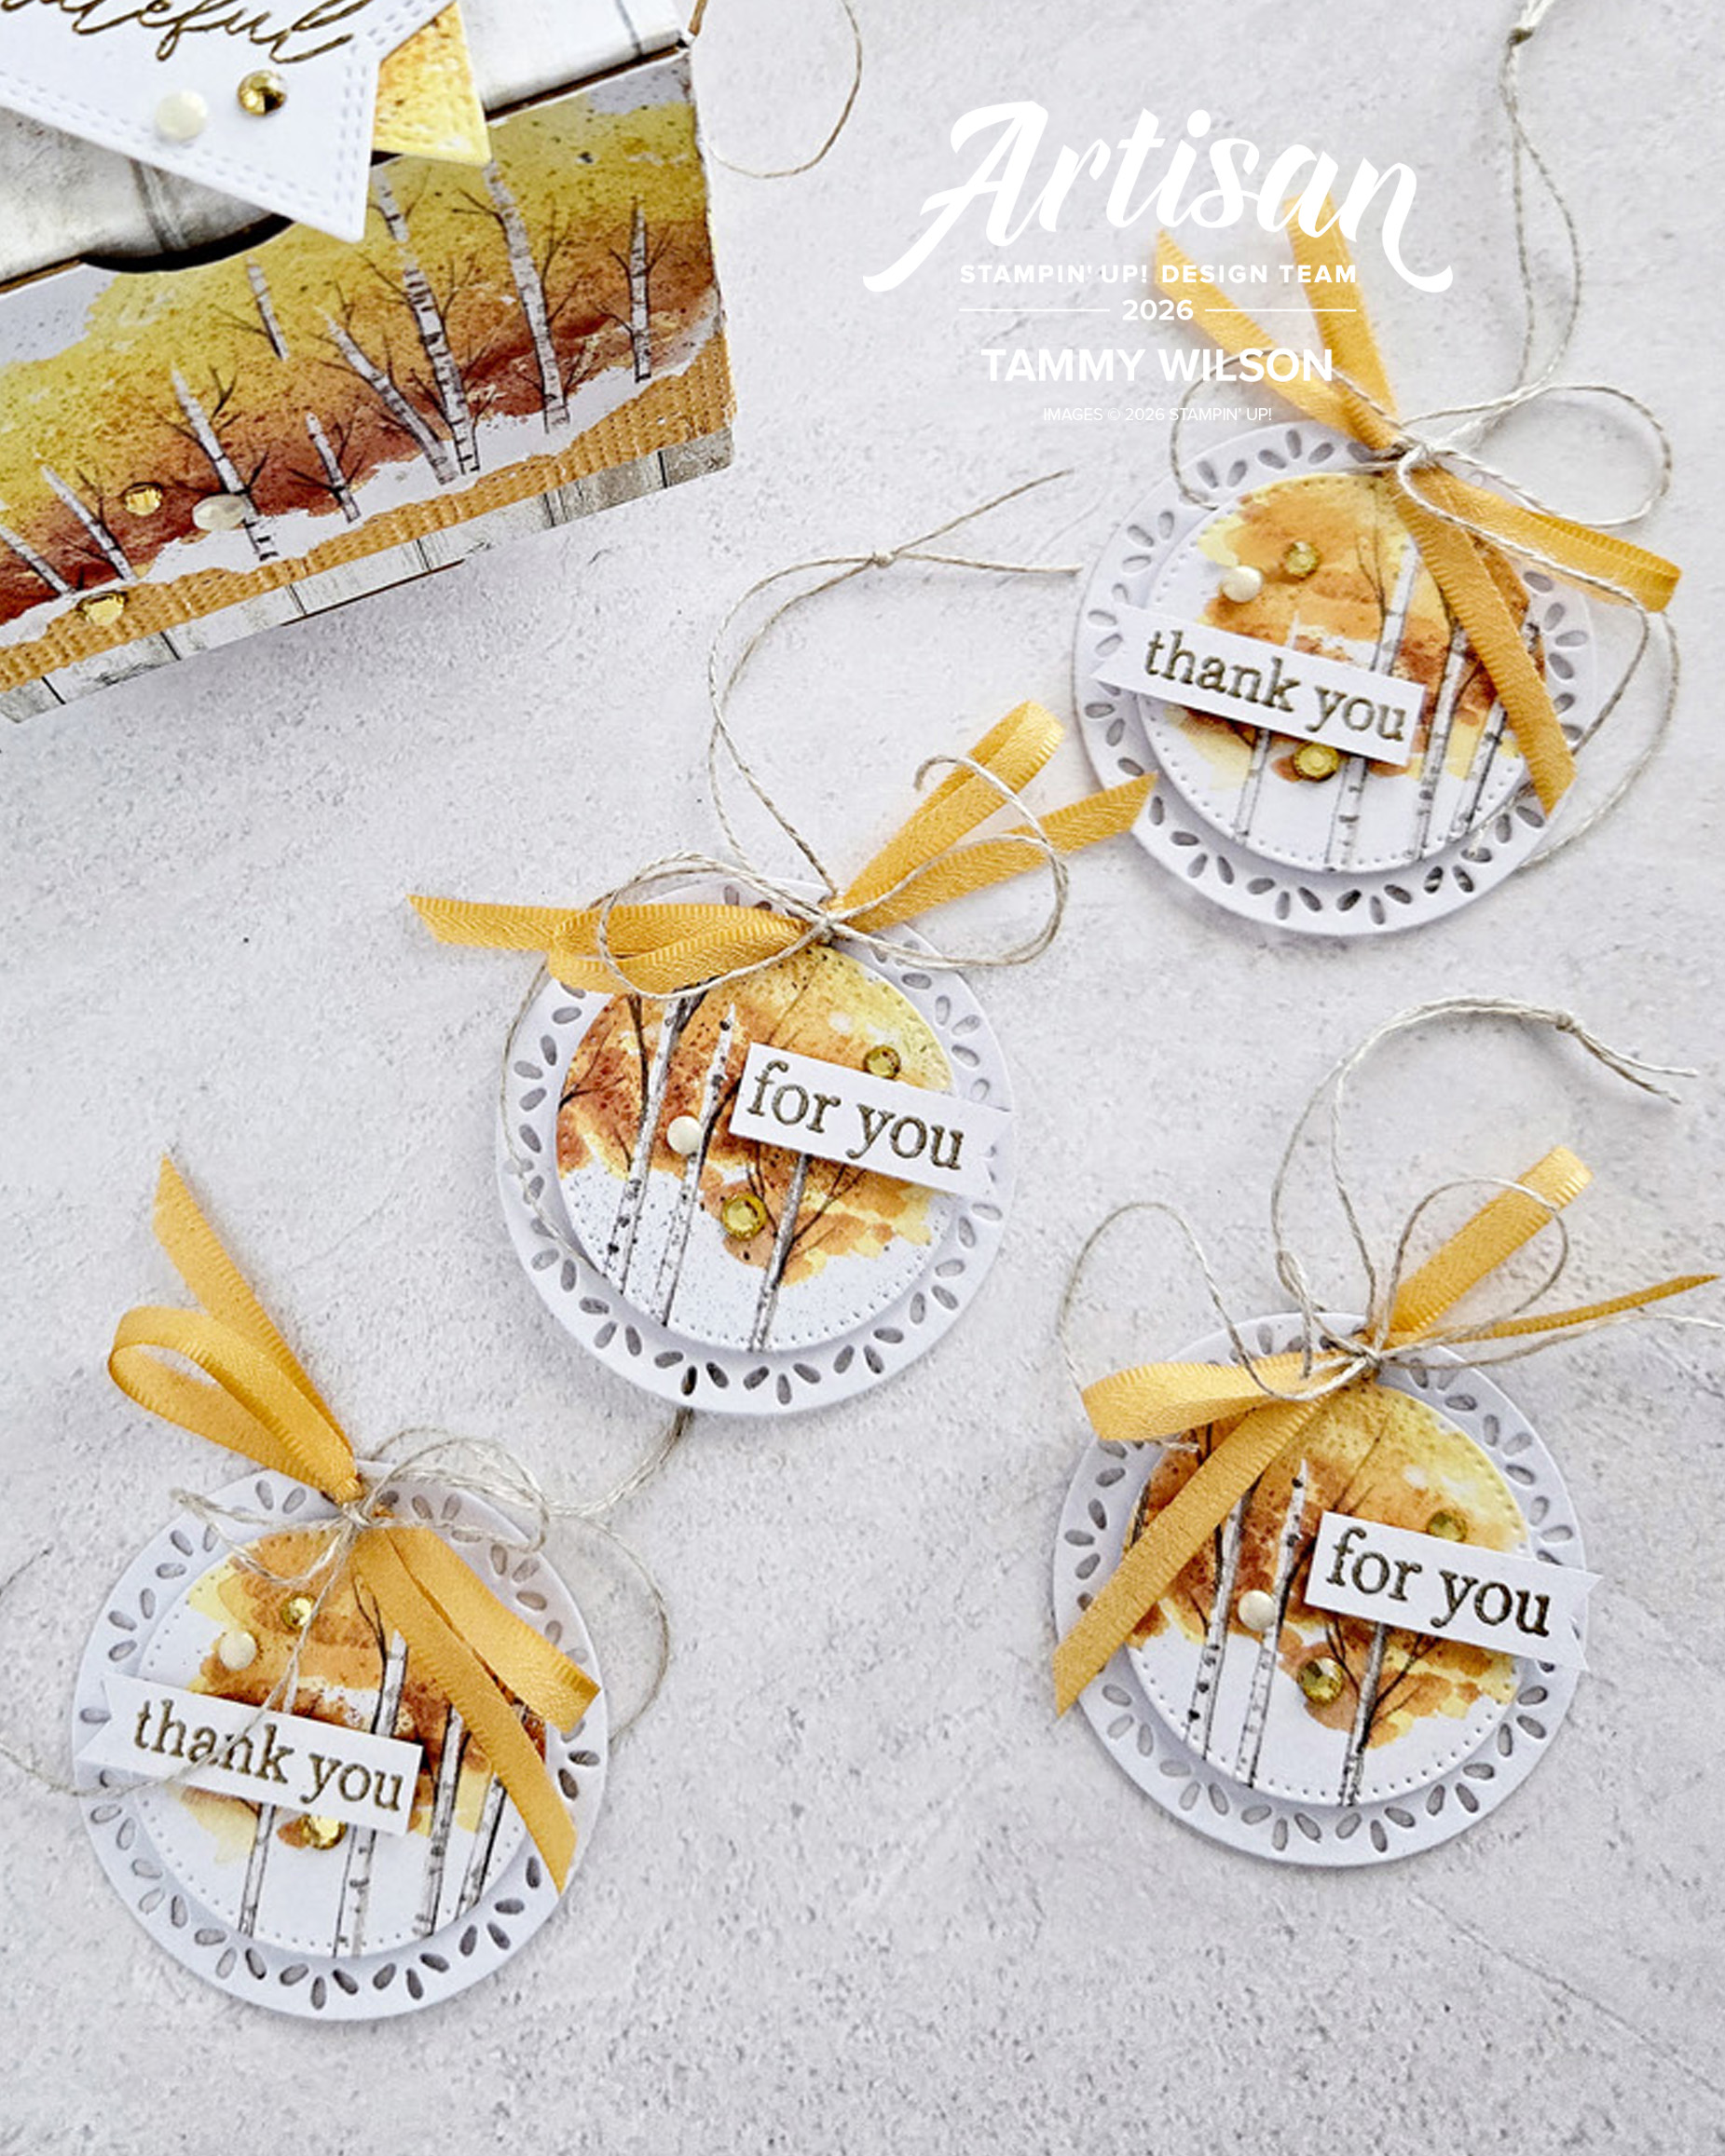
To create each gift tag, I used one of the Spotlight on Nature to cut out a circle (2-1/4” diameter) from the back of one of the card bases. I then usedone of the Stylish Shapes Dies to cut out a circle (approximately 1-3/4” diameter) from one of the card fronts.
I heat-embossed the sentiment, using Gold Embossing Powder. To create the bow, use Golden Glow 3/8” Bordered Ribbon (cut in half lengthwise) and Linen Thread. I also sprinkled on the embellishments, along with Antique Pearls.
Wishing you creativity always,

To place an order, click on one of the products below: