
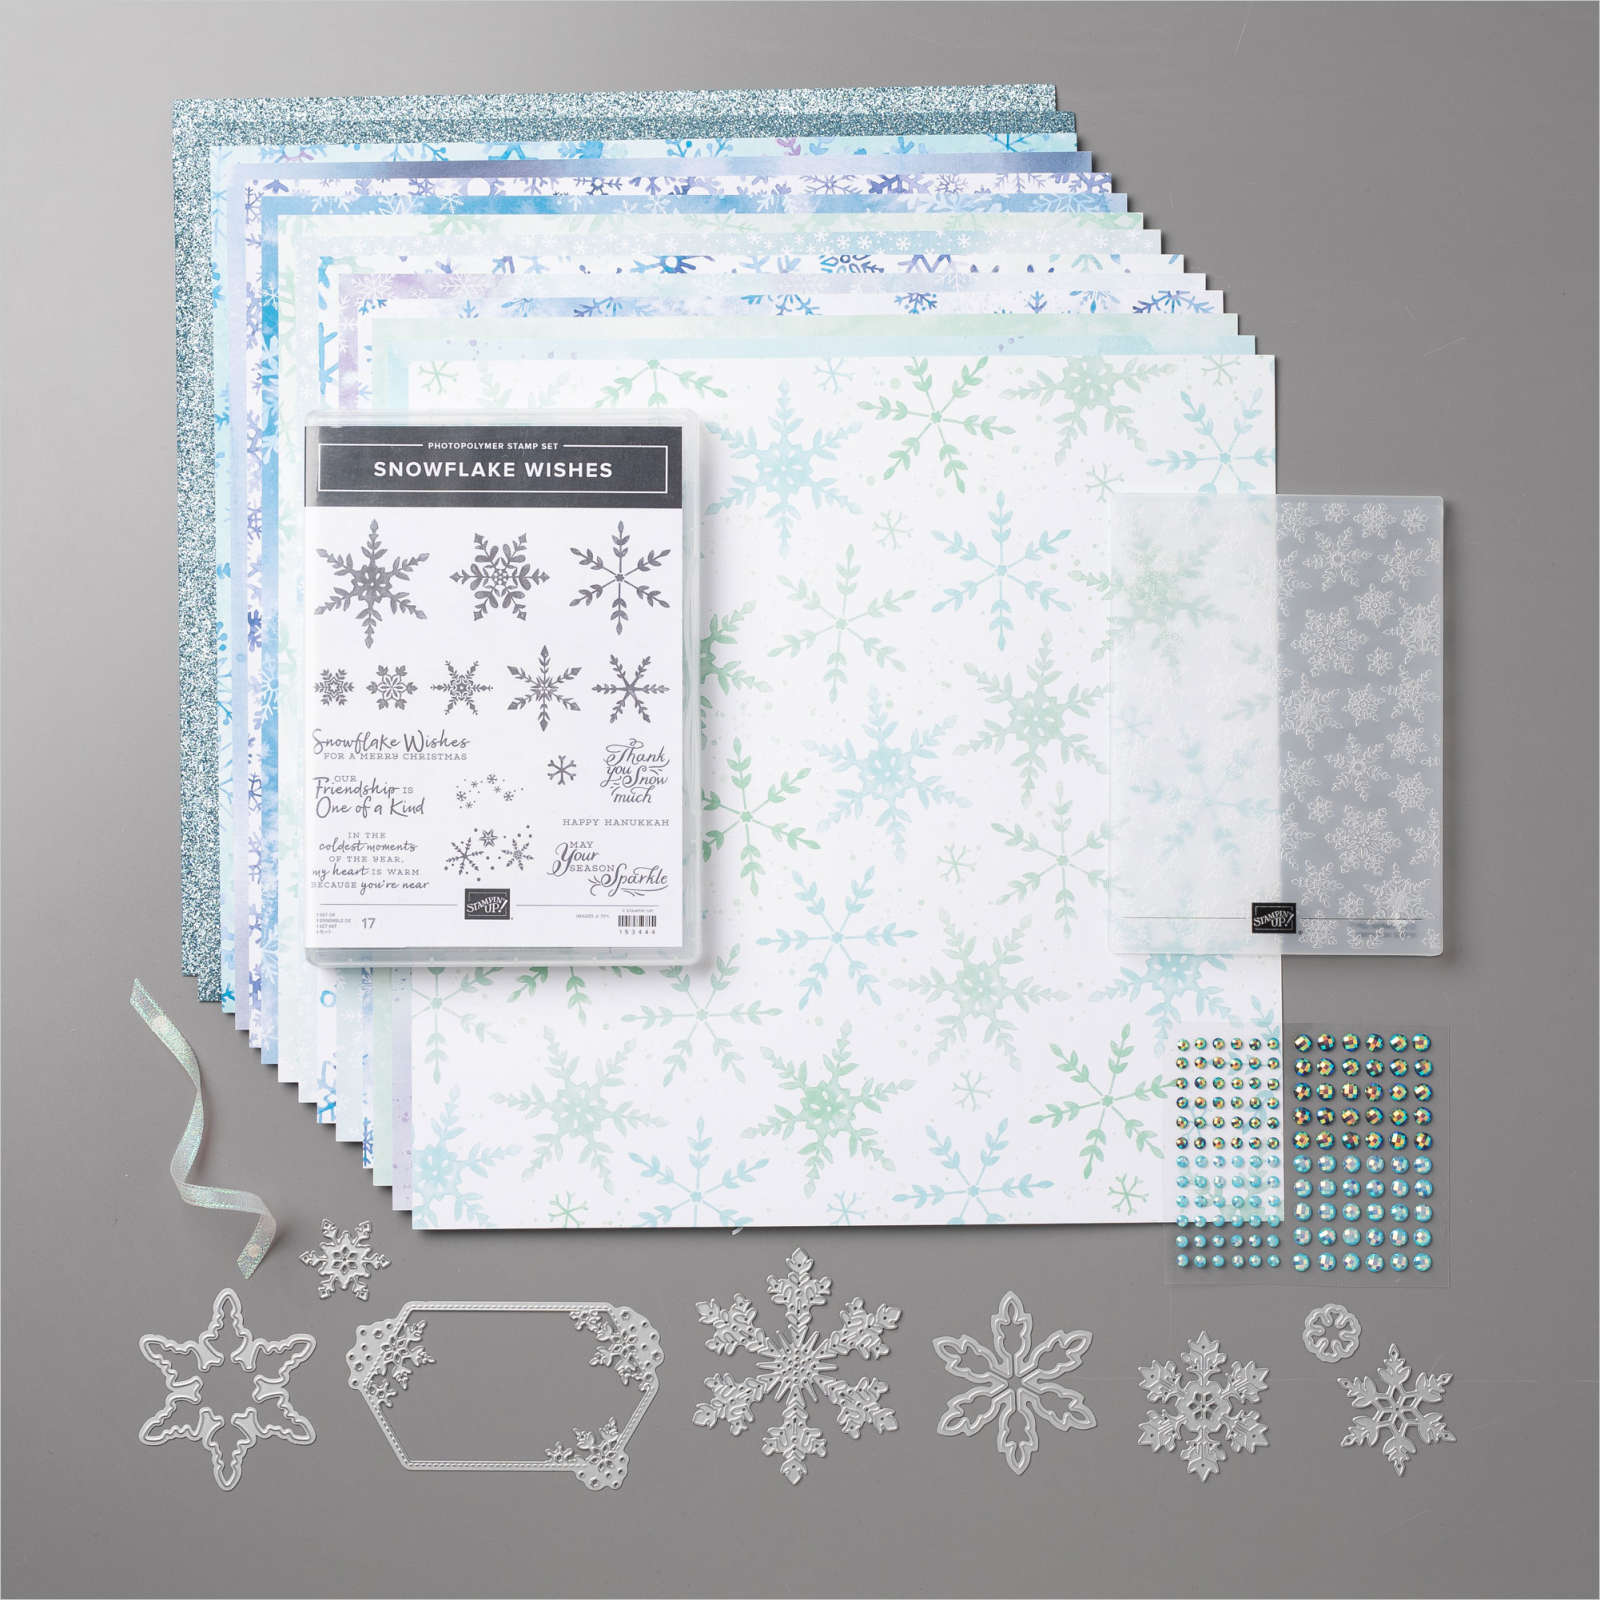
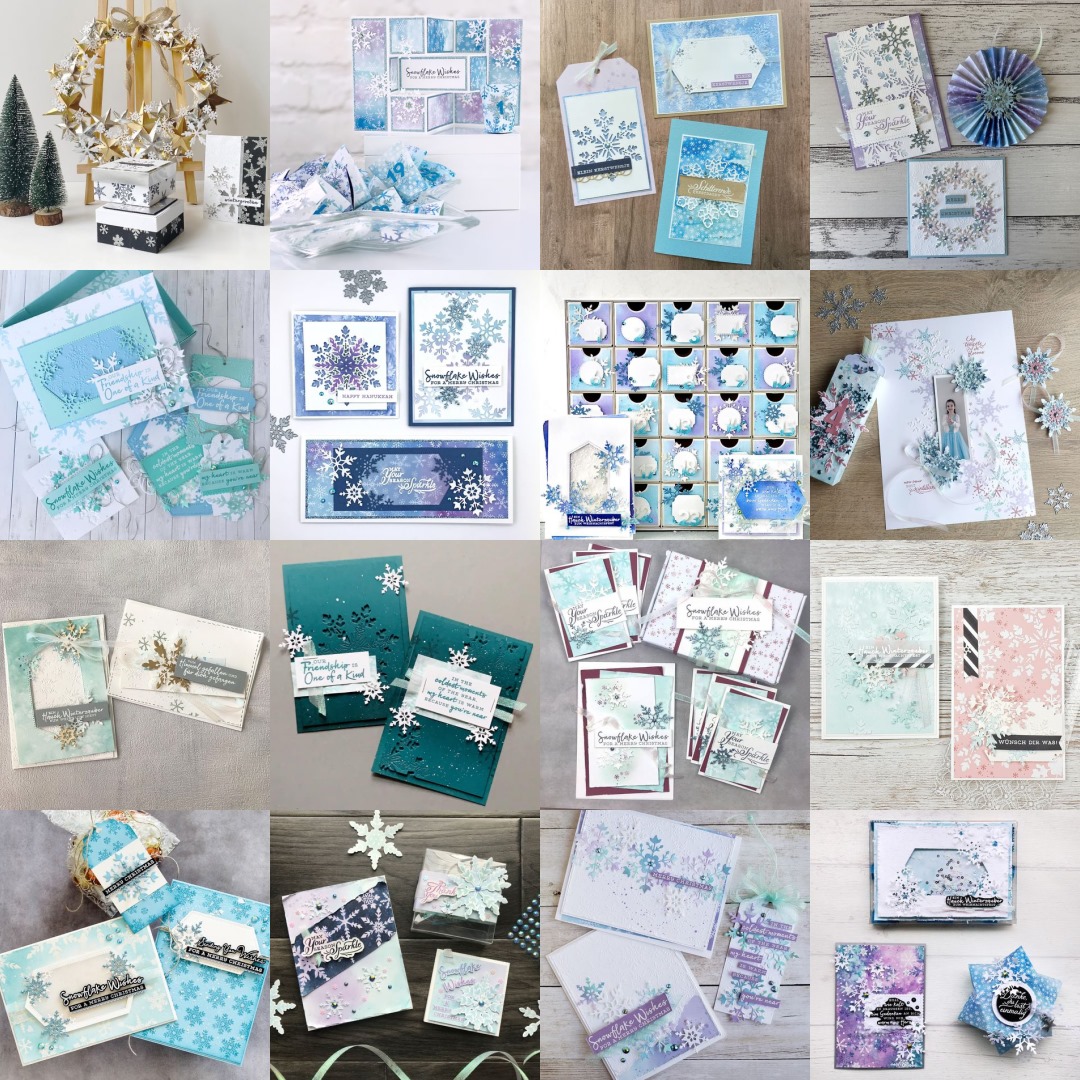
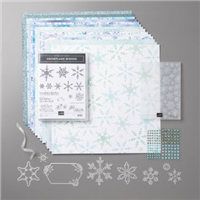
11.19.20…..Happy Thursday, everyone! Hope everyone’s had a chance to squeeze in at least a bit of stamping and papercrafting this week! If you’re already hopping along with us today, you probably just came from Stesha’s blog. Aren’t her projects gorgeous!?! If you’ve just started your hop, the Artisan Design Team is featuring projects created with the Snowflake Splendor Suite from the August – December 2020 Stampin’ Up Mini Catalog! Not only does these bundle include a stamp set full of festive images and sentiments, along with a coordinating die set…it also includes some gorgeous Designer Series Paper and accessories! Soooooo fabulous and festive!!! The team has some absolutely amazing projects to inspire you today, and you will not want to miss a single one!
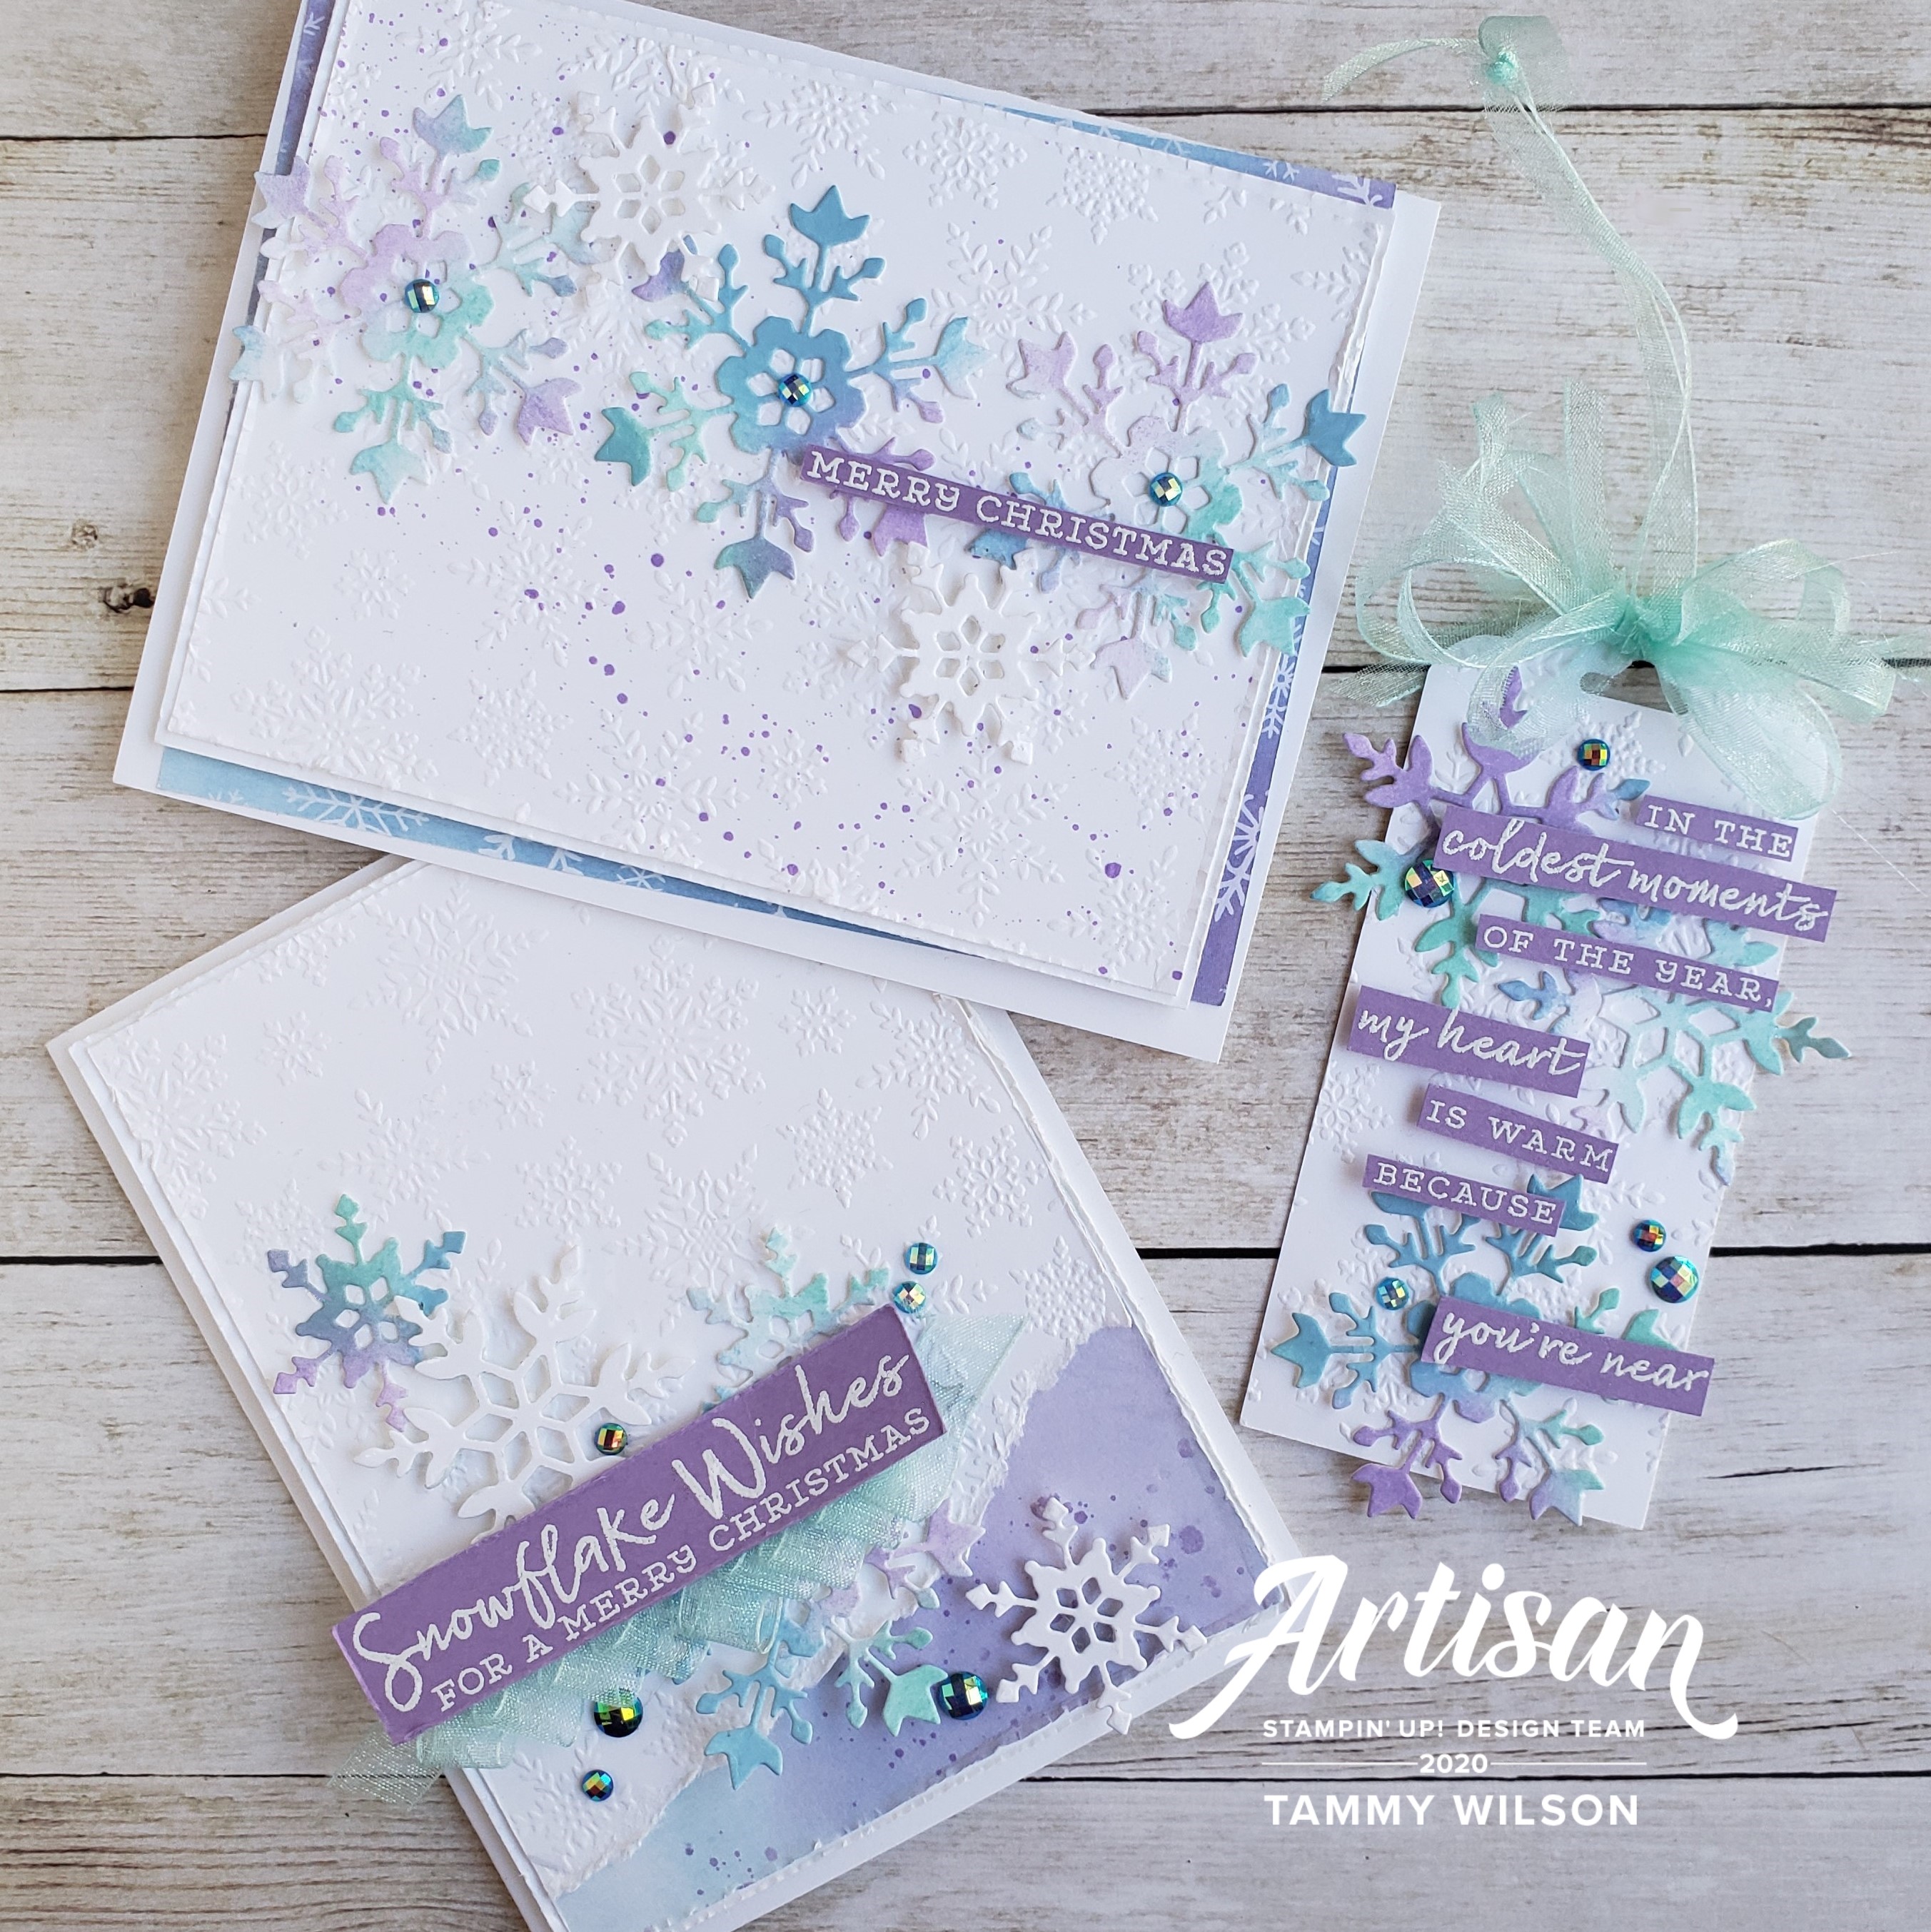
Today, I’m sharing a three projects that I created with the Snowflake Splendor Suite! I’ve also included complete instructions underneath each project, so you can scroll right to the card that suits your fancy and start creating!
Let’s start with the “Merry Christmas” card…
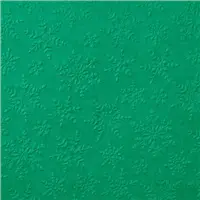
For this card, I started with some Snowflake Splendor Designer Series Paper, and adhered it to a Whisper White Thick Cardstock base. I then embossed some Whisper White Cardstock with the Winter Snow Embossing Folder, and added some speckling with my Dark Highland Heather Stampin’ Blends Marker. (To create the speckling, I “flicked” the thick end of the marker against the edge of the marker cap, and “flicked” outward toward my paper.) I also layered a slightly large piece of Whisper White Cardstock underneath, and used a few Stampin’ Dimensionals to adhered it to the card base.
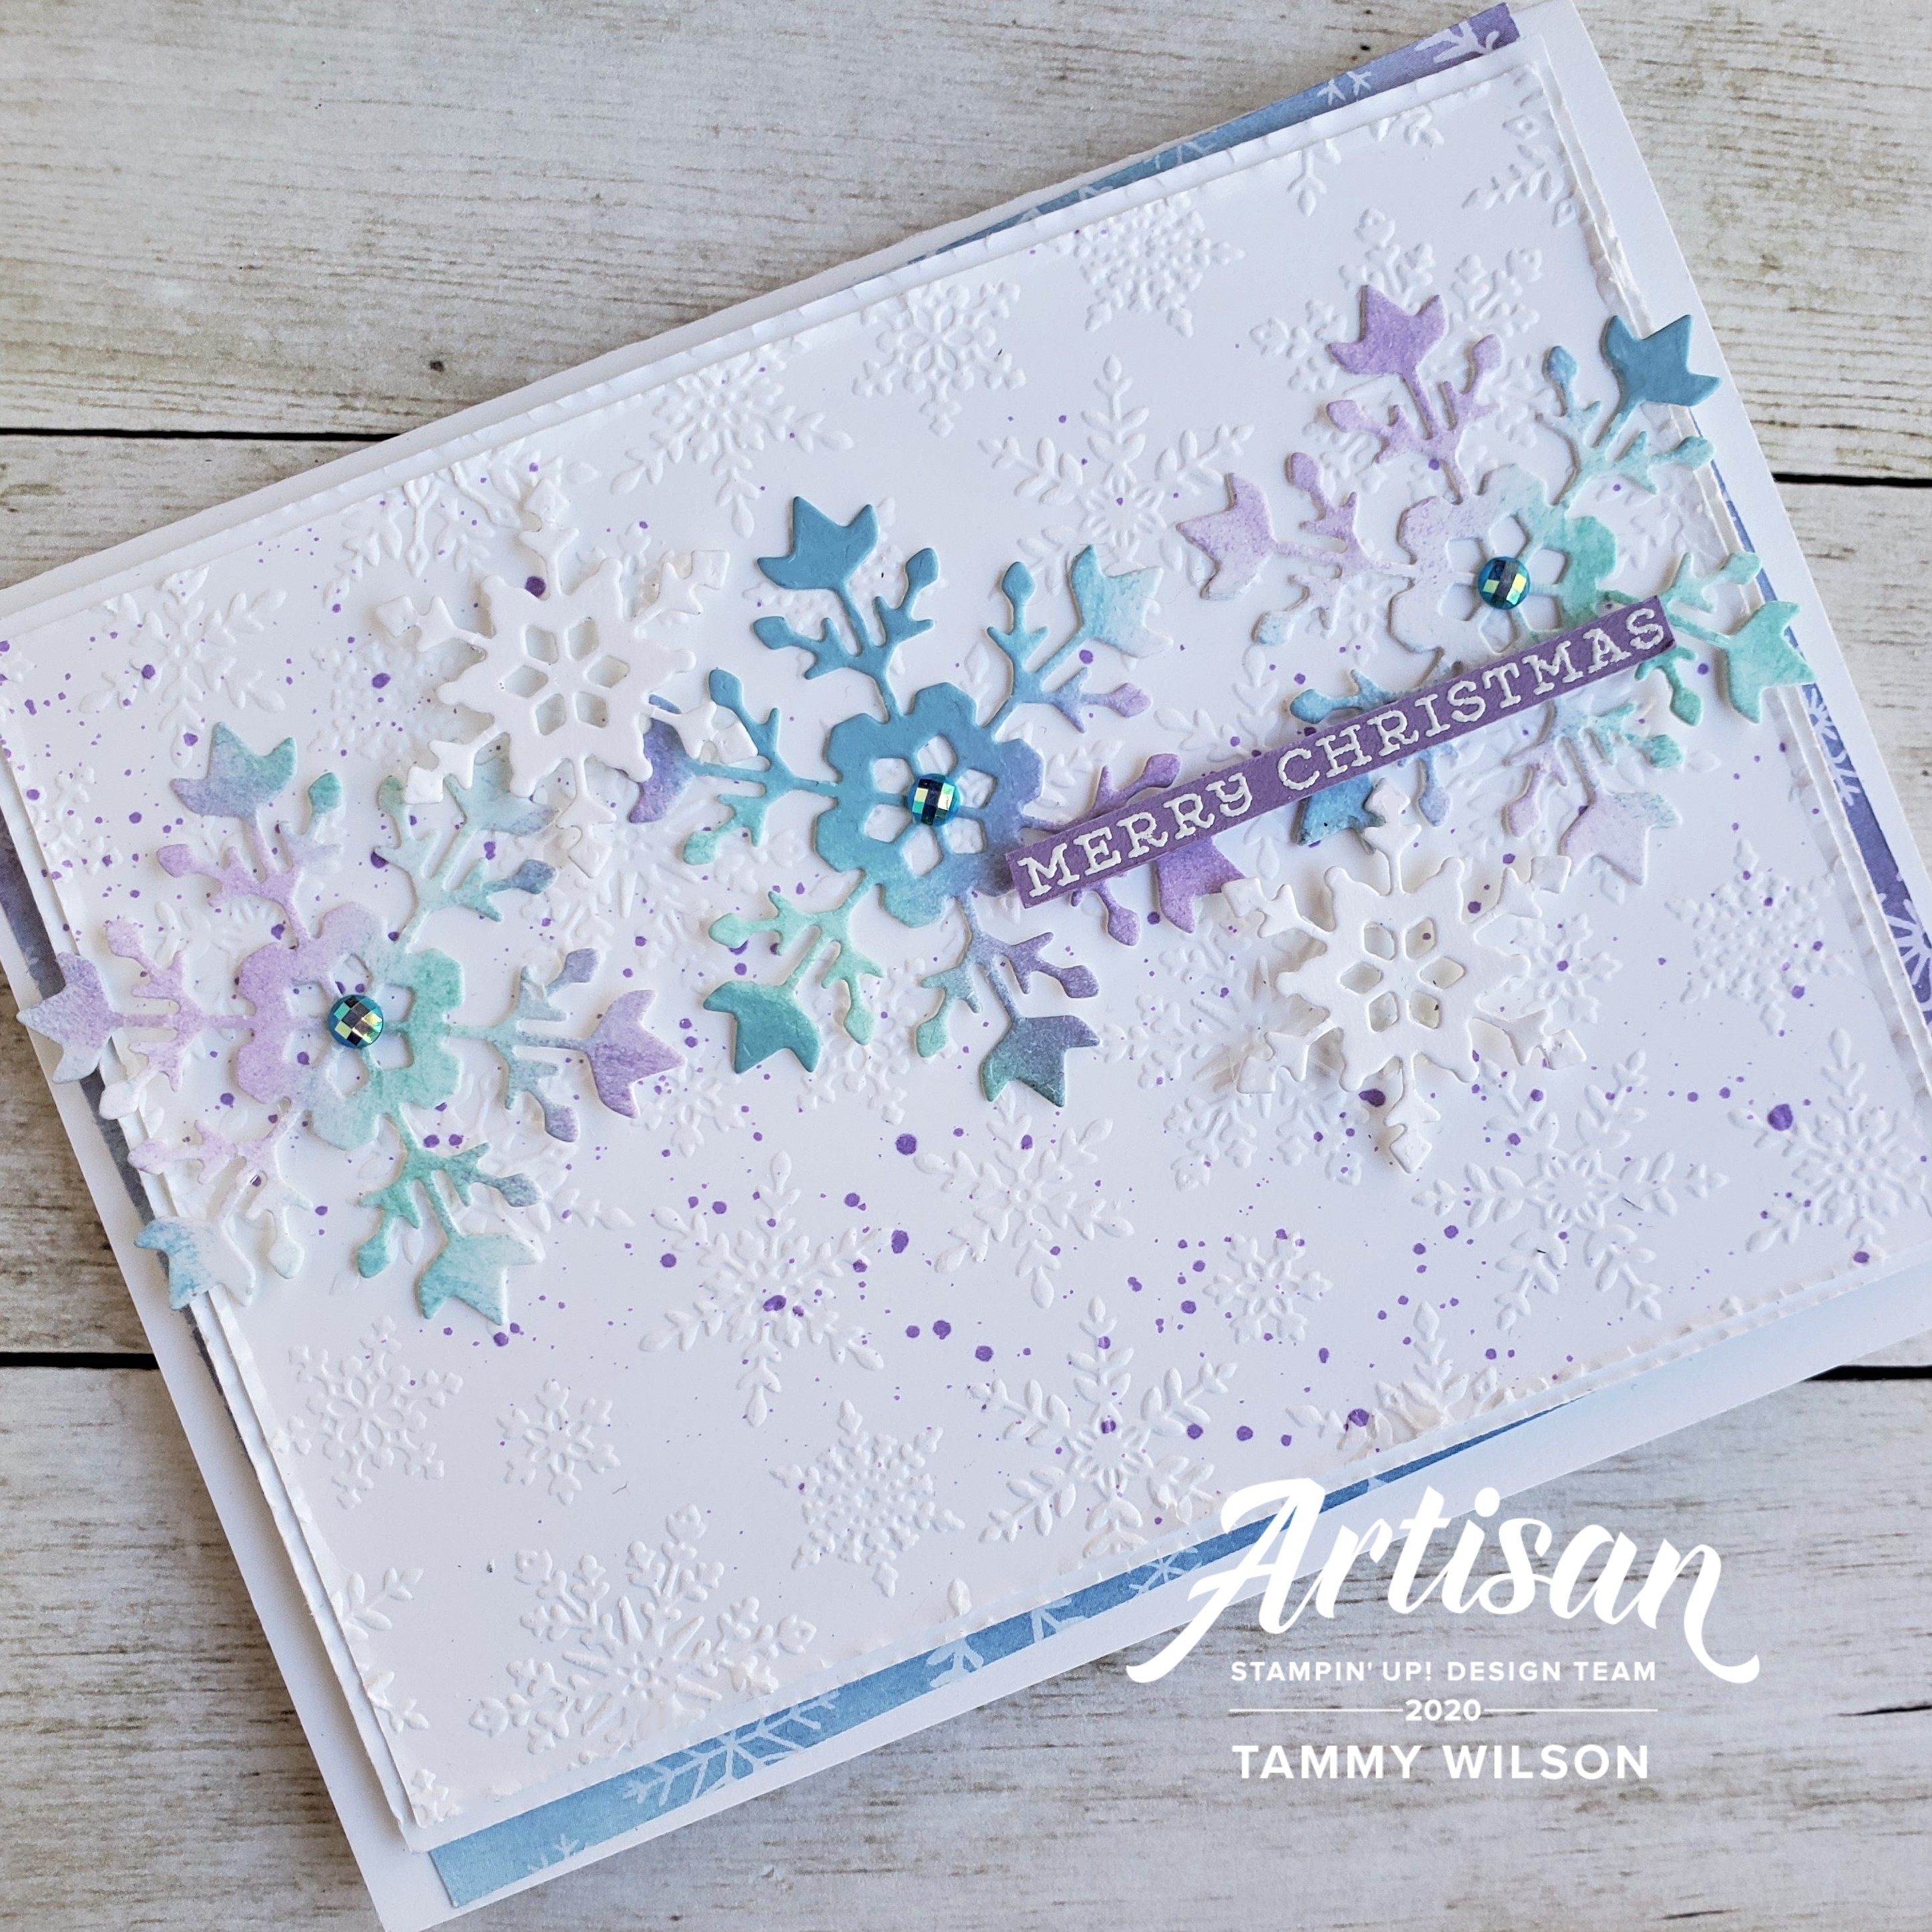
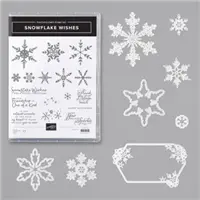
The snowflakes for my three projects were die cut with three of the snowflake dies from the Snowflake Wishes Bundle. To create the colorful paper for my snowflakes, I used three Sponge Daubers, along with Coastal Cabana, Balmy Blue, and Highland Heather…and added some color to some Whisper White Thick Cardstock. So that the the snowflakes would have a bit of a softer look, I left some “white space” on my cardstock as well.
I adhered three of my large, colorful snowflakes to card base, and added a couple of small Whisper White snowflakes (also cut out with one of the dies from the Snowflake Wishes Bundle). The sentiment (also from the Snowflake Wishes Bundle) was heat-embossed on Highland Heather Cardstock, using my Versamark Pad and White Stampin’ Emboss Powder. After I cut out the sentiment, I popped it up with a few Stampin’ Dimensionals. For a bit of bling, I added a Blue Adhesive-Backed Gem to the center of each large snowflake.
Next up is the “Snowflake Wishes” card…
For this card, I started with some Snowflake Splendor Designer Series Paper, and adhered it to a piece of Whisper White Cardstock. I then embossed some Whisper White Cardstock with the Winter Snow Embossing Folder, tore the bottom edge, layered it on top of the DSP, and used a few Stampin’ Dimensionals to adhered it to the Whisper White Thick Cardstock base. I adhered three of the colorful snowflakes, which I cut out with dies from the Snowflake Wishes Bundle. (See details above for creating the snowflakes.), I also added a couple of Whisper White snowflakes (cut out with one of the dies from the Snowflake Wishes Bundle) as well.
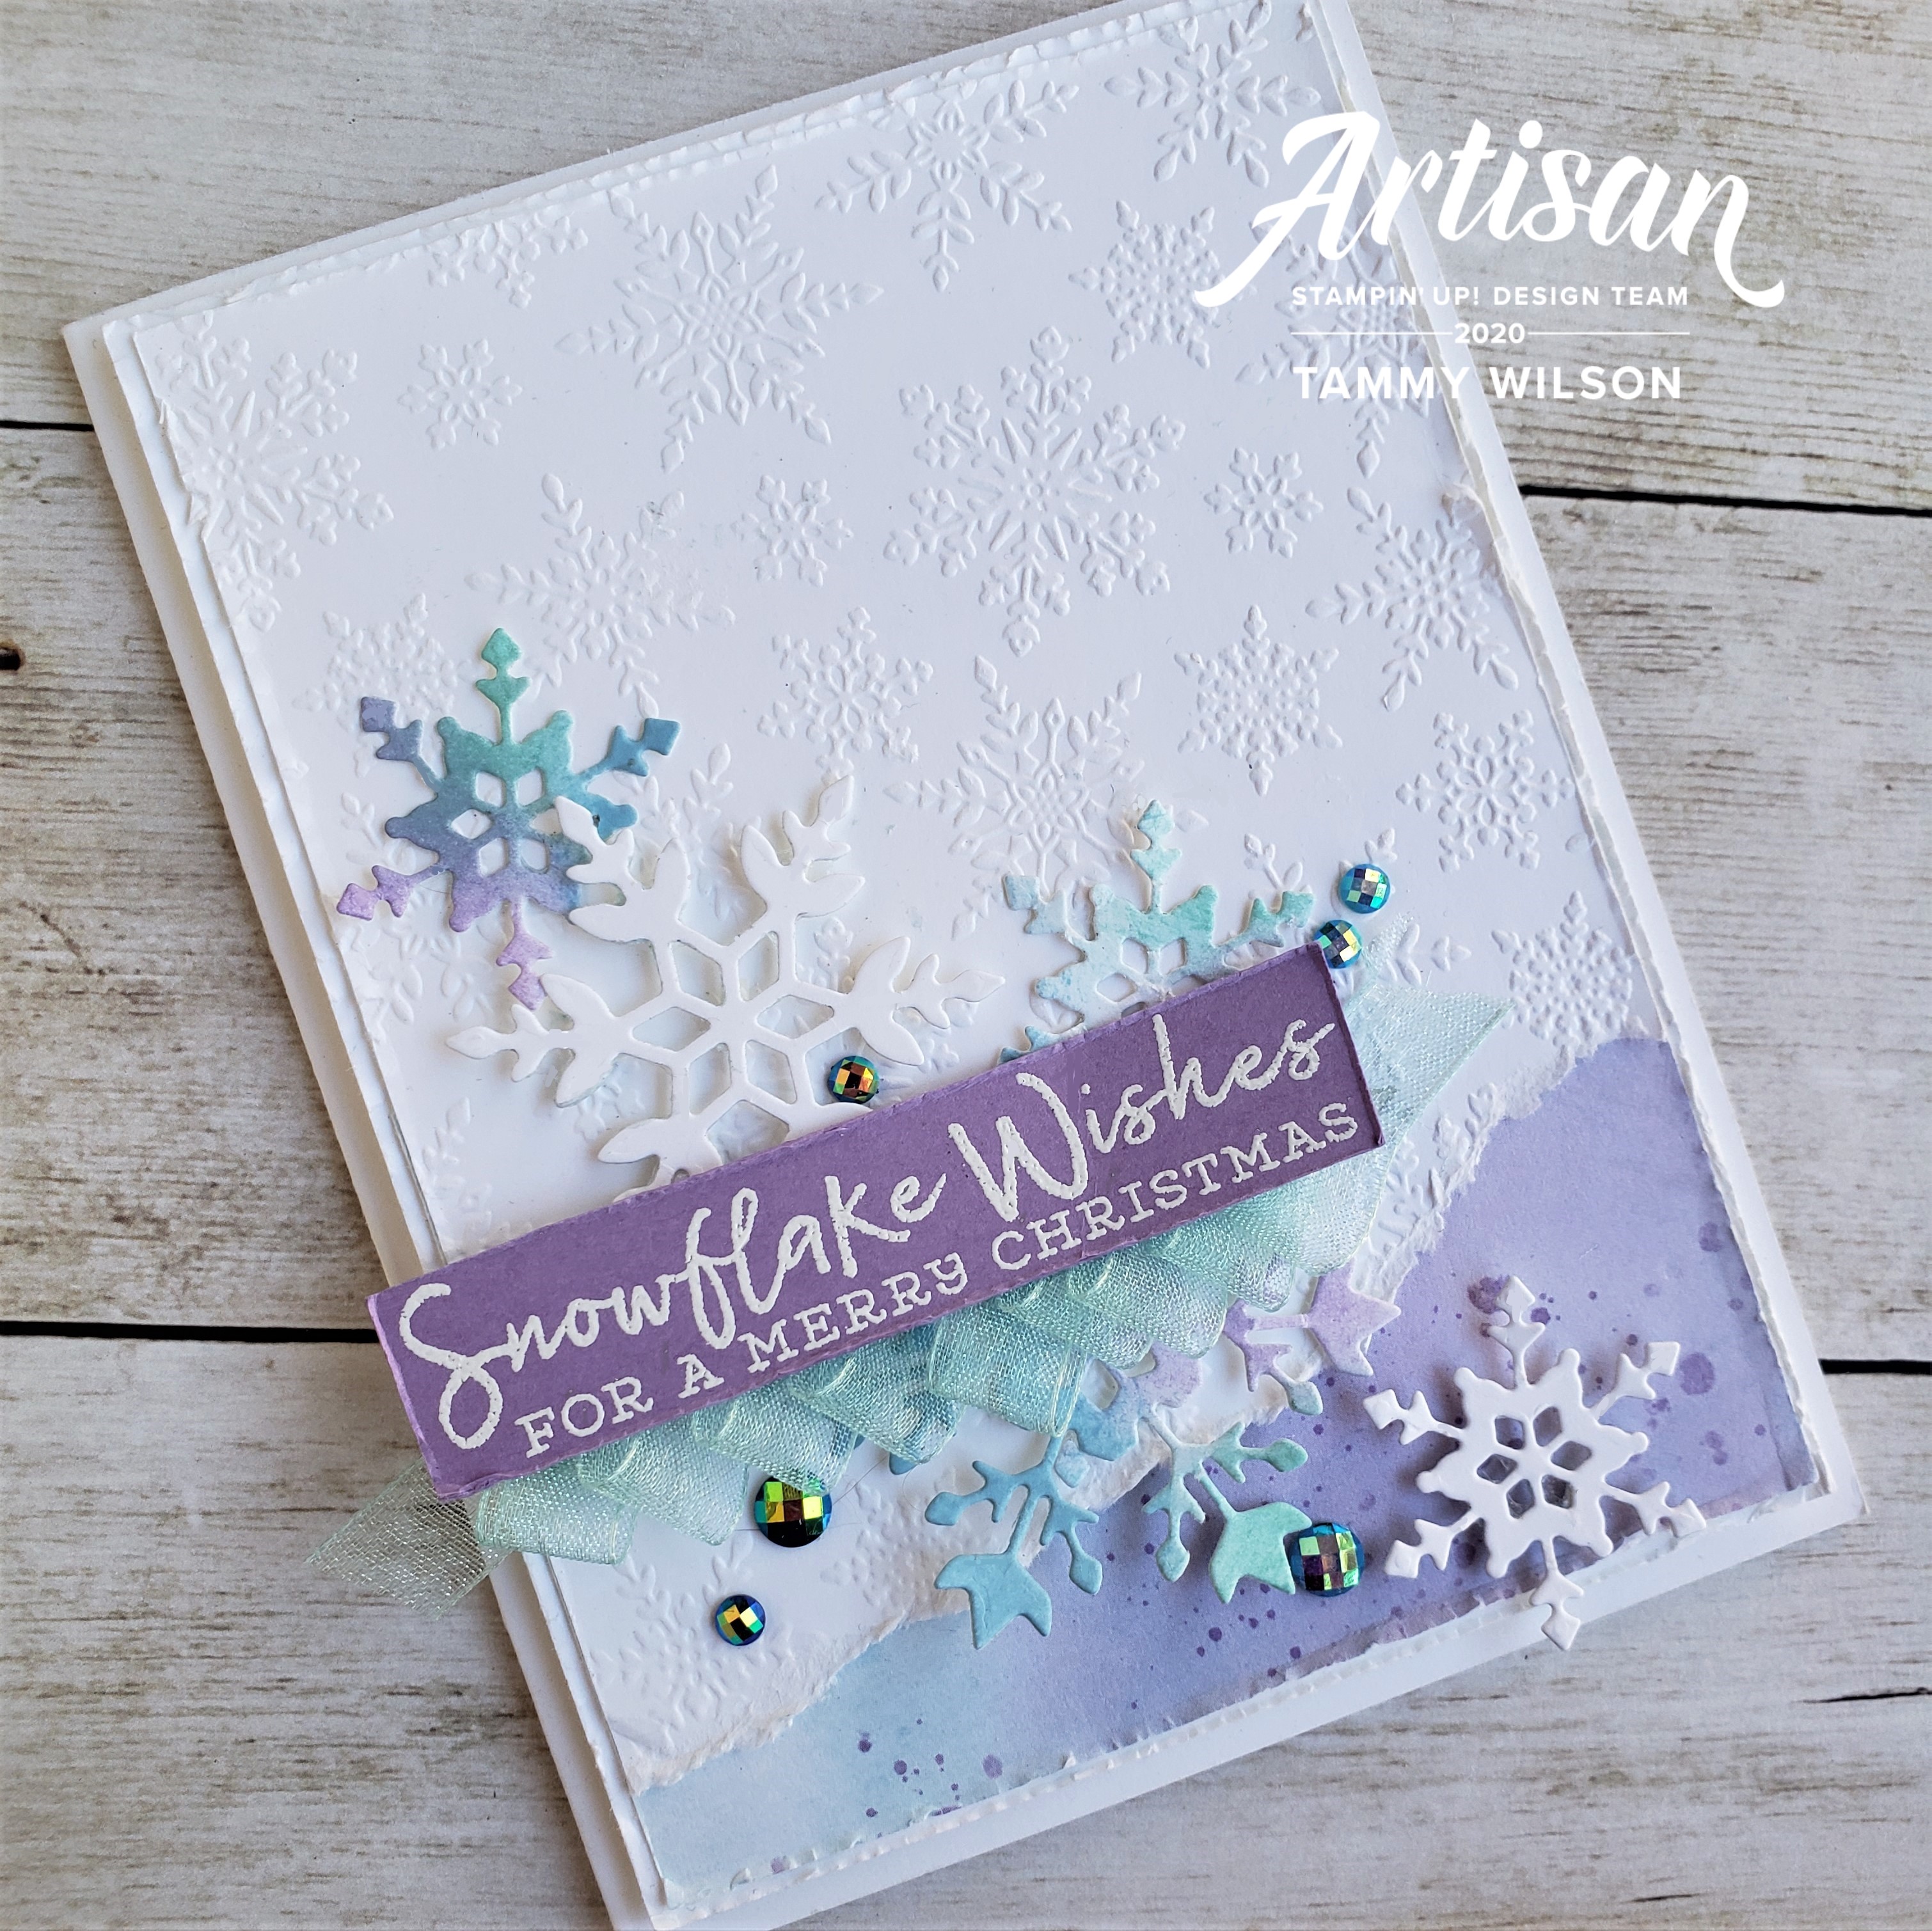
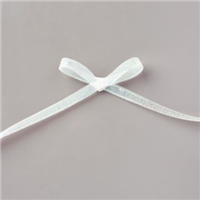
For the “ruffled” ribbon, I used some Snowflake Splendor Ribbon, colored it with my Dark Coastal Cabana Stampin’ Blends Marker, and cut in in half vertically. To create the ruffles, I added a strip of Tear & Tape Adhesive, and looped the ribbon back and forth.The sentiment (also from the Snowflake Wishes Bundle) was heat-embossed on Highland Heather Cardstock, using my Versamark Pad and White Stampin’ Emboss Powder. After I cut out the sentiment, I popped it up with a few Stampin’ Dimensionals. For a bit of bling, I added a few Blue Adhesive-Backed Gems.
Last, but certainly not least, is the holiday gift tag…
For the gift tag, I started with a strip of Whisper White Cardstock, embossed it with the Winter Snow Embossing Folder, and punched the top of the tag with the Scalloped Tag Topper Punch. I adhered three of the colorful snowflakes, which I cut out with dies from the Snowflake Wishes Bundle. (See details above for creating the snowflakes.)
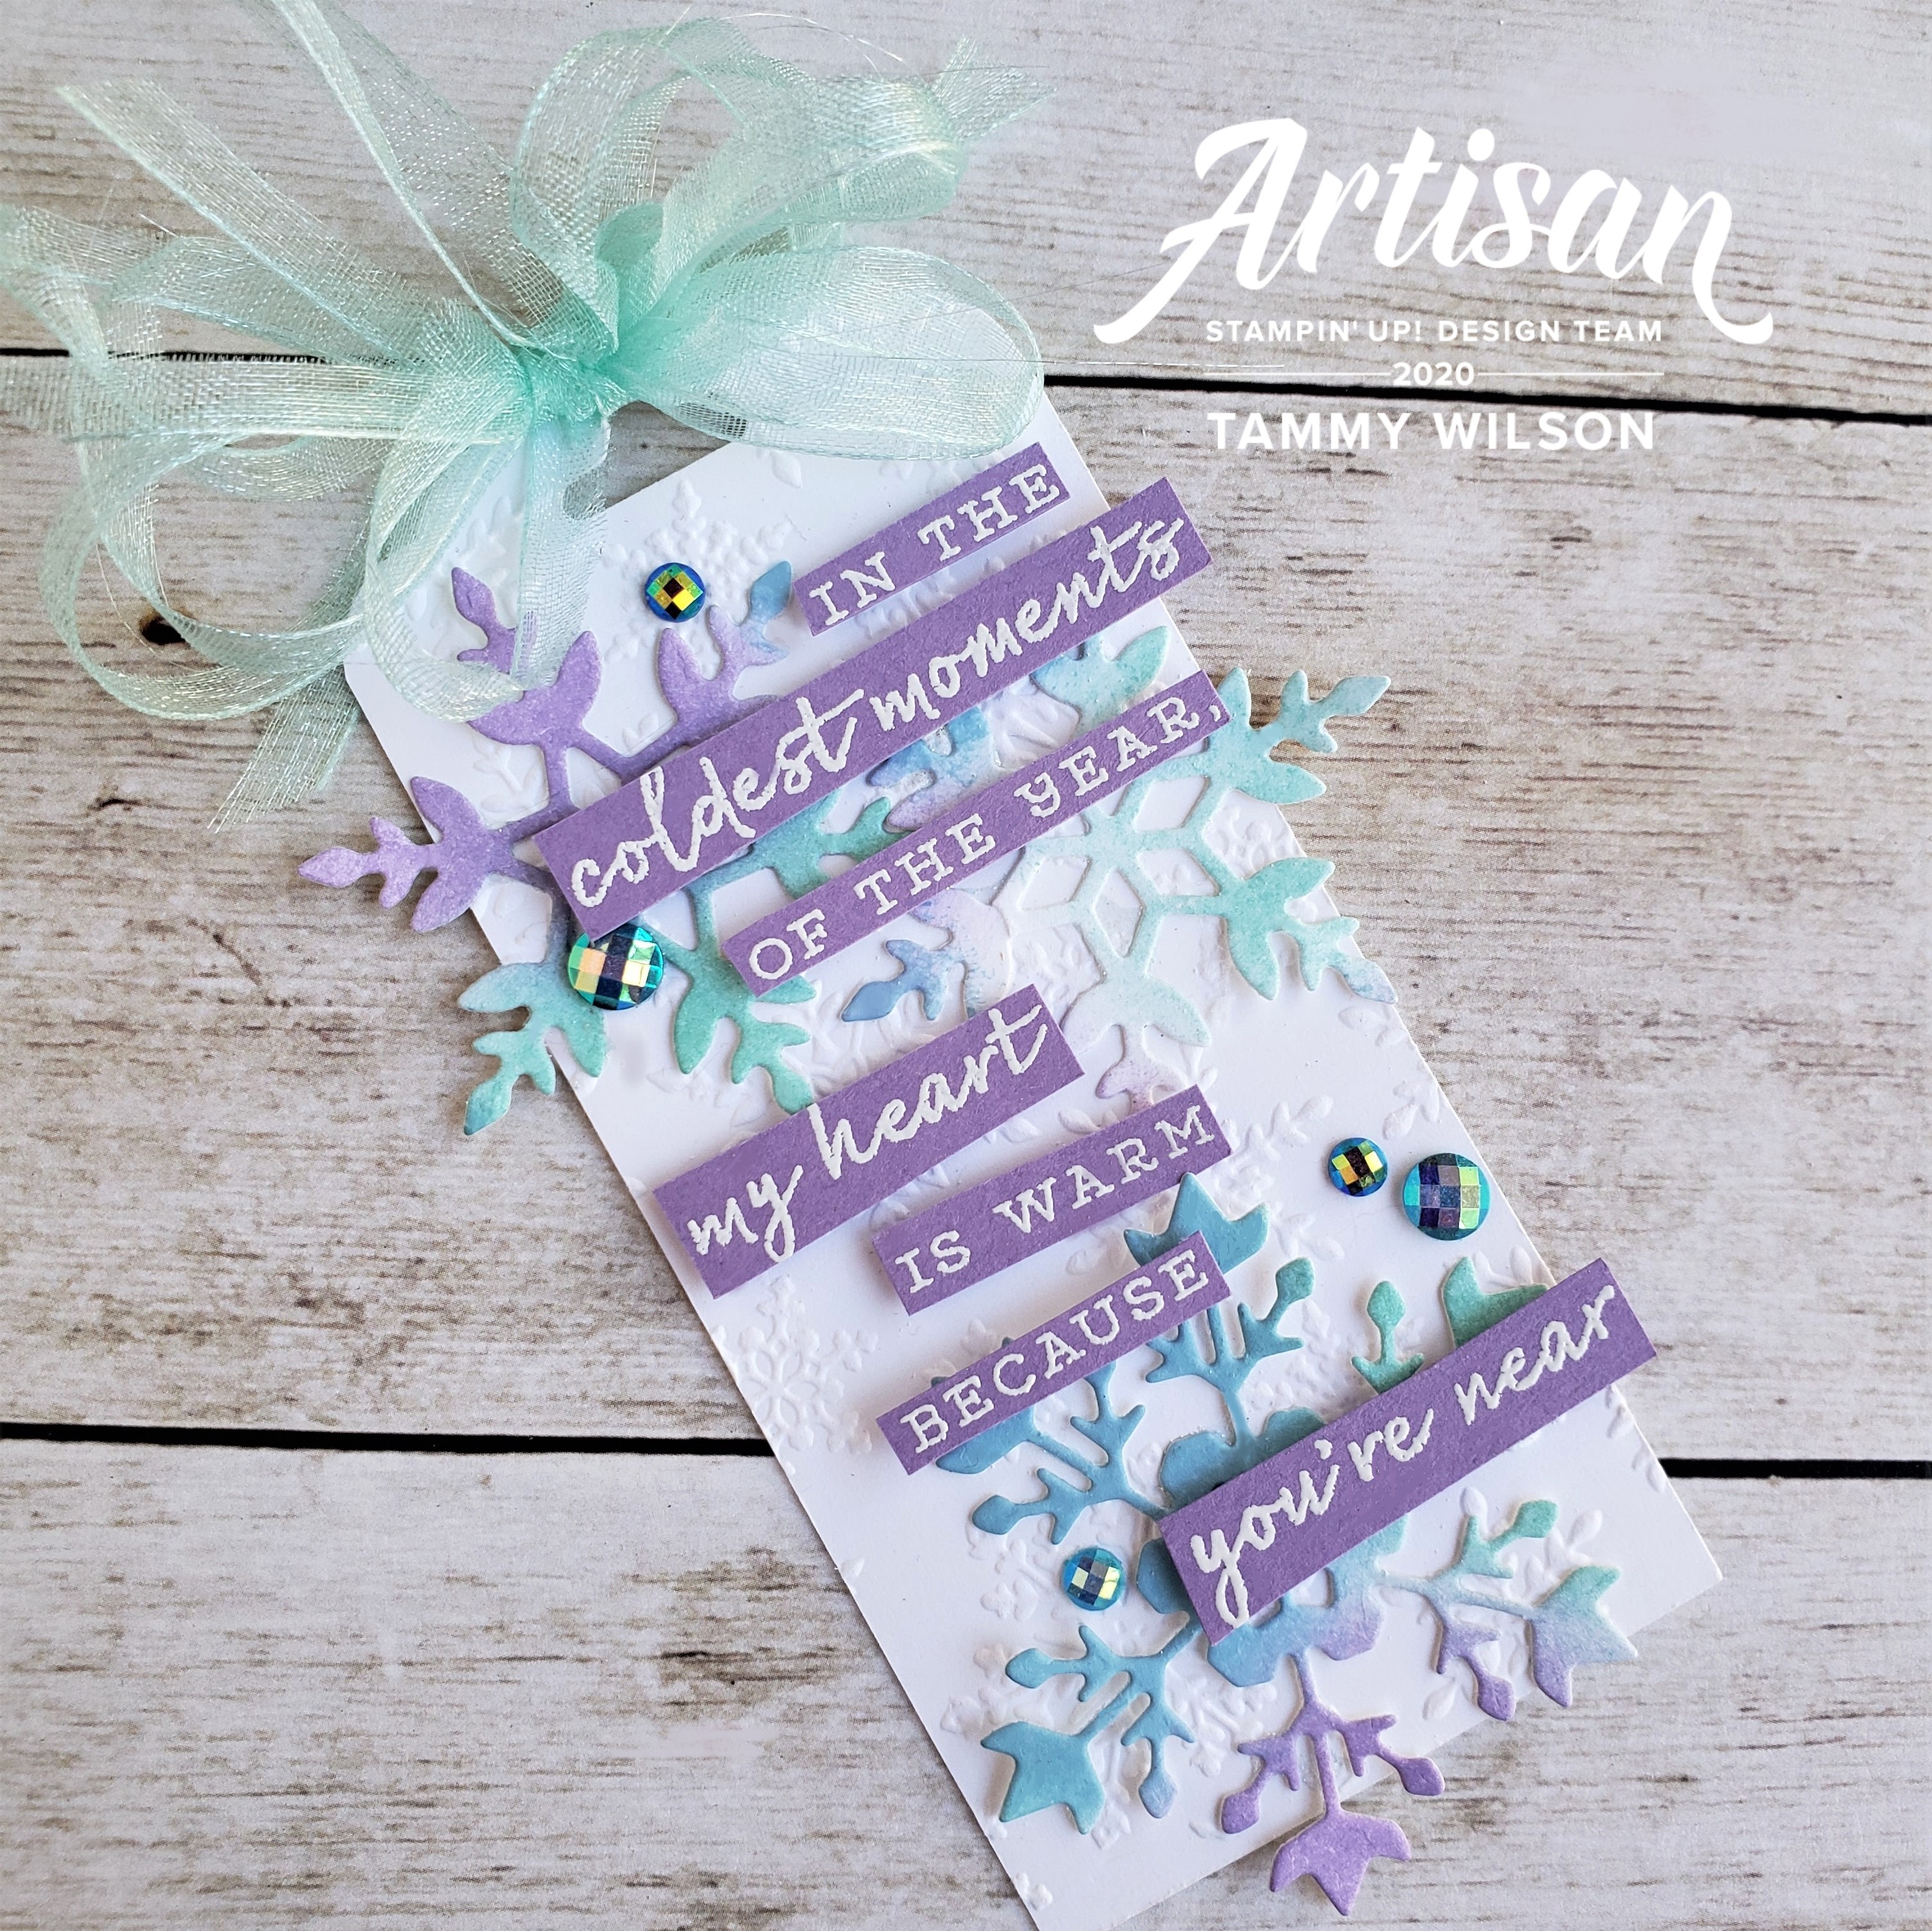
The sentiment (also from the Snowflake Wishes Bundle) was heat-embossed on Highland Heather Cardstock, using my Versamark Pad and White Stampin’ Emboss Powder. After I cut out the sentiment, I popped it the words with a few Mini Stampin’ Dimensionals. At the top of the tag, I used some Snowflake Splendor Ribbon, which I colored with my Dark Coastal Cabana Stampin’ Blends Marker, and cut it in half vertically. For a bit of bling, I added a few Blue Adhesive-Backed Gems.
Up next on our blog hop is the incredibly talented Zsuzsanna Balazs, so be sure to head on over and check out the amazing projects that she and the the rest of the Artisan Design Team team have in store by clicking on the button below!

Stampin’ Up! 2020 Artisan Design Team
The 2020-2021 catalog is sooooo jam-packed with soooooo many amazing stamps sets, accessories, and more….and I know your wish list will be overflowing before you know it!


To place an order, click on one of the supply items below:


All your projects are beautiful but your tag is something else! WOW! Love the bow and the layering of the sentiment like this is just brilliant
LikeLike
Wow! I love the splash of purple on your cards and I don’t even like purple as a color that much, so well done!! Your projects are gorgeous.
LikeLike
So pretty!
LikeLike
Beautiful projects Tammy!!
LikeLike