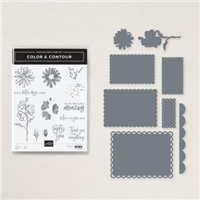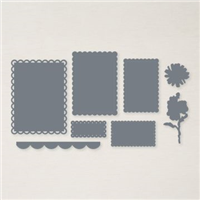
05.26.2021…..Happy Wednesday, everyone! I’m so excited to share my May monthly showcase projects for the Stampin’ Up! 2021 Artisan Design Team! For this month’s projects, I was asked to use the Color & Contour Bundle (Color & Contour Stamp Set + Scalloped Contours Dies), from the Stampin’ Up! 2021-2022 Annual Catalog.
There have also been a few changes to the way the Artisan Design Team is sharing projects this year. The team has been divided into three groups, and each group is assigned a different collection of products to create with. This means an even greater variety of projects and inspiration. And…instead of the monthly blog hops, the team will have a greater presence on the Stampin’ Up! Corporate Facebook Page and their Instagram account as well.
Be sure check out the rest of the team’s fabulous creations on the Stampin’ Up! Corporate Facebook Page at : https://www.facebook.com/stampinup
For even more inspiration, tips and tricks, you’ll also want to check out the Artisan Design Team at: https://www.instagram.com/stampinup/

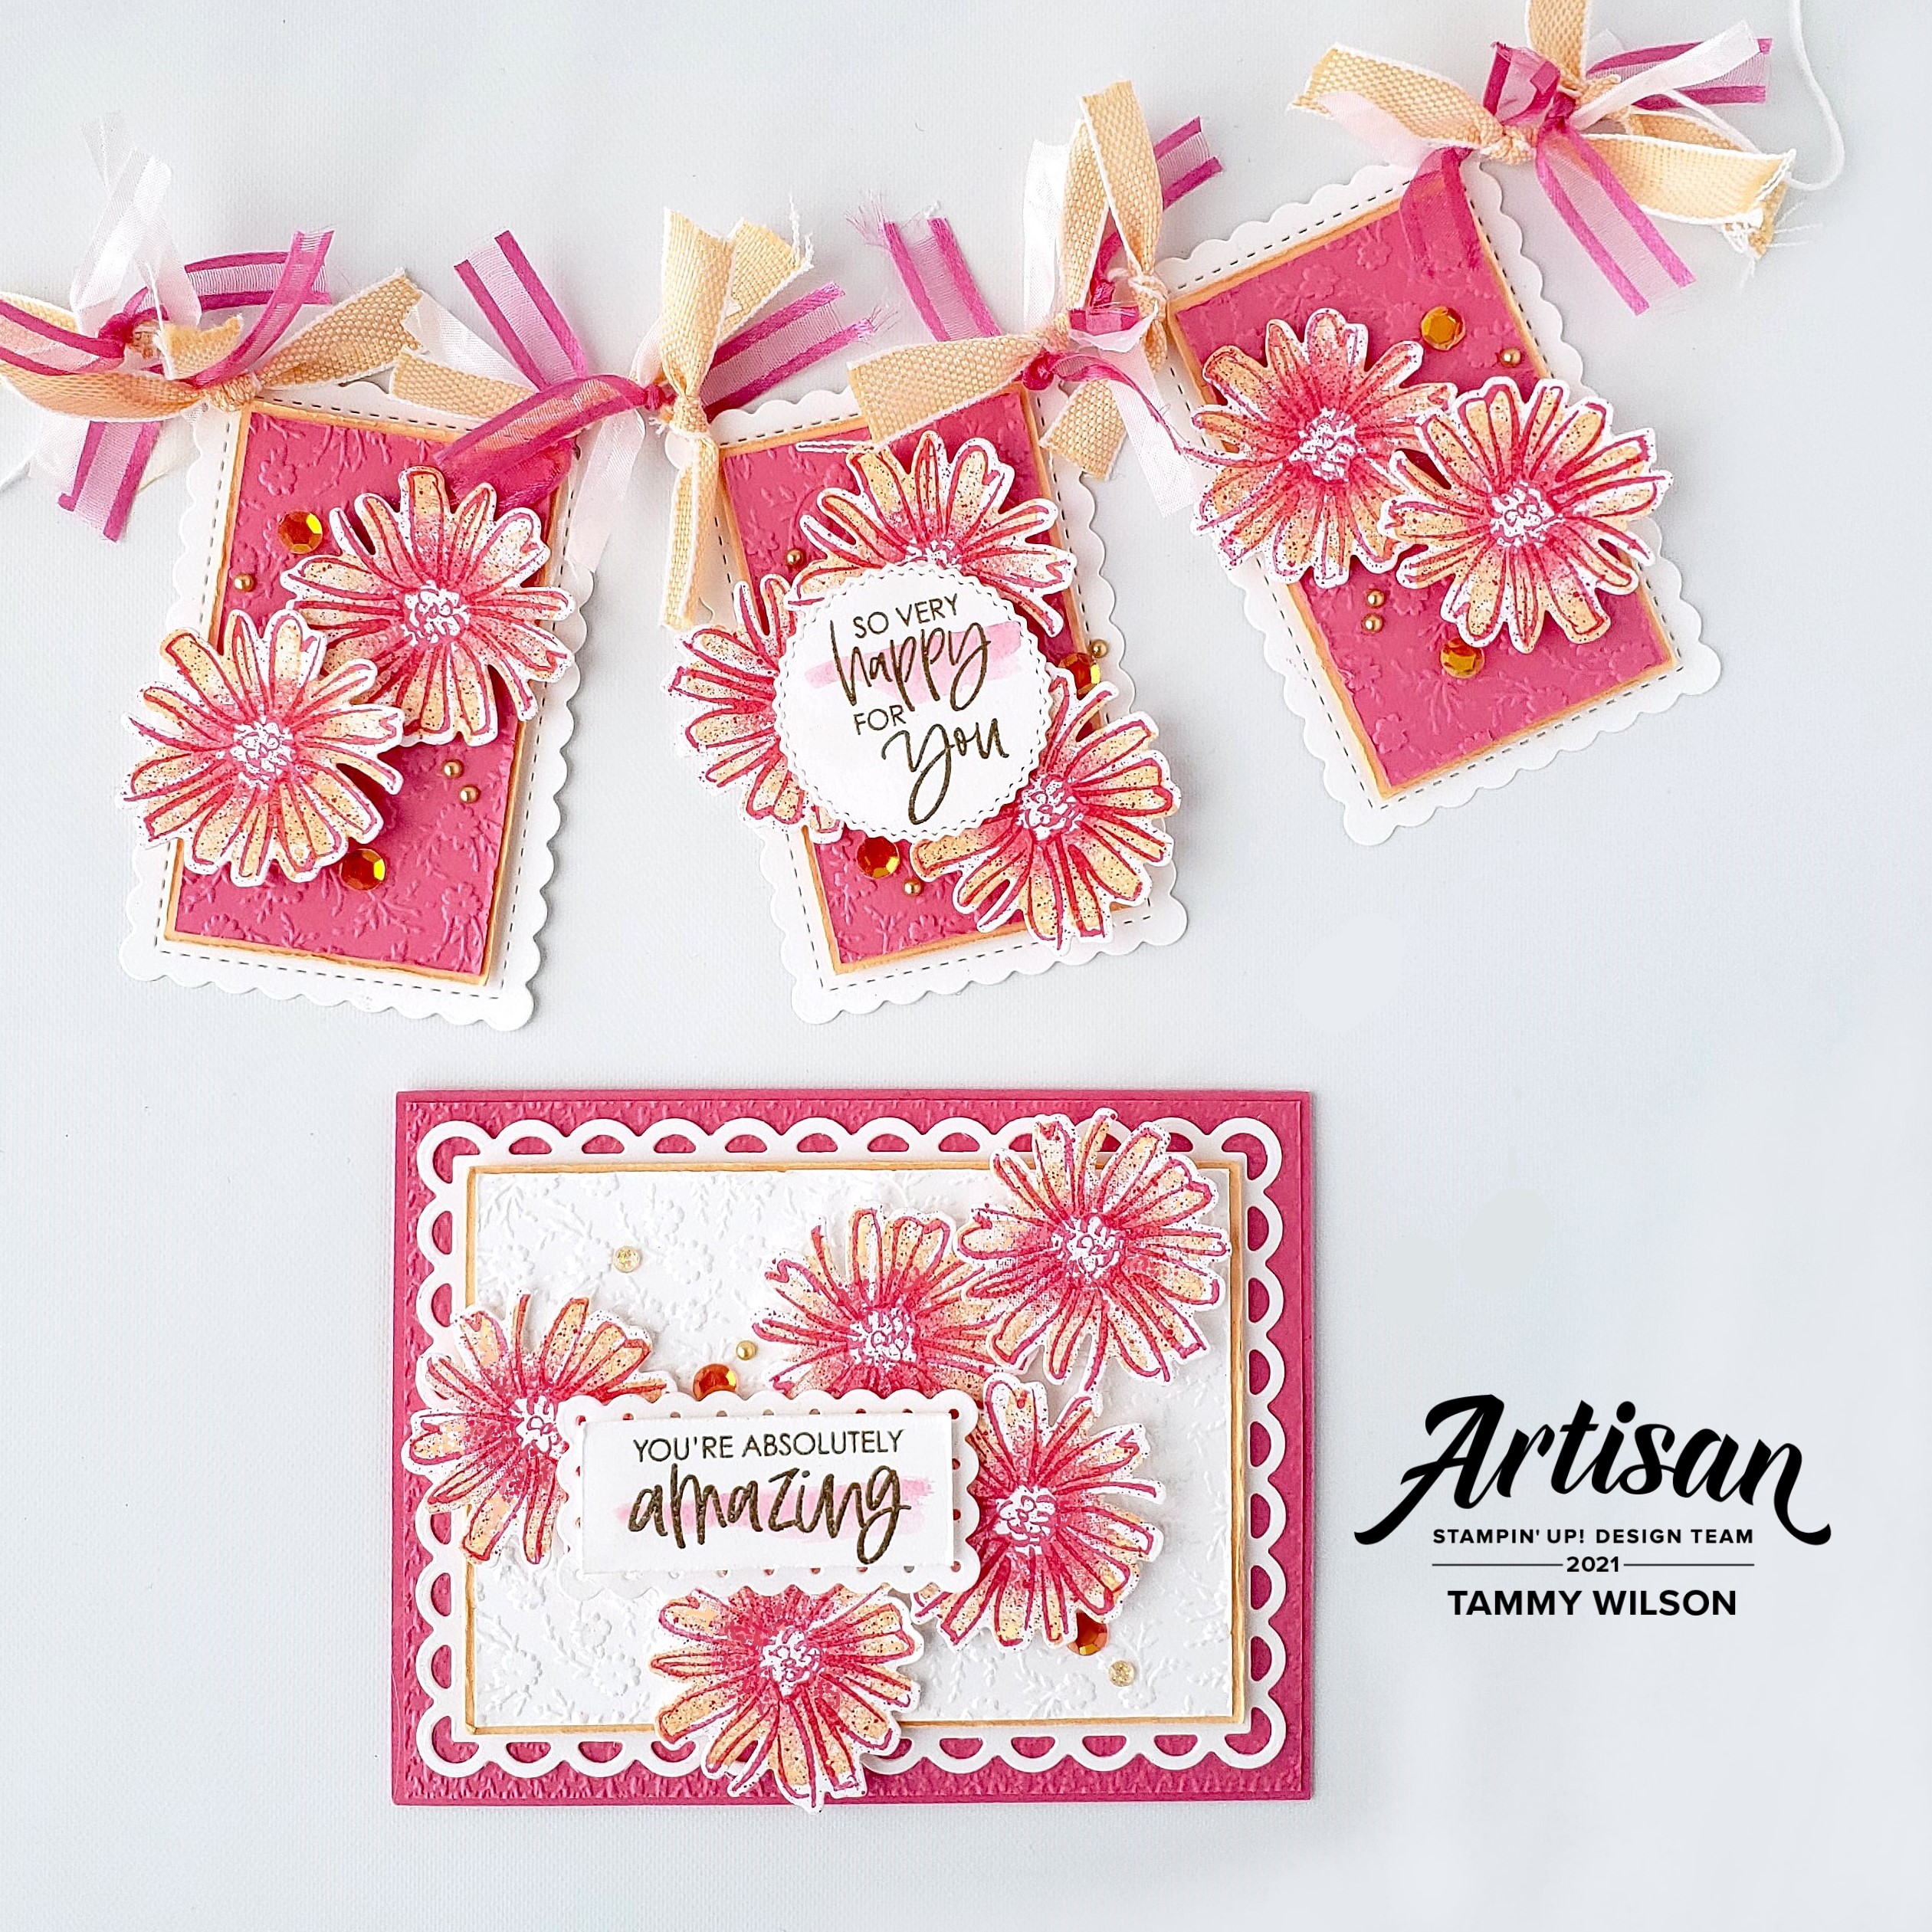
Today, I’m sharing two projects that I created with the Color & Contour Bundle. I created a banner (with some fun ribbon embellisment) and a standard size (4-1/4″ x 5-1/2″) card. I’ve also included complete instructions underneath each project, so you can scroll right to the project that suits your fancy and start creating!
Let’s start with the banner…

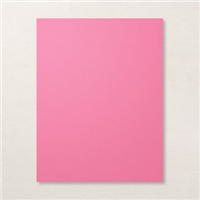
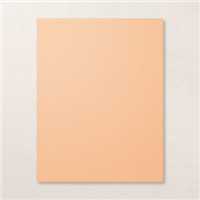
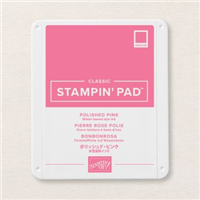
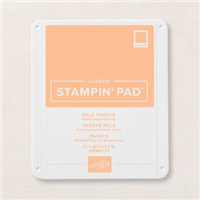
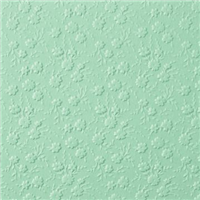
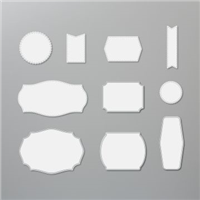
For each of the three “flags”, I started with some Basic White Thick Cardstock, used one of the dies from the Color & Contour Bundle to cut out a scalloped rectangle. I then embossed some Polished Pink Cardstock with the Ornate Flowers 3D Embossing Folder, layered some Pale Papaya Cardstock underneath, and popped it up with a few Stampin’ Dimensionals.
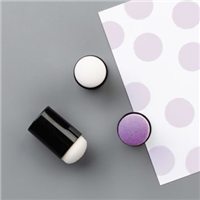
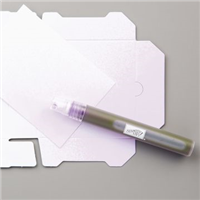
To create the flowers, I stamped each “outline” flower image in Polished Pink. To fill in the flower, I used a couple of Sponge Daubers, along with Polished Pink and Pale Papaya, to add some color the “solid” flower image, spritz the image just a bit with a Stampin’ Spritzer, and then stamped it on top of the “outline” flower image. (In between stamping each “solid” flower image, I quickly wiped off the stamp with a paper towel.)
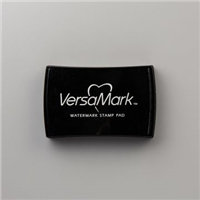
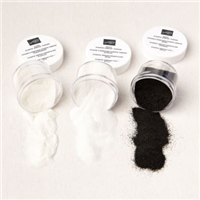
The sentiment was heat-embossed on Basic White Thick Cardstock, using my Versamark Pad and Gold Stampin’ Emboss Powder. I then used a Water Painter to add a quick wash of Polished Pink across part of the sentiment. Before I popped it up with a couple of Stampin’ Dimensionals, I cut it out the sentiment with one of the Tasteful Labels Dies.
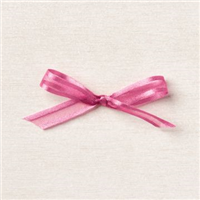
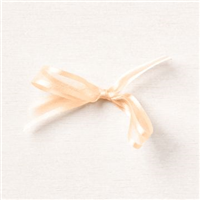
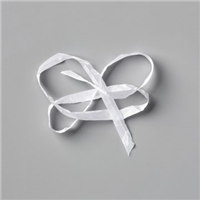
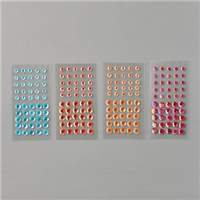
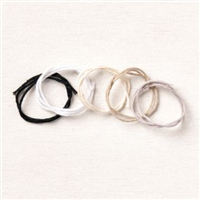
To attach each of the “flags” together, I punch a tiny hole in each of the upper corners, and add some White Baker’s Twine. For the ribbon embellishment, I added small strips of Polished Pink Open Weave Ribbon, Pale Papaya & White Ribbon, and White Crinkled Seam Binding Ribbon. For a bit of bling, I sprinkled on Artistry Blooms Sequins and gold Metallic Pearls.
Next up is my card…
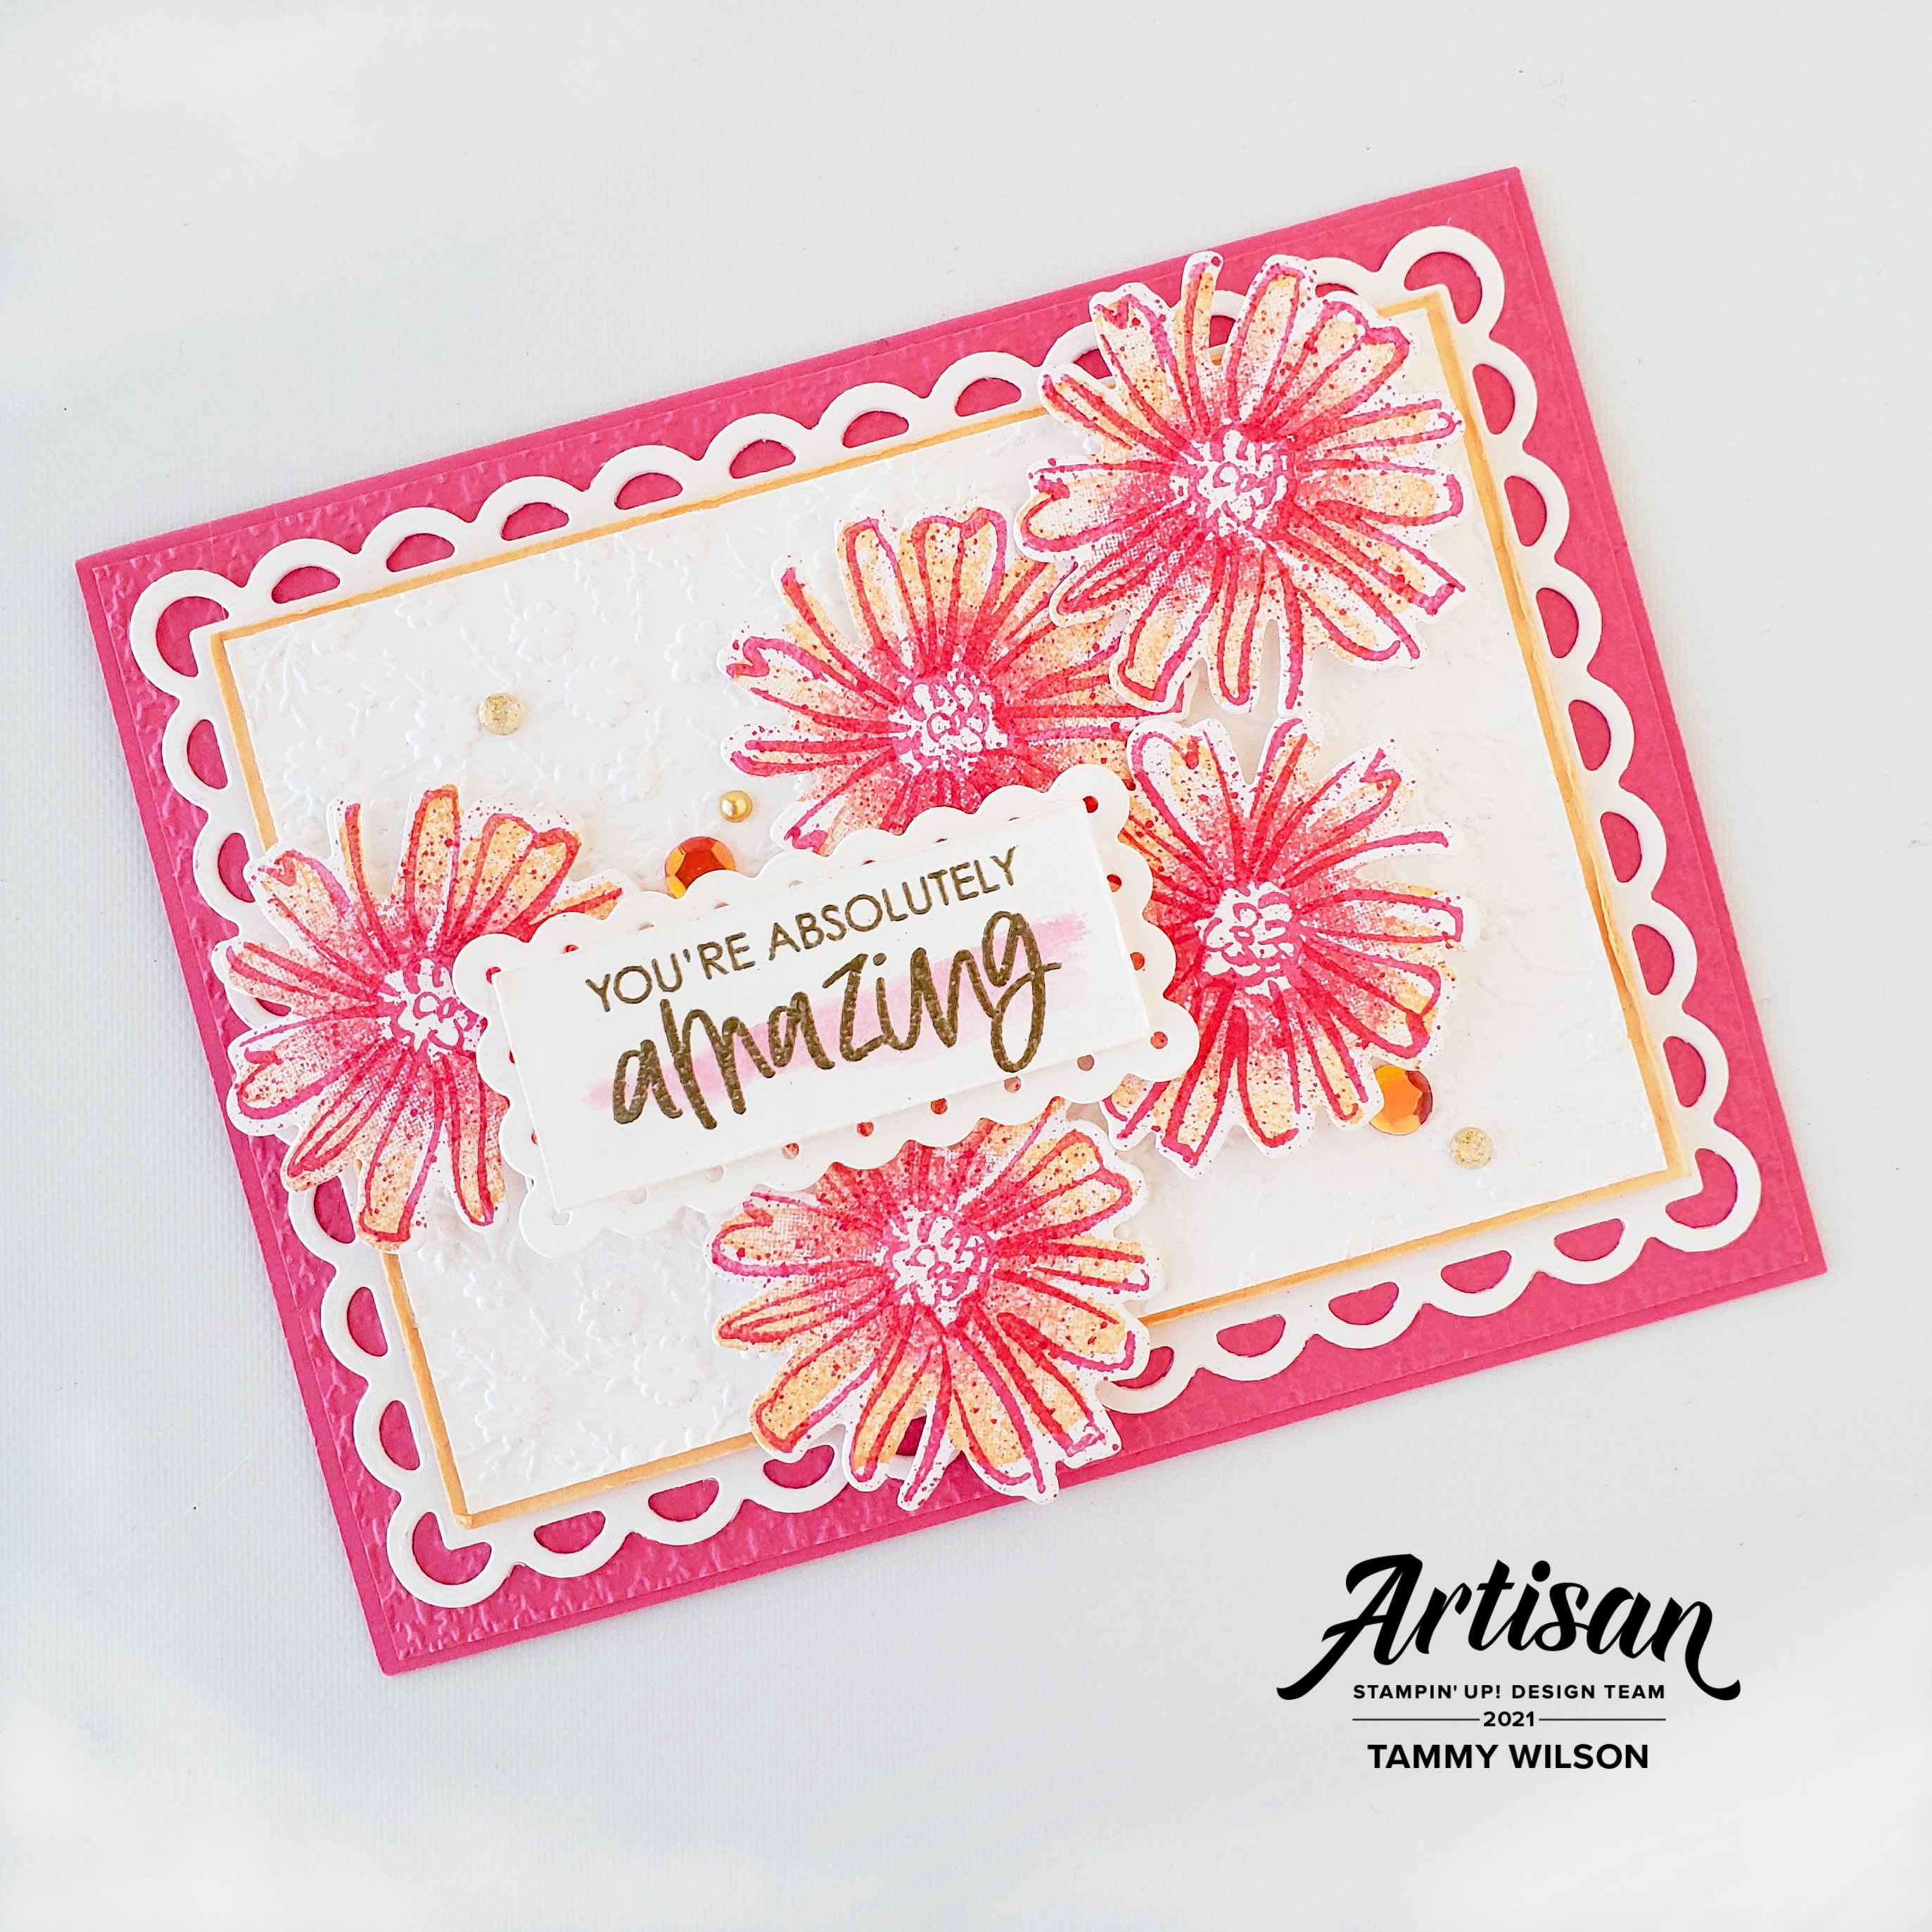
I started with some Polished Pink Cardstock, embossed it with the Ornate Flowers 3D Embossing Folder, and adhered it to a Polished Pink Cardstock base. On top of that, I added a Basic White Thick Cardstock scalloped rectangle, using one of the dies from the Color & Contour Bundle. I then embossed another piece of Basic White Thick Cardstock with the Ornate Flowers 3D Embossing Folder, layered some Pale Papaya Cardstock underneath, and popped it up with a few Stampin’ Dimensionals.
To create the flowers, I stamped each “outline” flower image in Polished Pink. To fill in the flower, I used a couple of Sponge Daubers, along with Polished Pink and Pale Papaya, to add some color the “solid” flower image, spritz the image just a bit with a Stampin’ Spritzer, and then stamped it on top of the “outline” flower image. (In between stamping each “solid” flower image, I quickly wiped off the stamp with a paper towel.)
The sentiment was heat-embossed on Basic White Thick Cardstock, using my Versamark Pad and Gold Stampin’ Emboss Powder. I then used a Water Painter to add a quick wash of Polished Pink across part of the sentiment. Before I popped it up with a couple of Stampin’ Dimensionals, I cut it out the sentiment with one of the Tasteful Labels Dies.
To attach each of the “flags” together, I punch a tiny hole in each of the upper corners, and add some White Baker’s Twine. For the ribbon embellishment, I added small strips of Polished Pink Open Weave Ribbon, Pale Papaya & White Ribbon, and White Crinkled Seam Binding Ribbon. For a bit of bling, I sprinkled on Artistry Blooms Sequins and gold Metallic Pearls.
Wishing you creativity always,


Click one of the catalogs above, or one of the supply items below, to place an order today!