
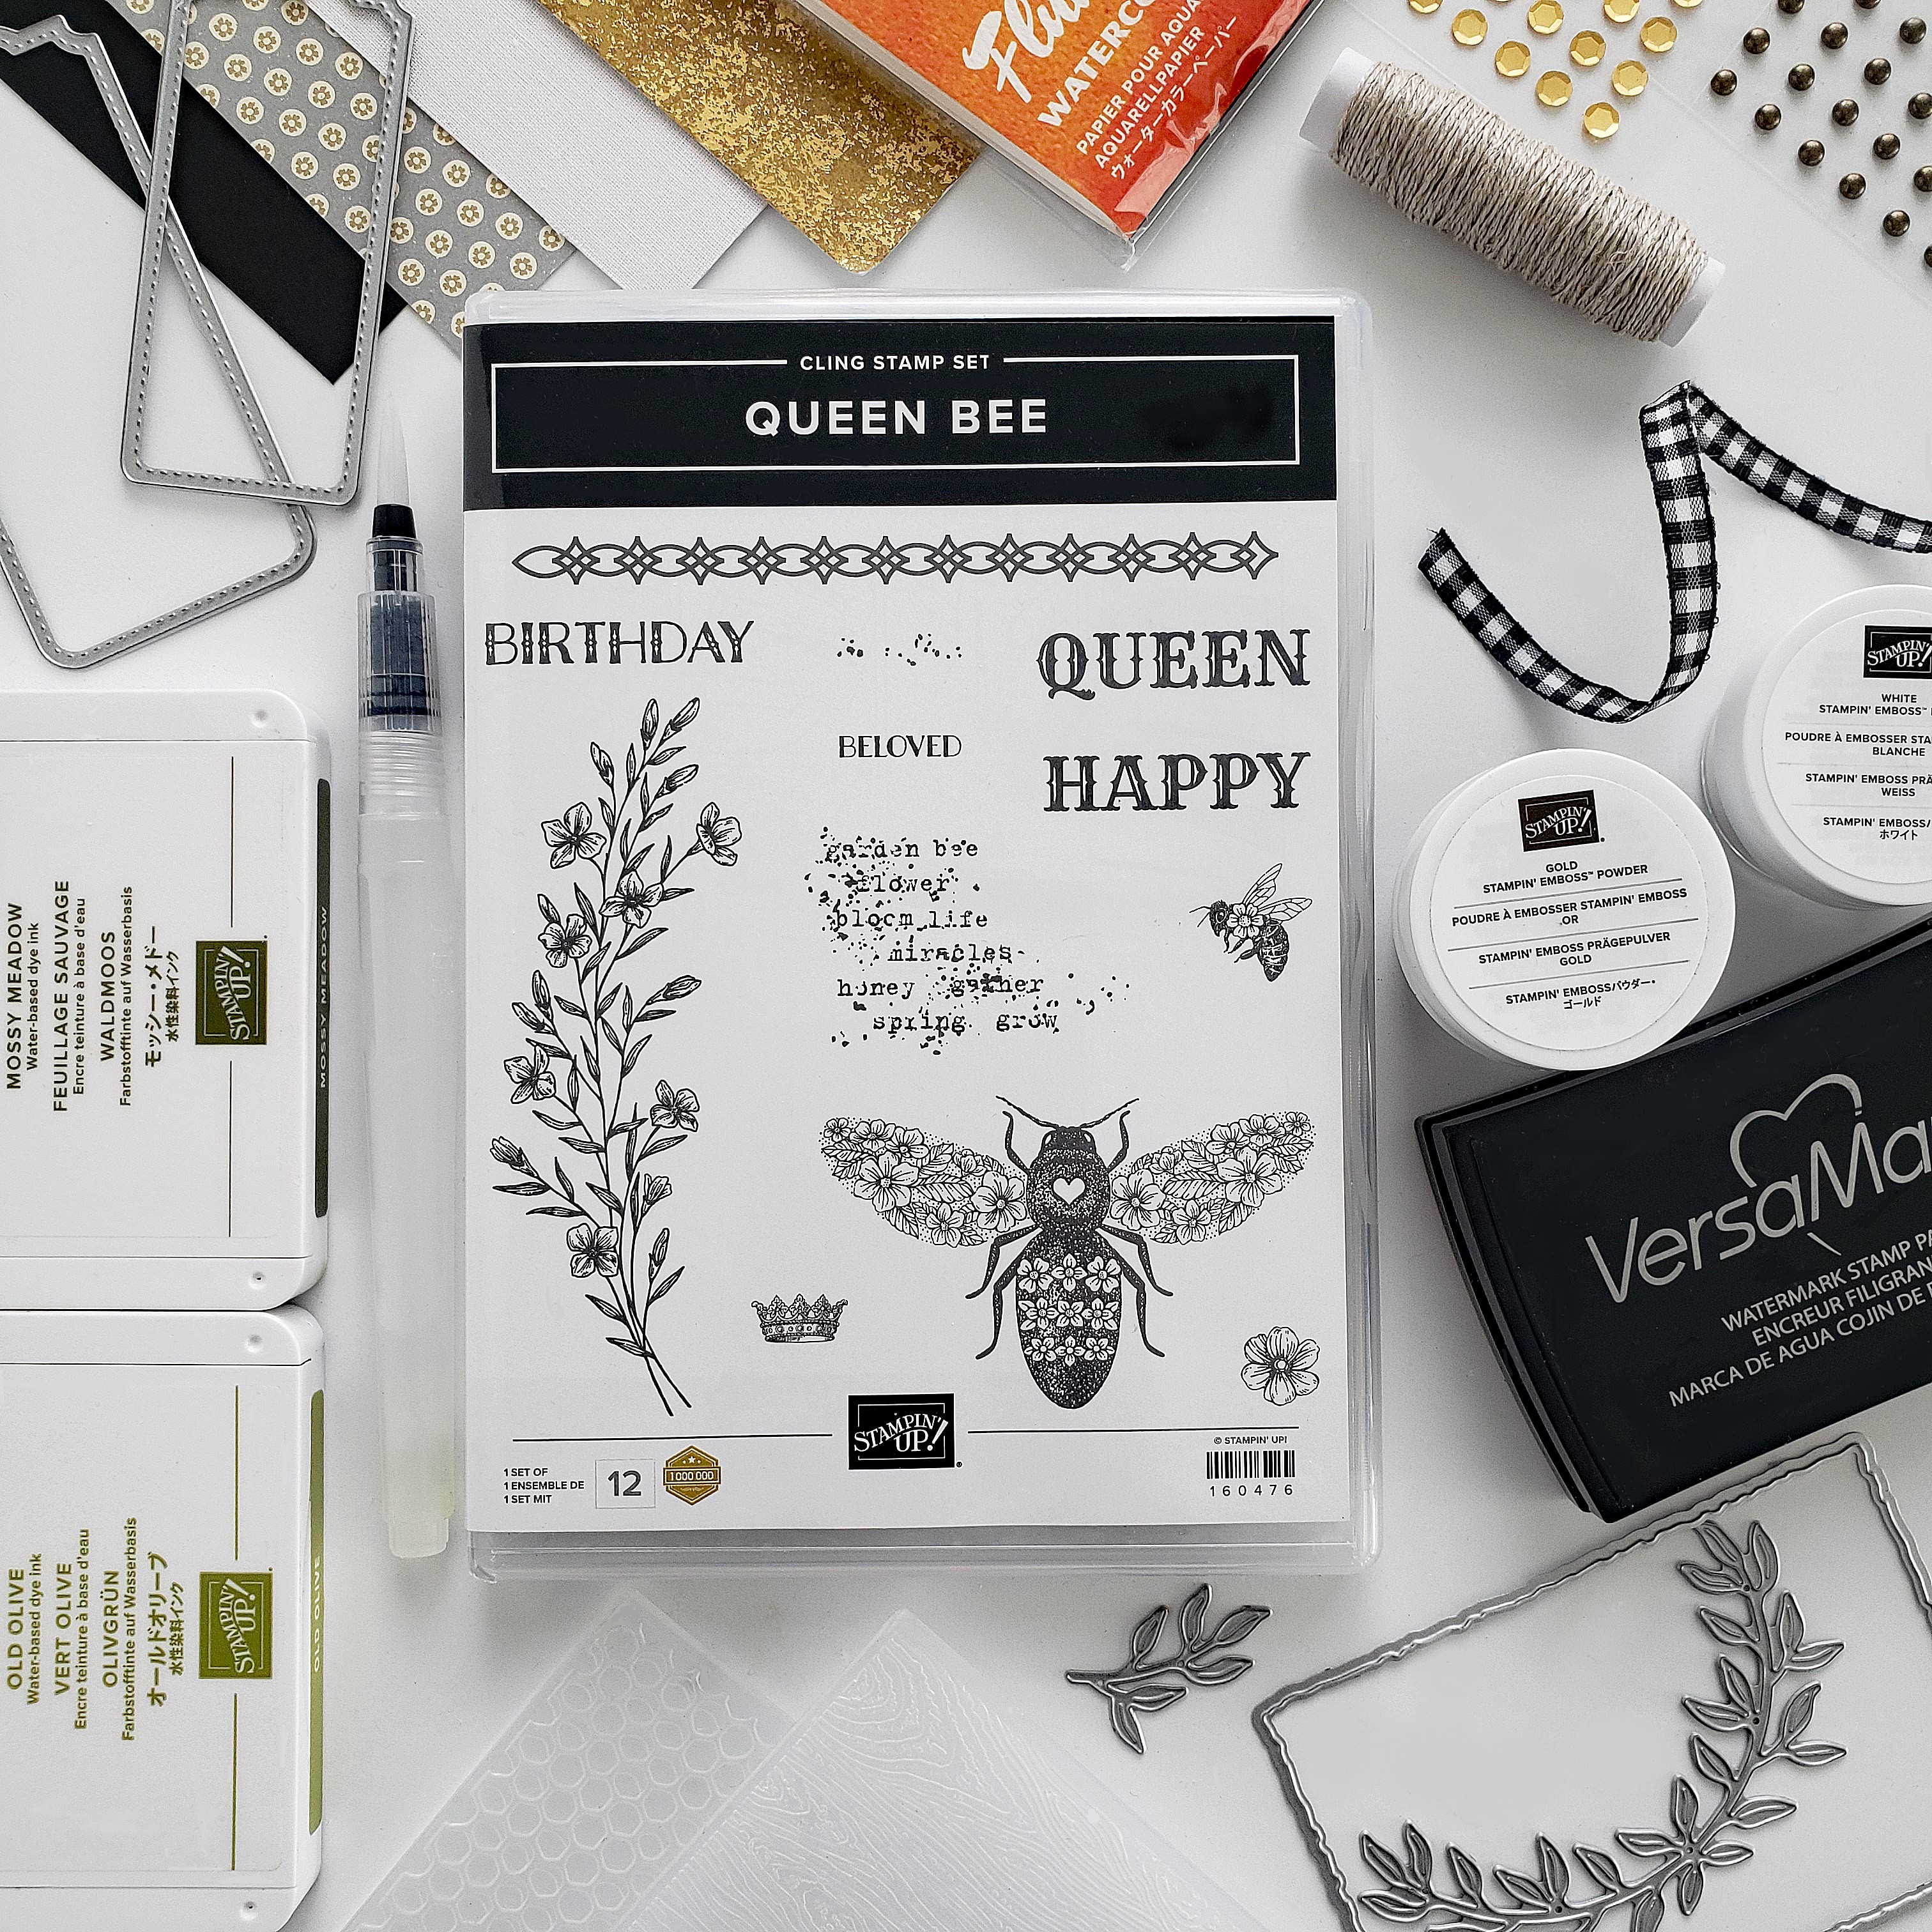
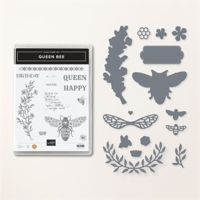
03.24.2023…..Happy Friday, everyone! Today, I’m sharing a “quick & easy” mini technique tutorial for projects that I recently created for the Stampin’ Up! Corporate Facebook Page, featuring the Queen Bee Bundle, from the current Stampin’ Up! January – April 2023 Mini Catalog! This new catalog is sooooo jam-packed with soooooo many amazing stamps sets, accessories, and more. I know your wish list must be overflowing!
To view these projects, on the Stampin’ Up! Corporate Facebook Page, you can go to: https://www.facebook.com/stampinup
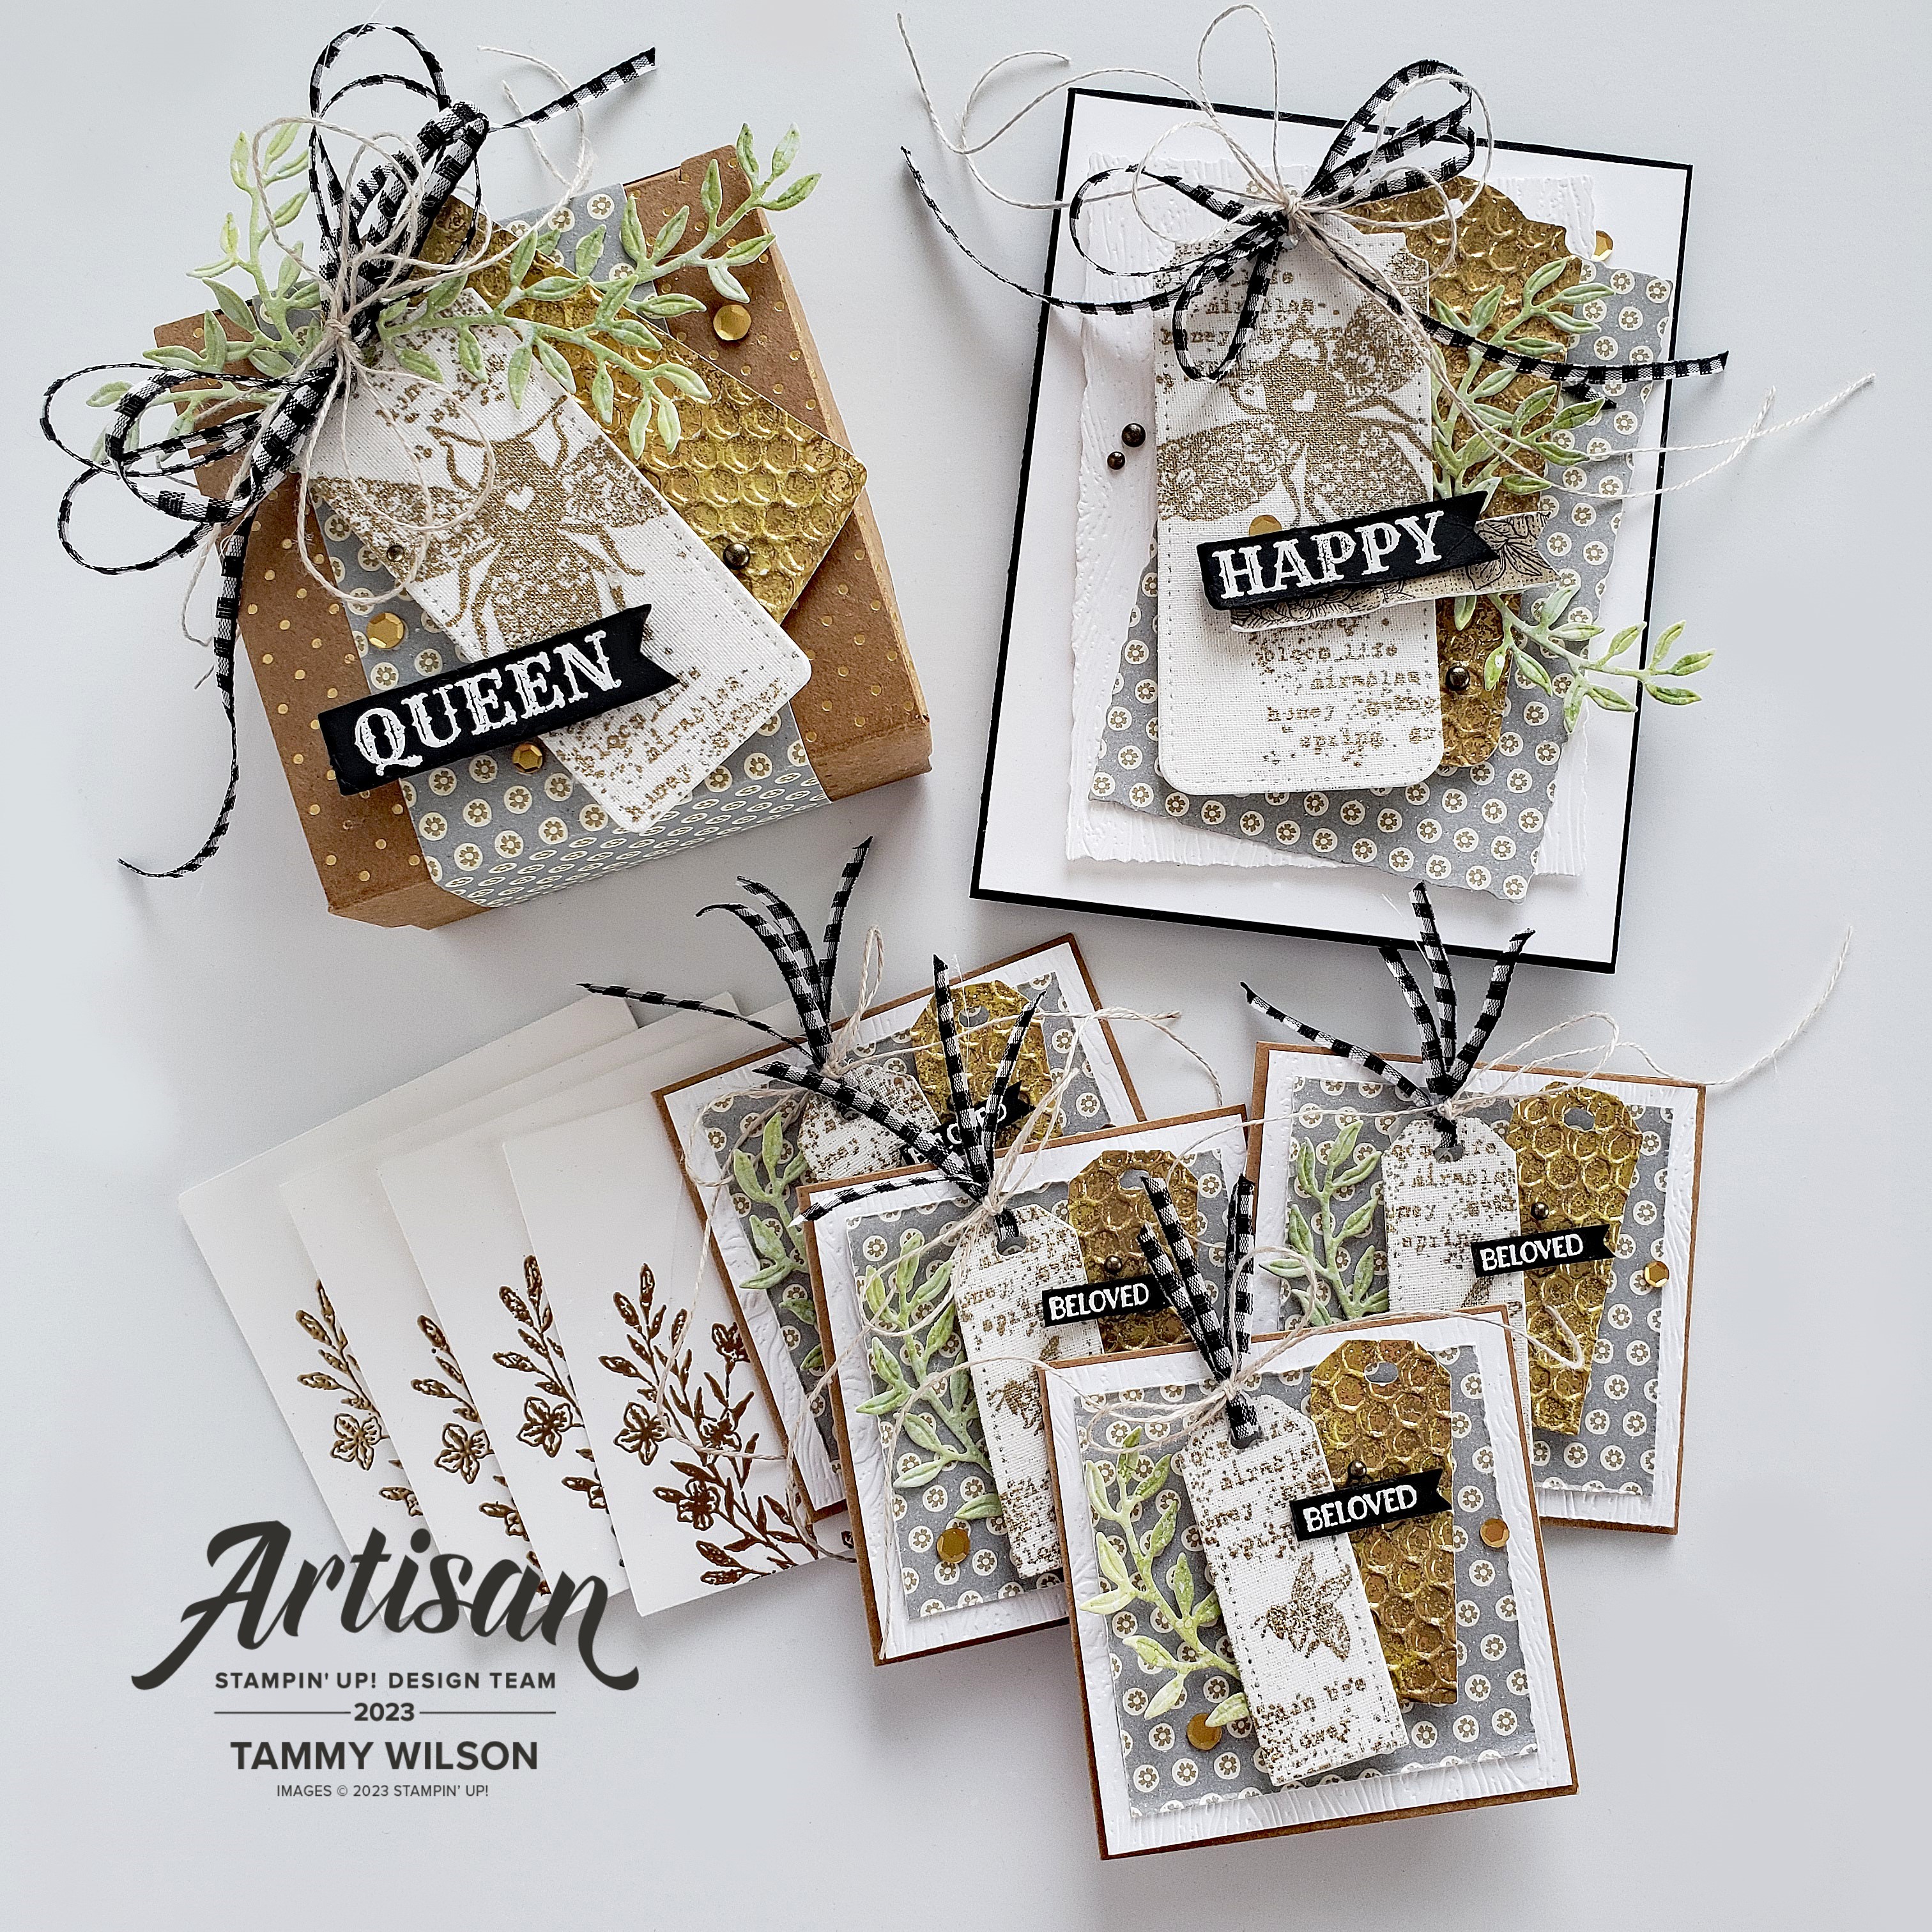
I love to add a shabby chic twist to just about anything that I create, and Queen Bee Bundle is absolutely perfect for that. Combining this bundle with these quick techniques will easily add that extra bit of shabby chic to your projects as well. Of course, these techniques can easily be used with just about any of your favorite images, embossing folders, dies, or colors.


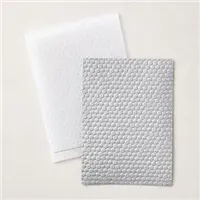
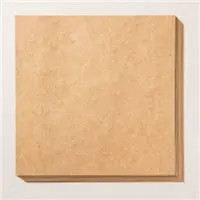
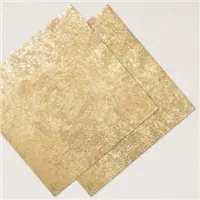
TECHNIQUE #1: Use the Tailor Made Tags Dies and Deckled Rectangle Dies to cut out shapes from Distressed Gold Specialty Paper and Basic White Thick Cardstock. Use the Hive 3D Embossing Folder and the Timber 3D Embossing Folder to add an extra bit of texture to your die cut shapes.


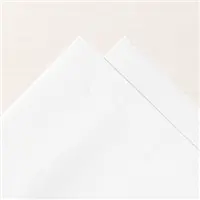
TECHNIQUE #2: Use one of the Tailor Made Tag Dies to cut out two tags, one from Linen Speciality Paper and one from Basic White Thick Cardstock. Peel the backing off of the Linen Specialty Paper, and adhere it on top of the other tag. Stamp the images on the tag using a Versamark Pad, and heat-emboss them with Gold Stampin’ Emboss Powder and a Heat Tool. As soon as the embossing powder becomes shiny, quickly turn off the Heat Tool. Because you are heat-embossing on a textured fabric paper, you will see a variation in the depth and shine of the heat-embossed images, which adds to that shabby chic effect.

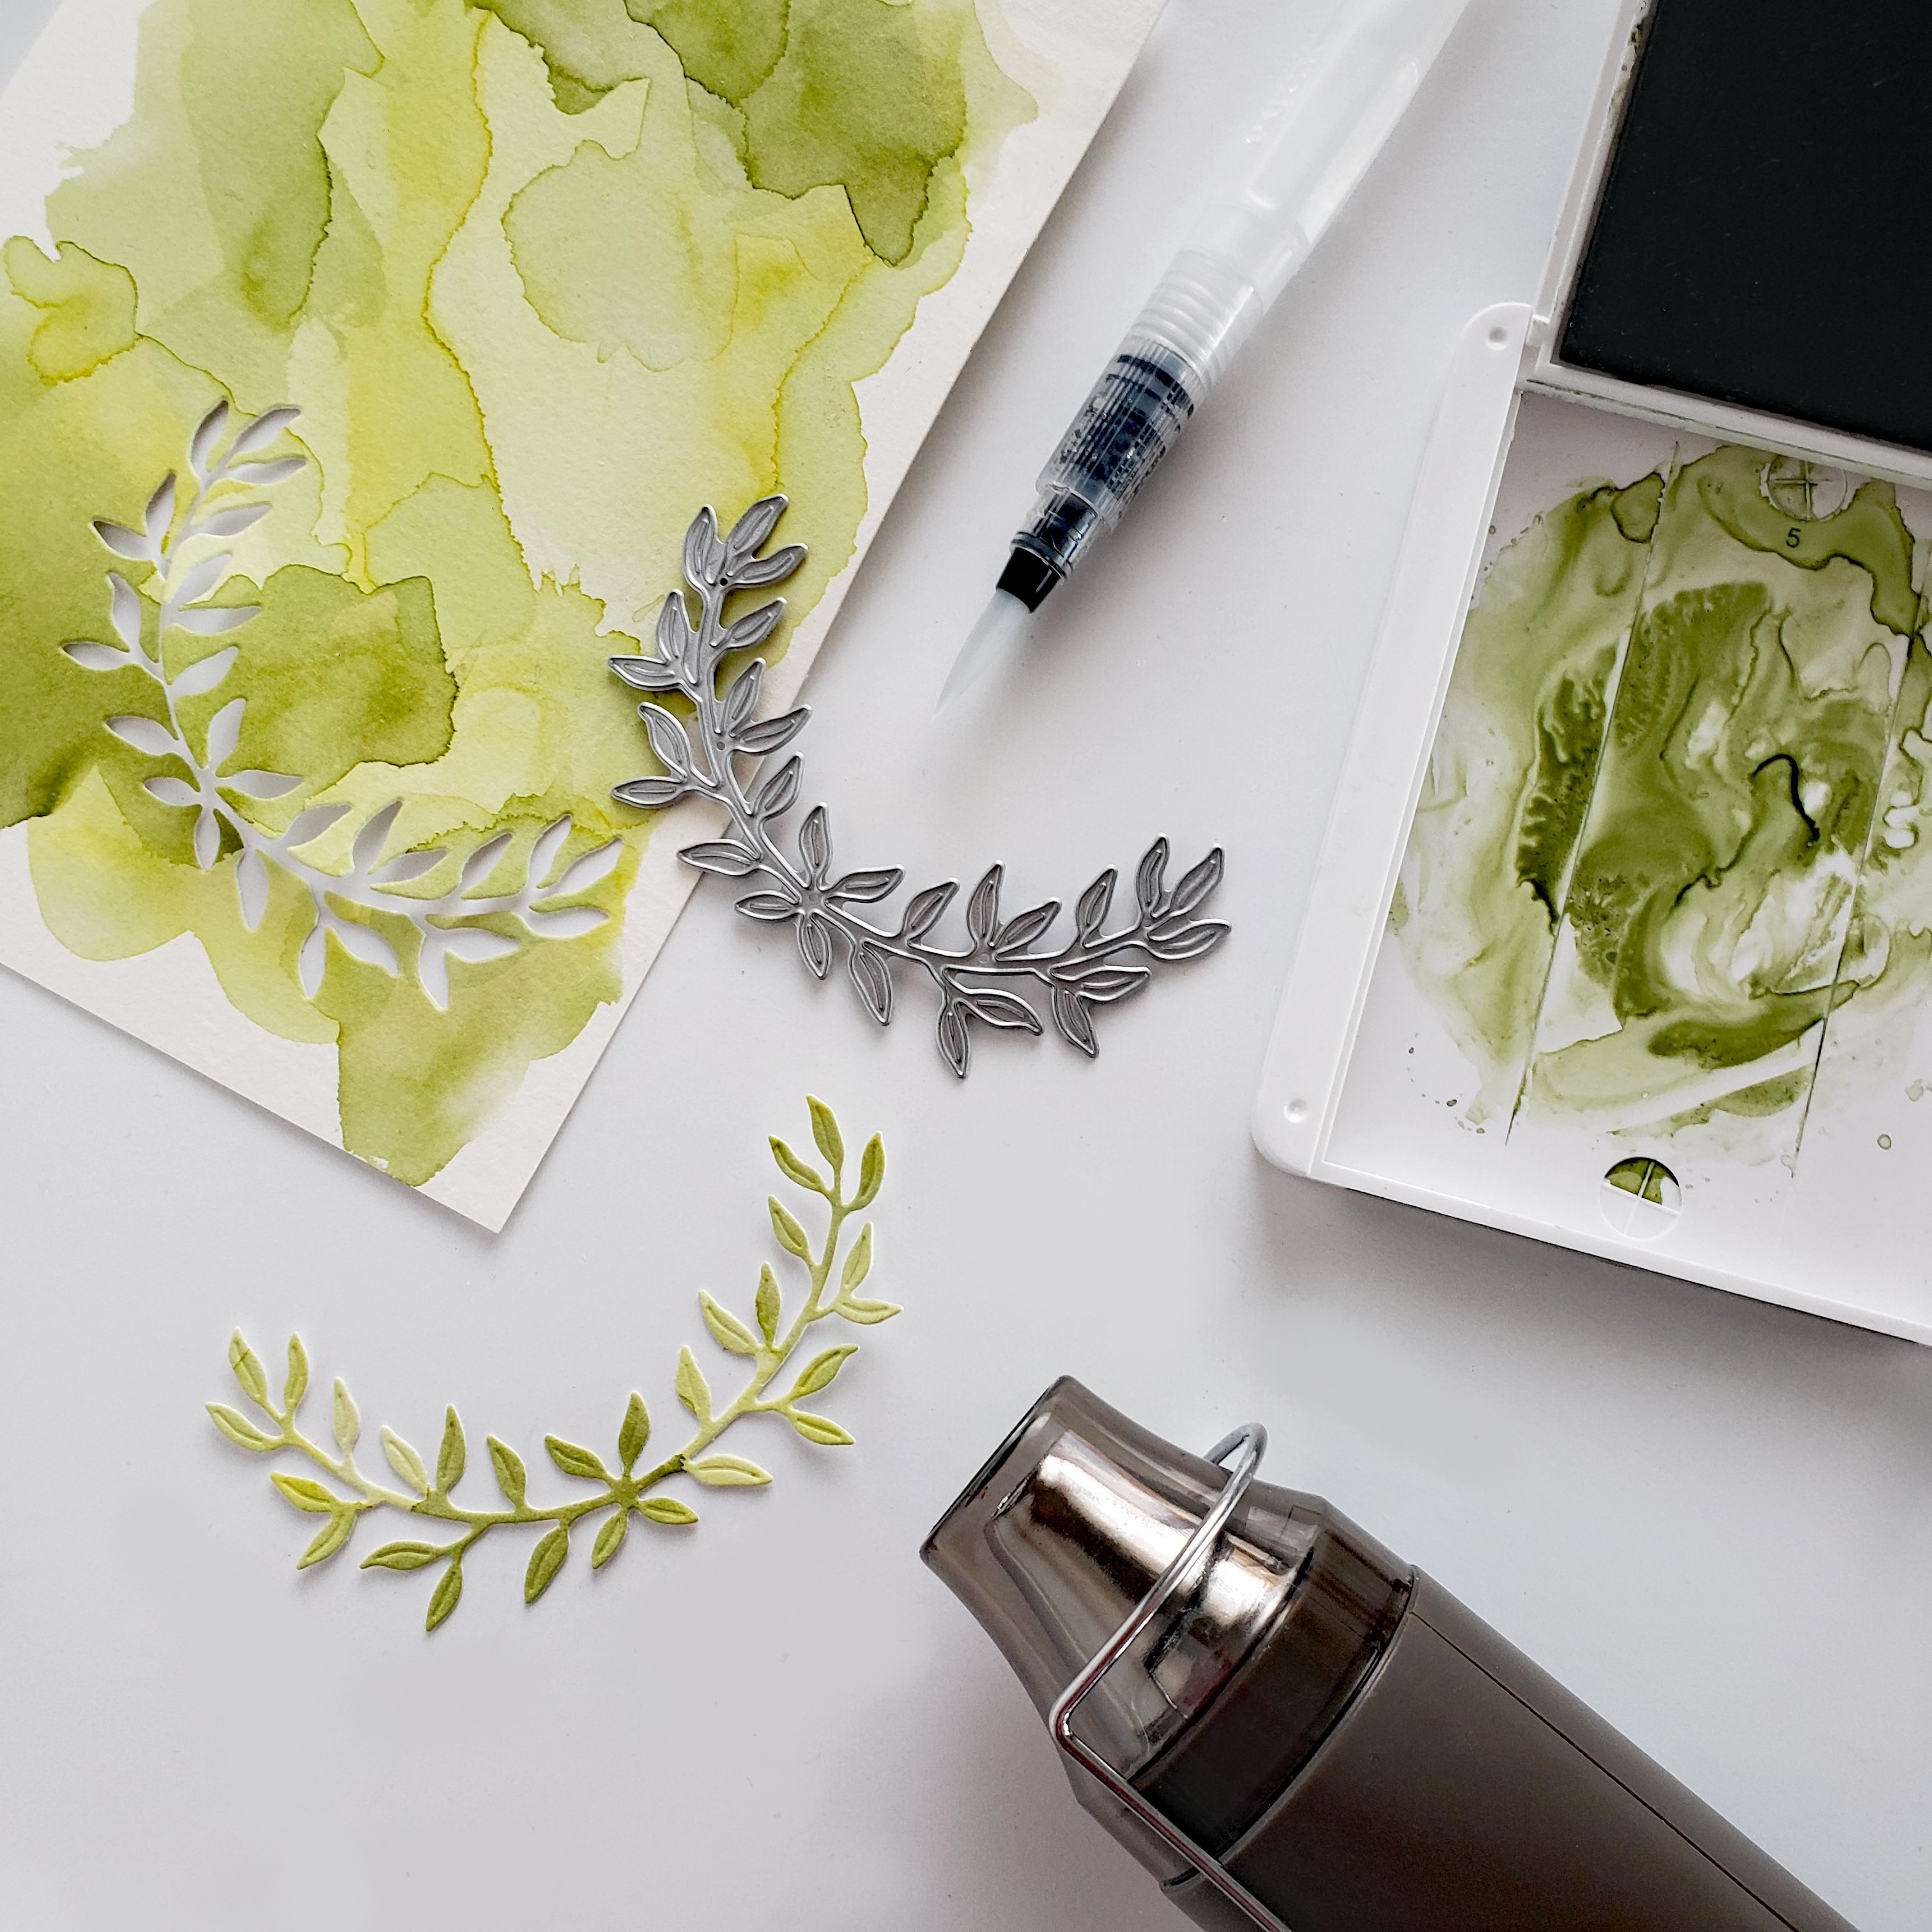
TECHNIQUE #3: Use a Water Painter, along with an Old Olive Classic Stampin’ Pad and Mossy Meadow Classic Stampin’ Pad, to create unique and colorful paper to use with the leaves dies from the Queen Bee Bundle. With the stamp pad closed, firmly press the lid down against the ink pad. You may need to do this a few times. Open the lid, and you will see that there is ink left on the lid. Gently squeeze the Water Painter to add a bit of water to the ink, and then add the color to the Fluid 100 Watercolor Paper with the Water Painter. The more water that you add to the ink, the lighter the color will be on the paper. For the best effect, work in small areas, and then dry with a Heat Tool. Continue layering on the color, using the same method, until the desired effect is achieved. Once you have completely dried the paper with a Heat Tool, use the dies to cut out the leaves.
I hope these projects inspire you to try these fun techniques to add an extra bit of texture and dimension to some of your cards and projects as well!
Wishing you creativity always,


To place an order, click on one of the catalogs above, or one of the supply items below:


So love what you have done with the Queen Bee, sweet Tammy!! I am expecting to have my Queen Bee Bundle delivered tomorrow and your darling cards will be the first thing I plan to make with it! My husband is a master beekeeper and he will love his card! Thank you for sharing your wonderful talents, sweet friend! ♥️🐝♥️
LikeLike
These are beautiful Tammy!
I’m always amazed at your designs Thank you for your inspiration 🥰
LikeLike