
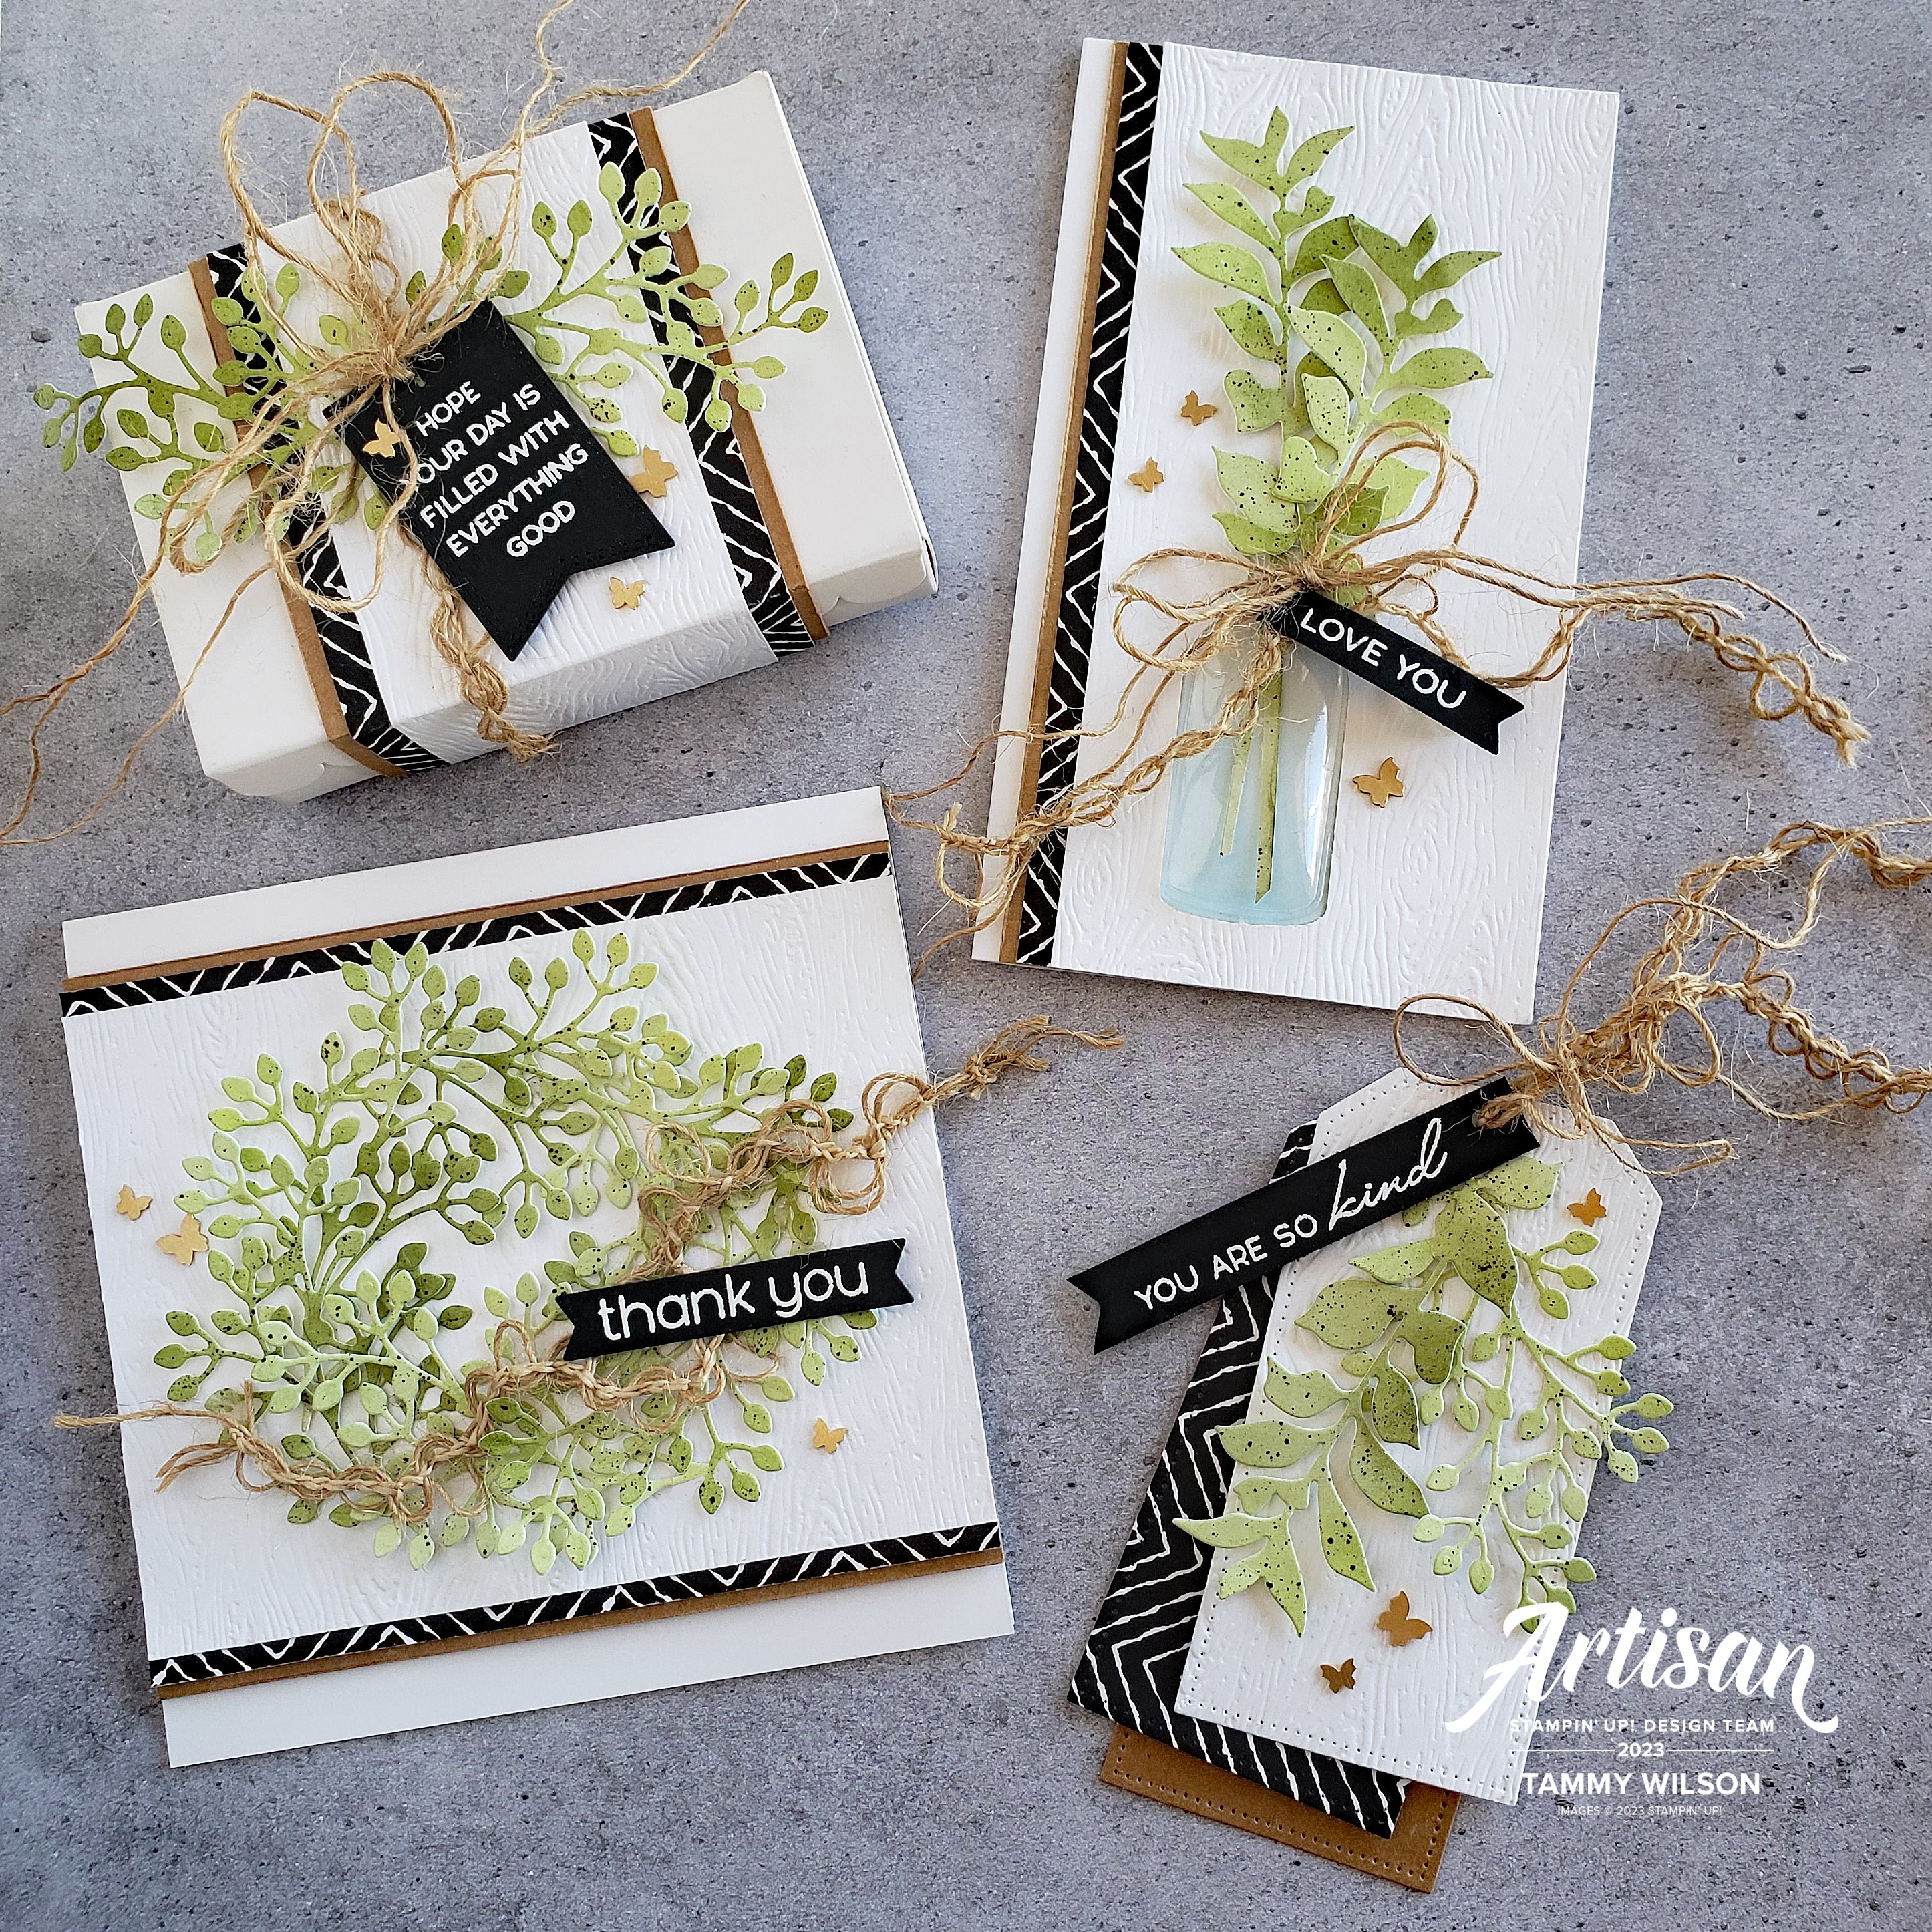
12.30.2023…..Happy Saturday, my stampin’ friends! Today, I’m sharing a fun, “colorful “boho-chic look”mini tutorial for some unique projects that I recently created for the Stampin’ Up! Corporate Facebook Page, featuring leaves and branches created with the Textured Florals Dies (for the leaves) from the current Stampin’ Up! 2023-2024 Annual Catalog! Hope these projects inspire you to add a bit of “boho-chic” to your projects as well!
I love the boho chic look, and it inspired me to use a combination of several Stampin’ Up! products to create that same feel for my projects. Combining die-cut leaves with the Wavy Natural Trim, the Timber 3D Embossing Folder, Kraft Note Cards, and Zoo Crew Designer Series Paper gave me just the look I was going for. Add your favorite sentiments to make these projects your own.
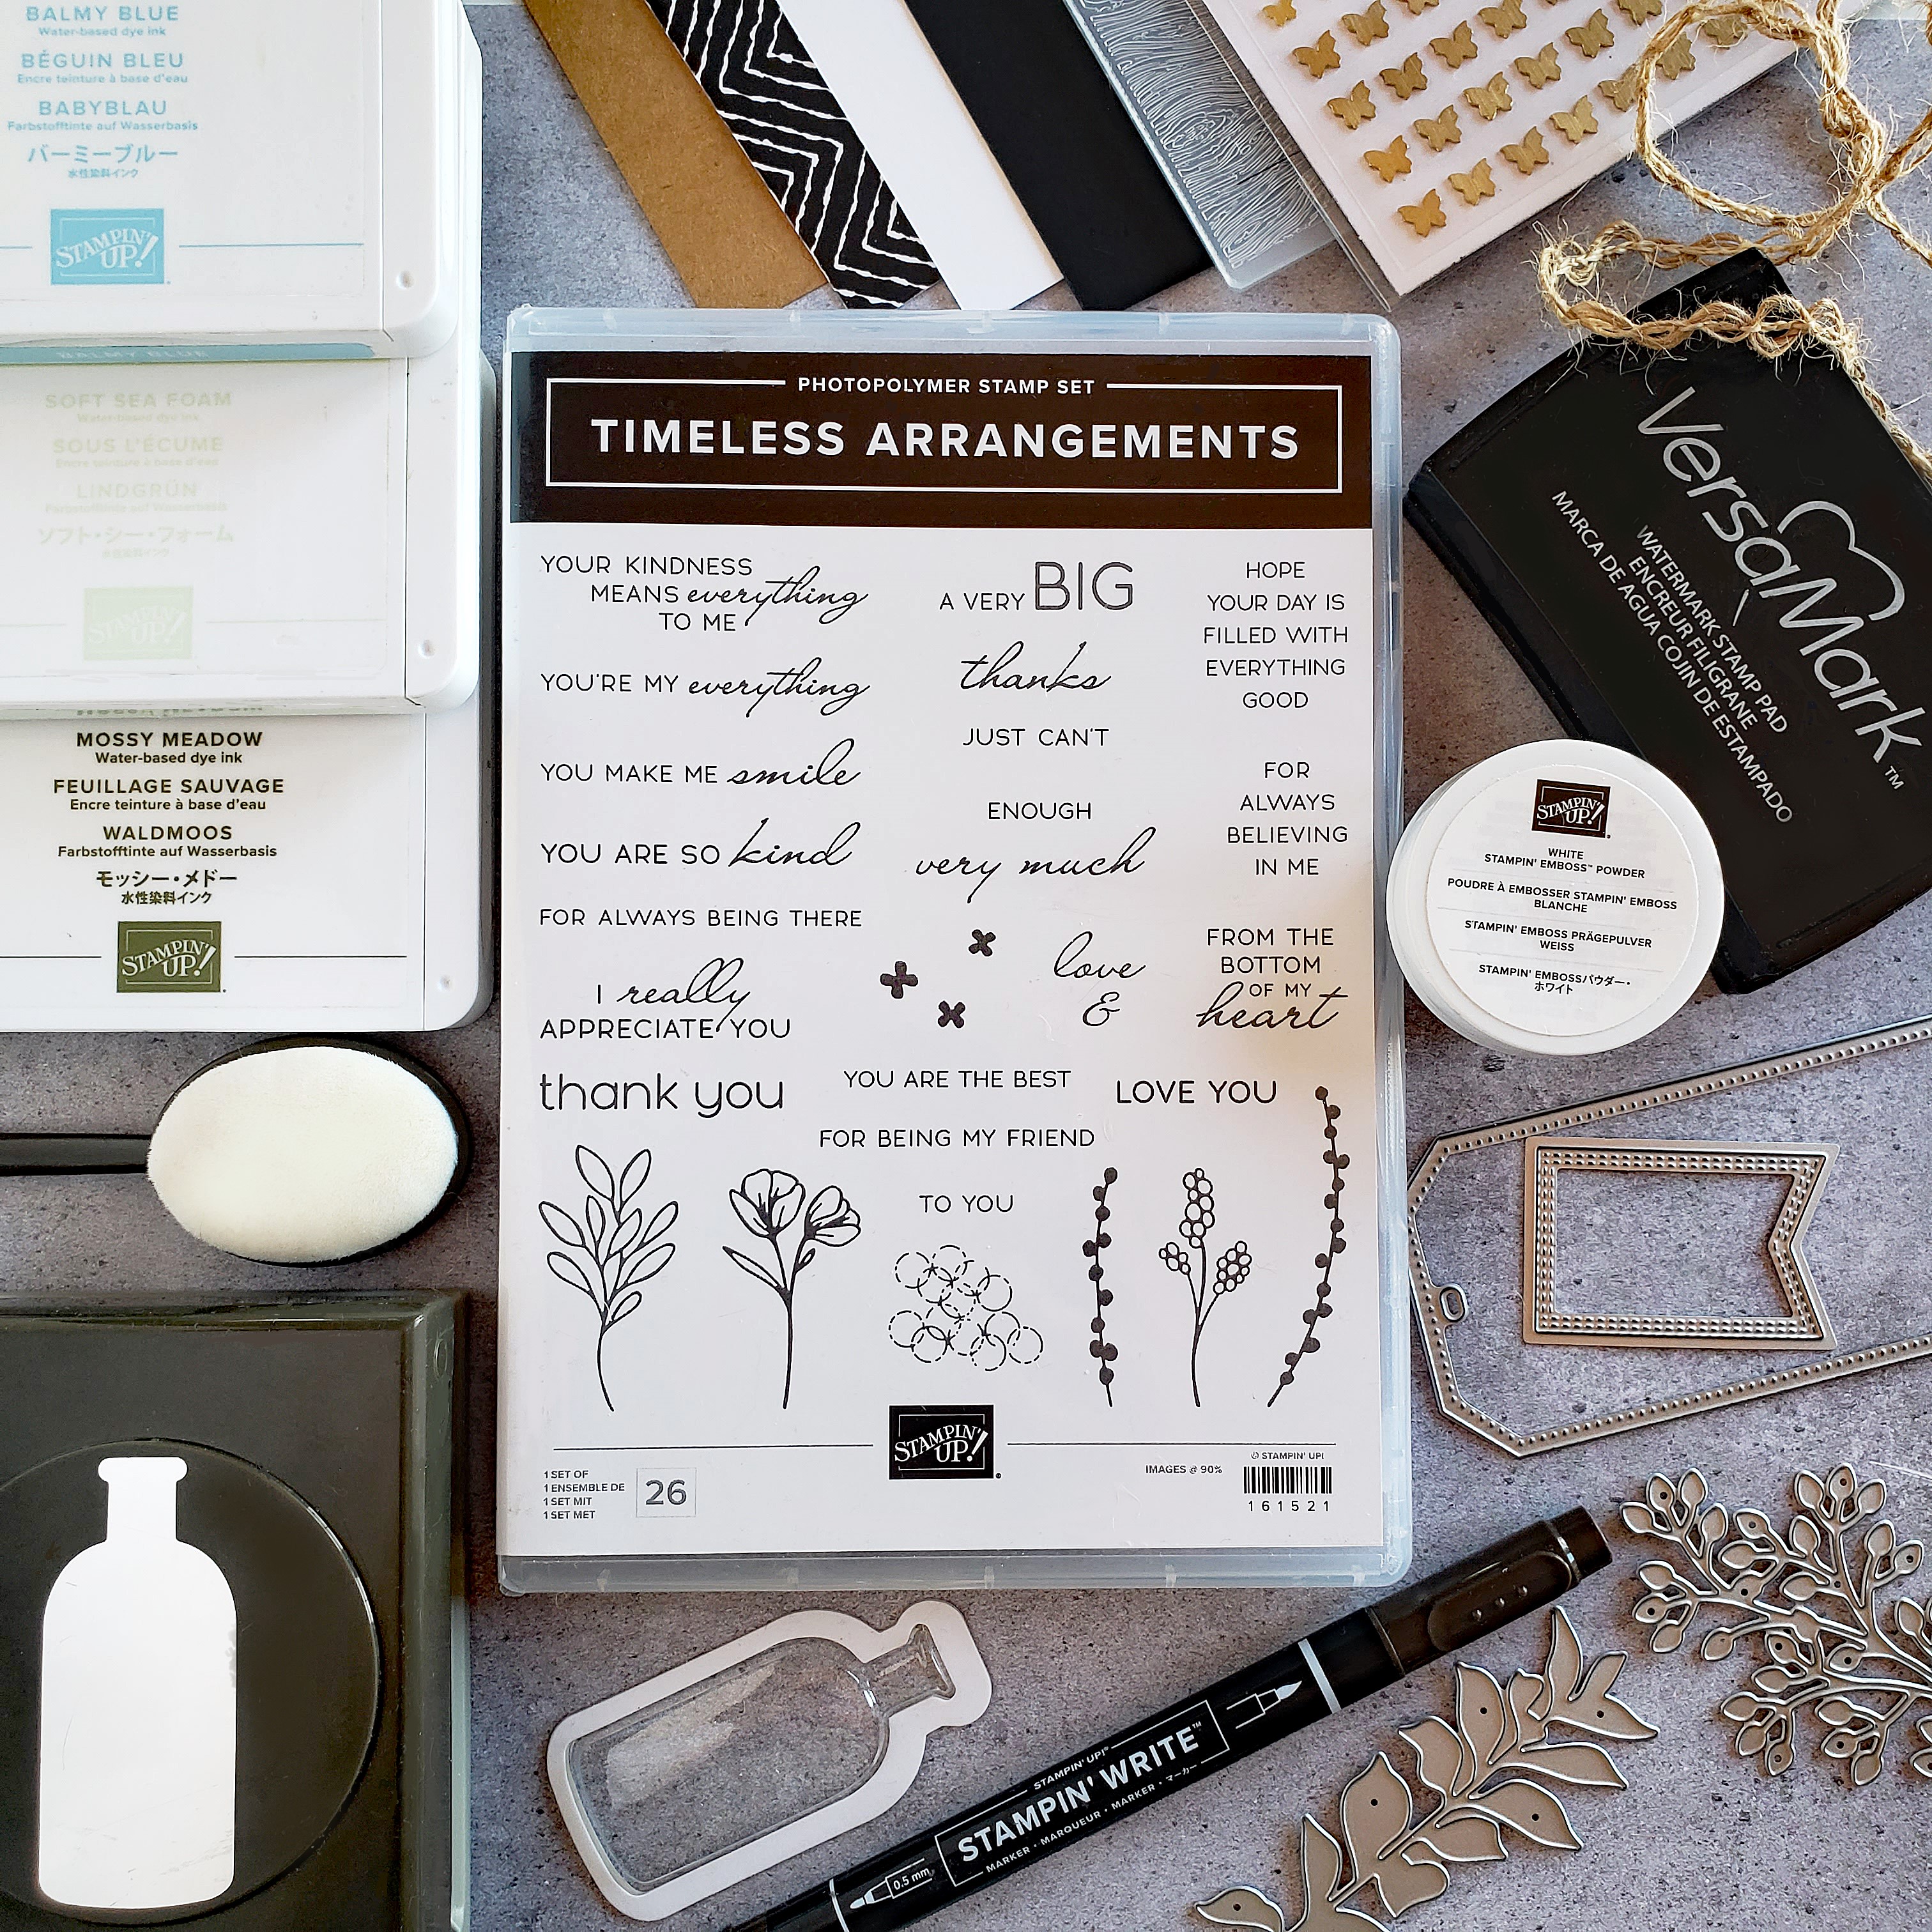
Here are the products you will need:
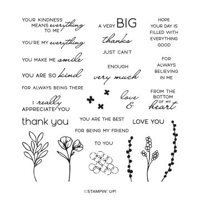
Timeless Arrangements Stamp Set (161521)
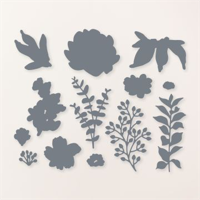
Textured Floral Dies (161231)
Nested Essentials Dies (161597)
Stylish Shapes Dies (159183)
Timber 3D Embossing Folder (156406)
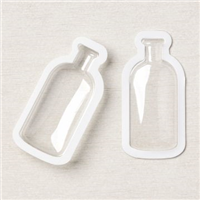
Vintage Bottle Punch (158689)
Stampin’ Cut & Emboss Machine (149653)
Basic White Thick Cardstock (159229)
Basic Black Cardstock (121045)
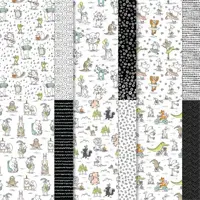
Zoo Crew Designer Series Paper (161304)
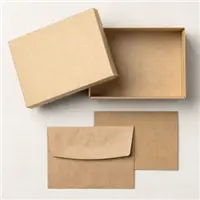
Kraft Note Cards & Envelopes (159247)
Balmy Blue Classic Stampin’ Pad (147105)
Soft Sea Foam Classic Stampin’ Pad (147102)
Mossy Meadow Classic Stampin’ Pad (147111)
Versamark Pad (102283)
Basics Stampin’ Emboss Powders (155554)
Heat Tool (129053)
Blending Brushes (153611)
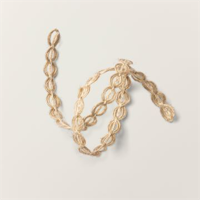
Natural Wavy Trim (161517)
Brushed Brass Butterflies (158136)
Vintage Bottle Shaker Domes (158788)
Neutrals Stampin’ Write Markers (161697)
Mini Glue Dots (103683)
Stampin’ Dimensionals (104430)
Mini Stampin’ Dimensionals (144108)
Multipurpose Liquid Glue (110755)
Stampin’ Seal (152813)
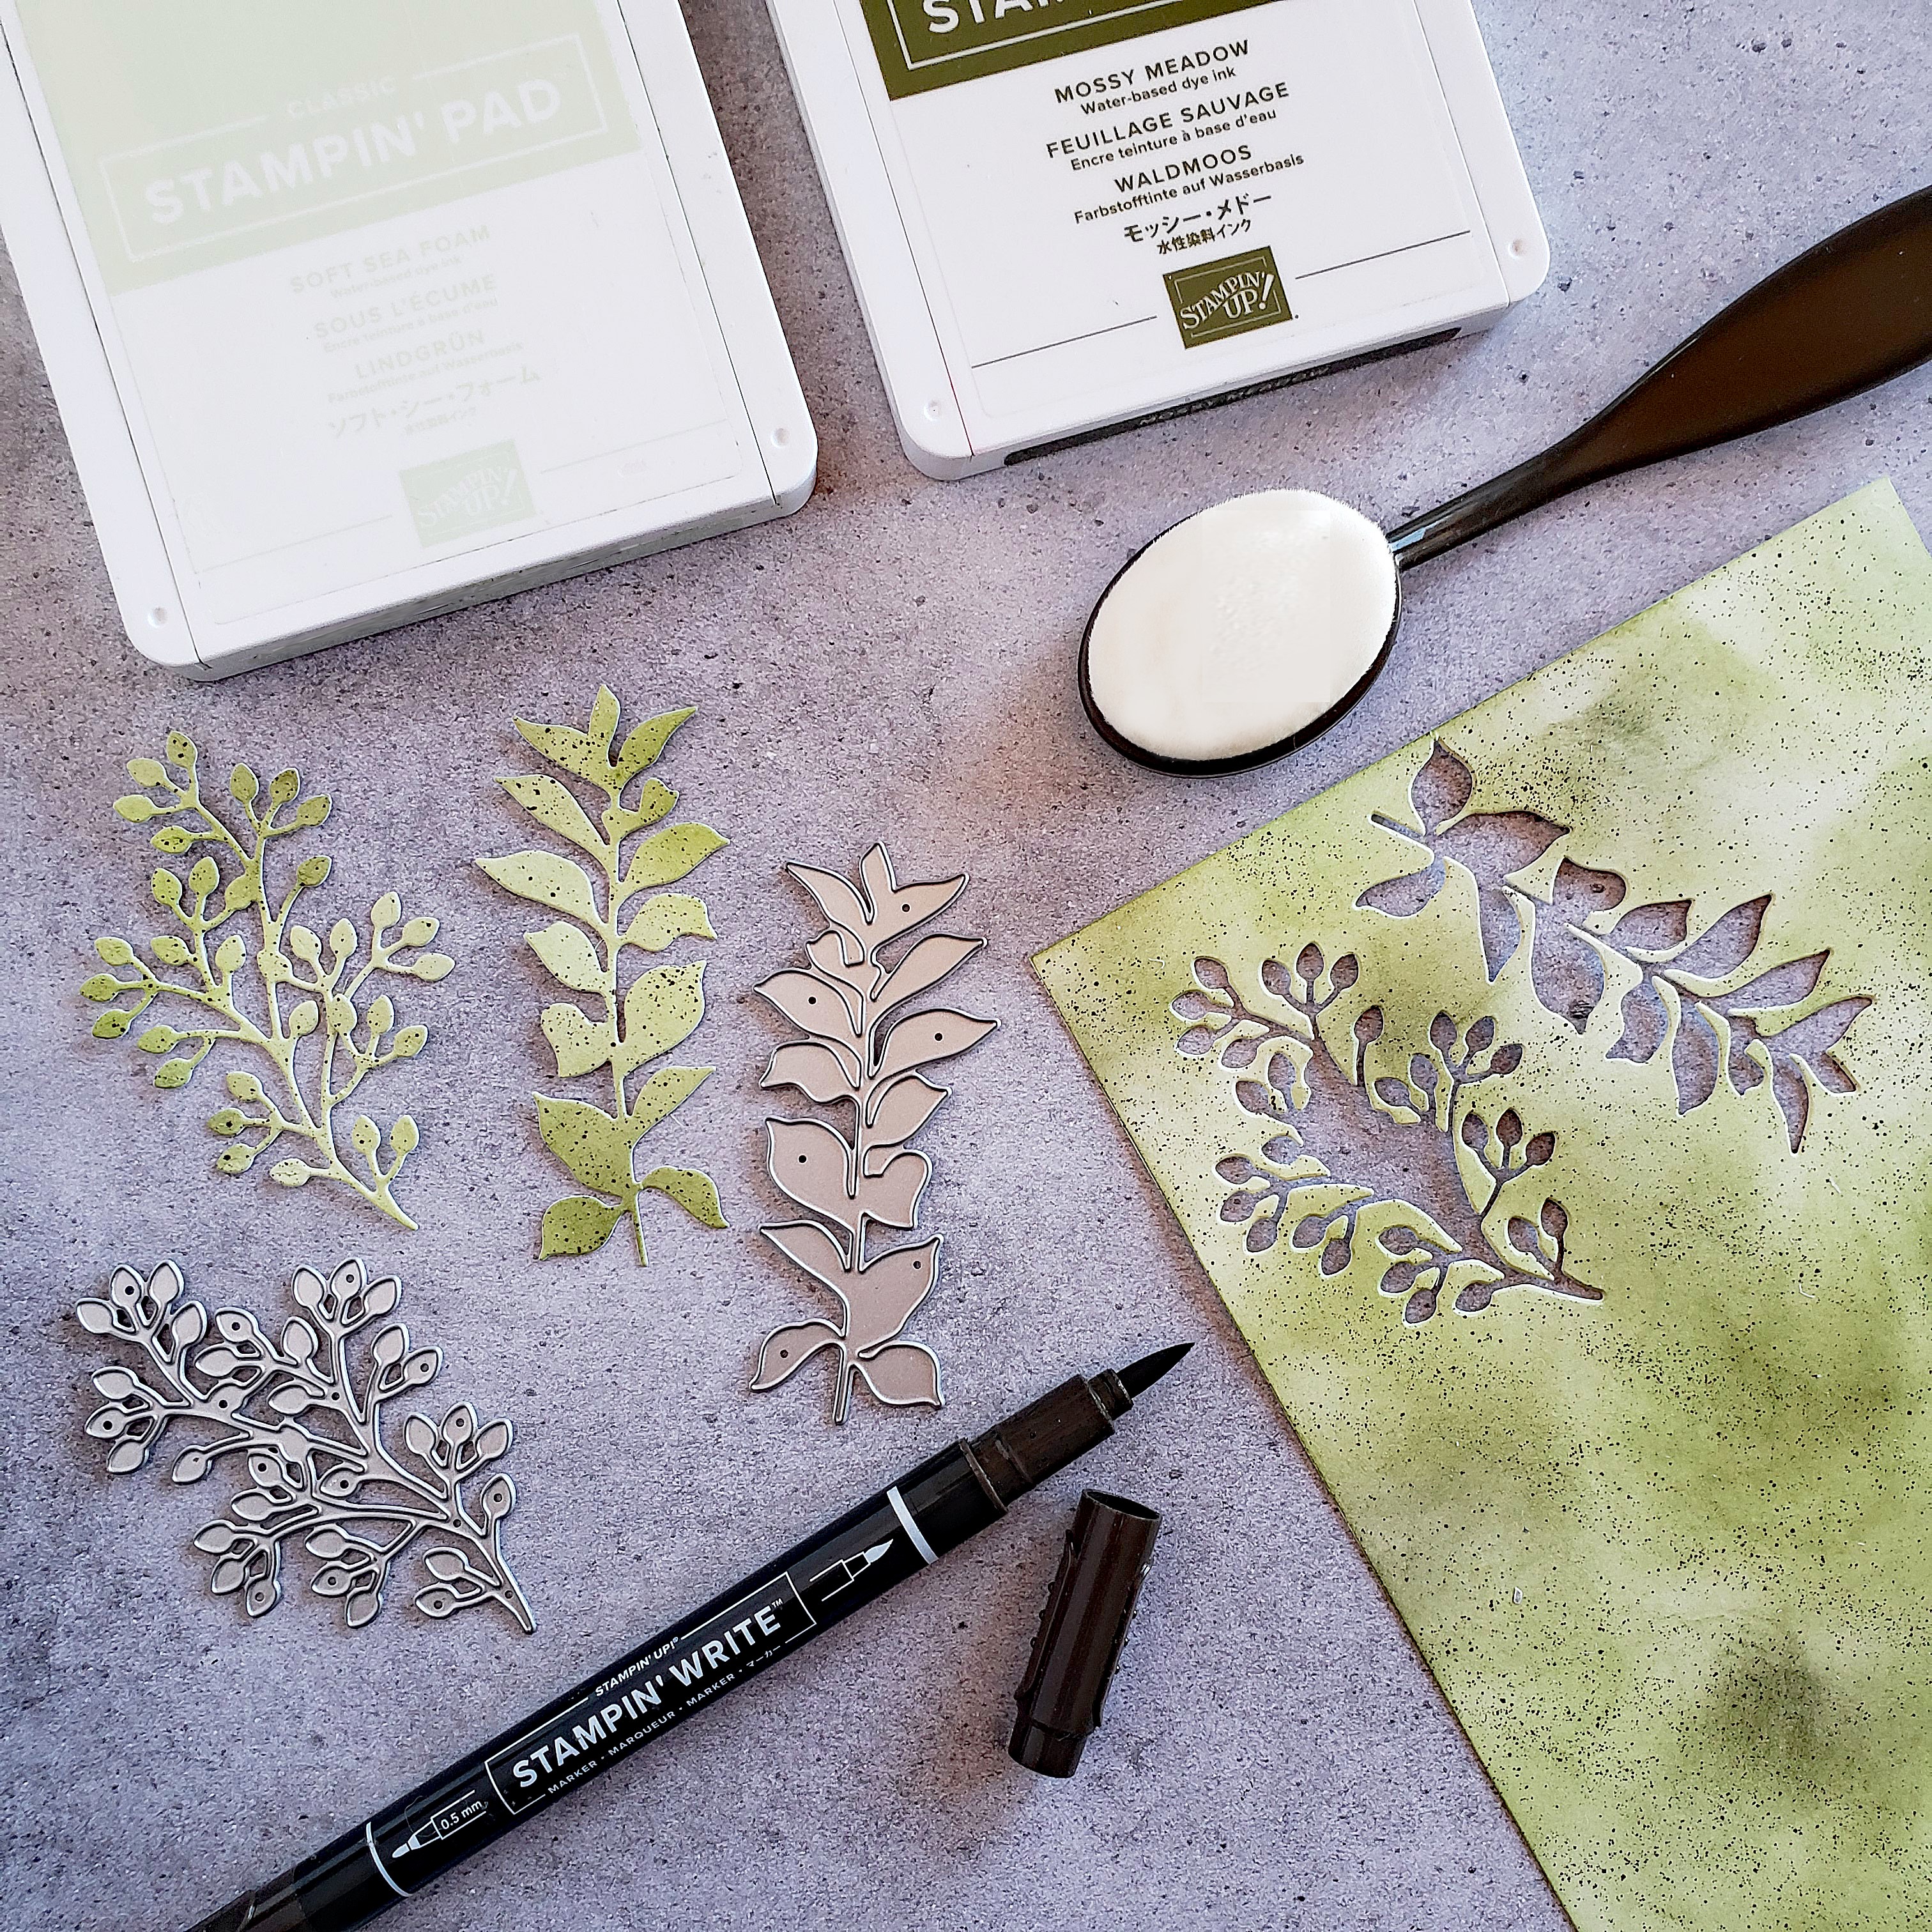
STEP #1: Use Blending Brushes to add swirls of Soft Sea Foam and Mossy Meadow to Basic White Thick Cardstock. Add speckles with an Early Espresso Stampin’ Write Marker. Use the Textured Florals Dies to cut out the leaves.

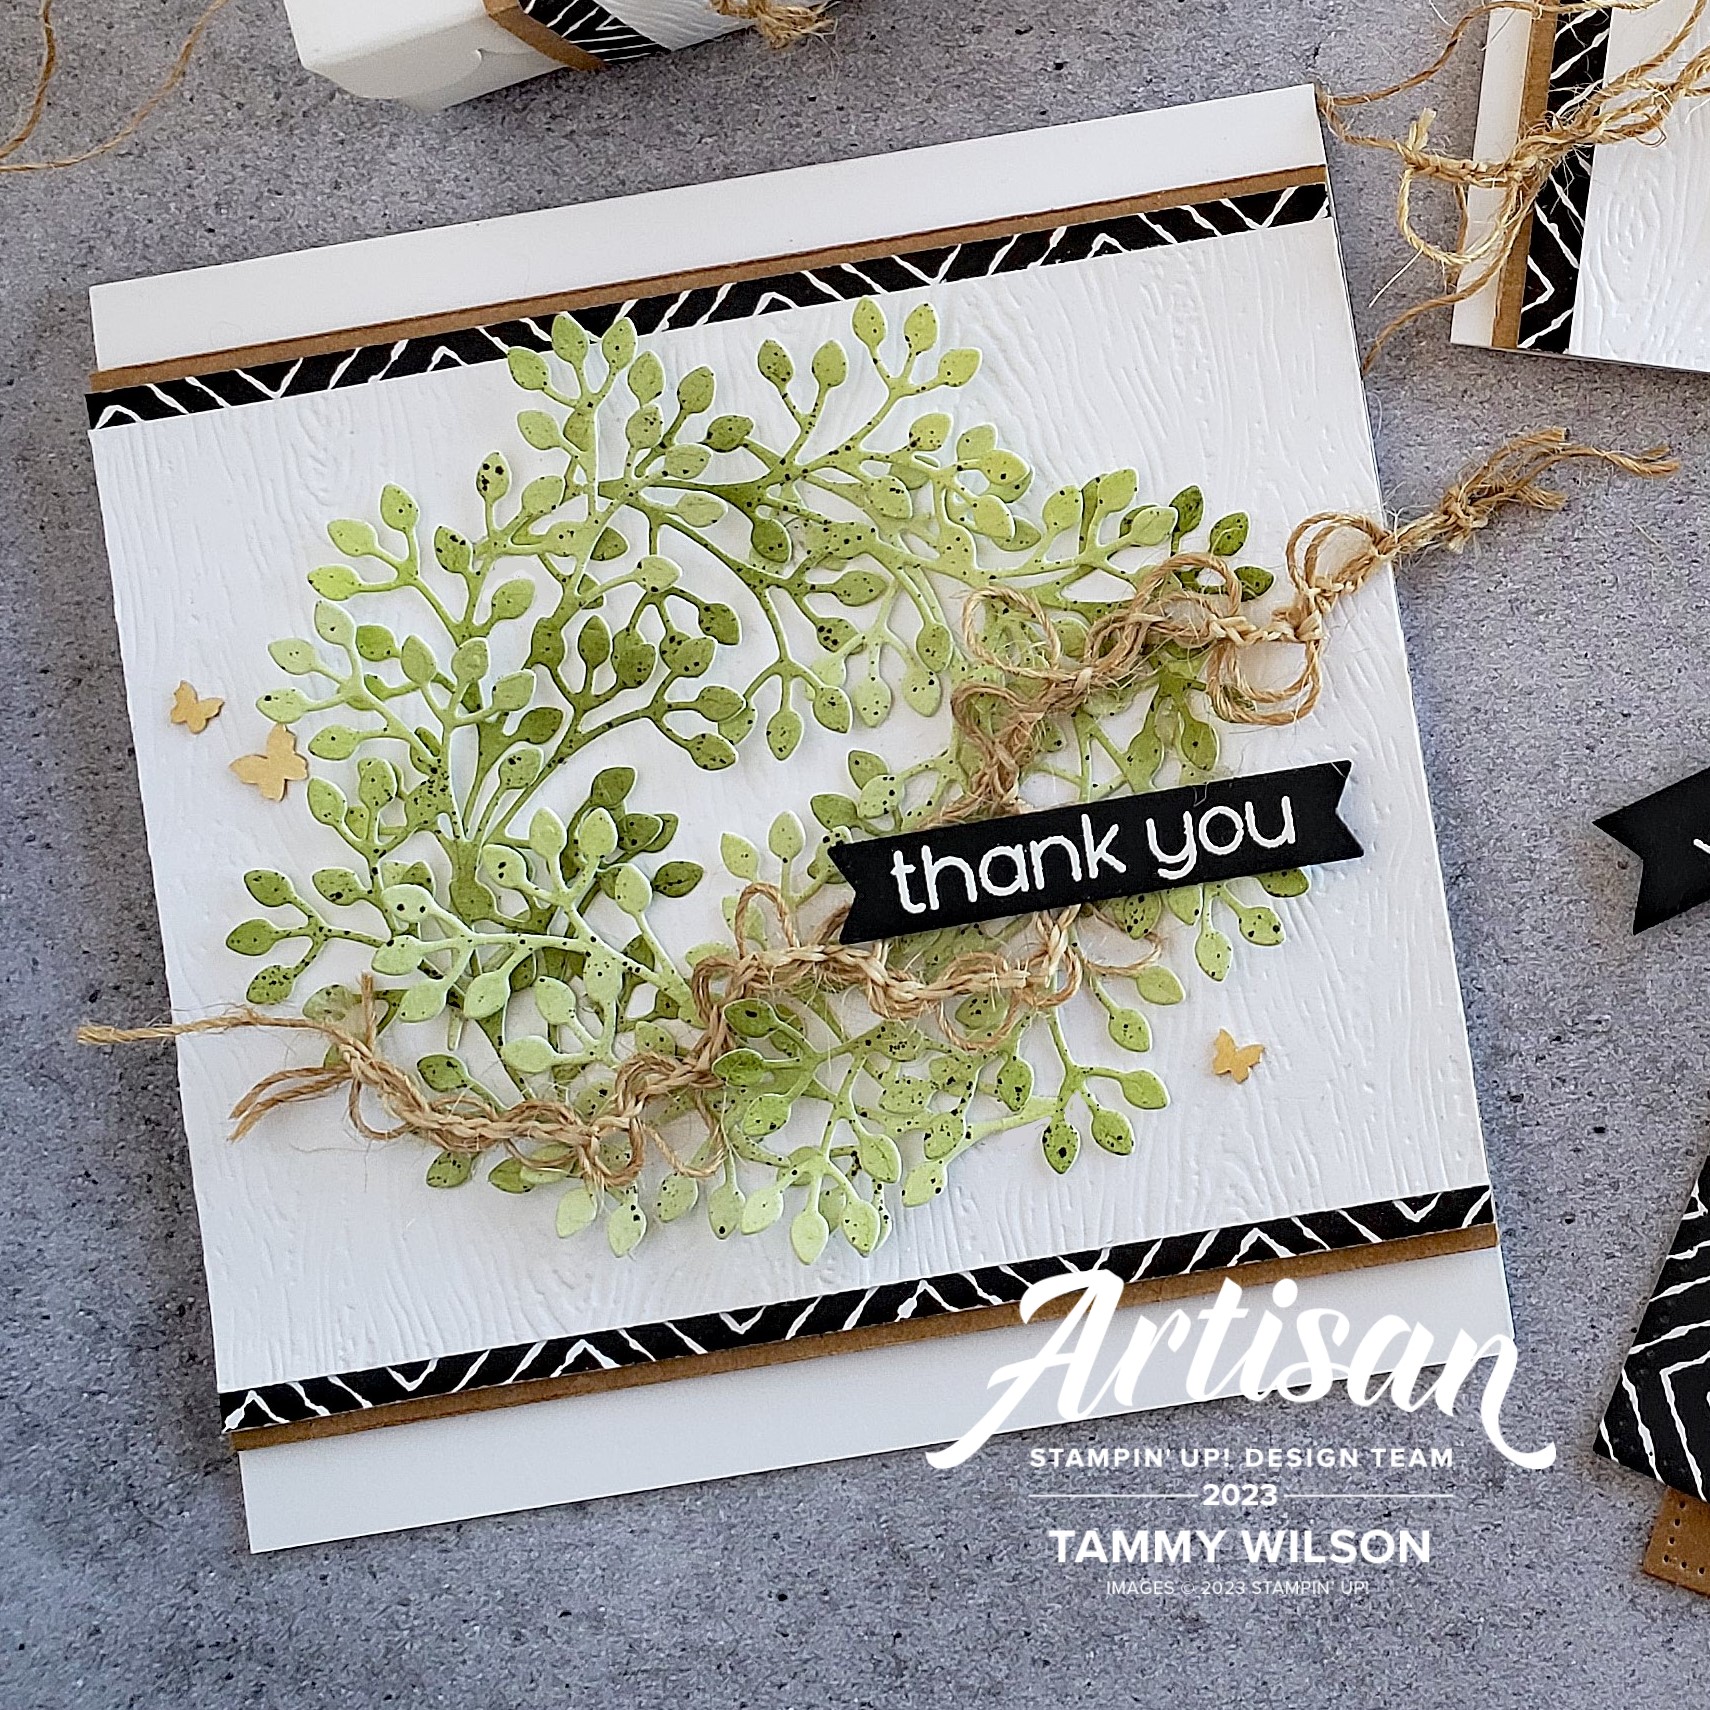
STEP #2: Combine the die-cut leaves with Zoo Crew Designer Series Paper, Kraft Notecards (cut apart as needed), and Basic White Thick Cardstock (embossed with the Timber 3D Embossing Folder). To create the wreath, use five or six of the die-cut leaves, then layer them in a circular pattern.
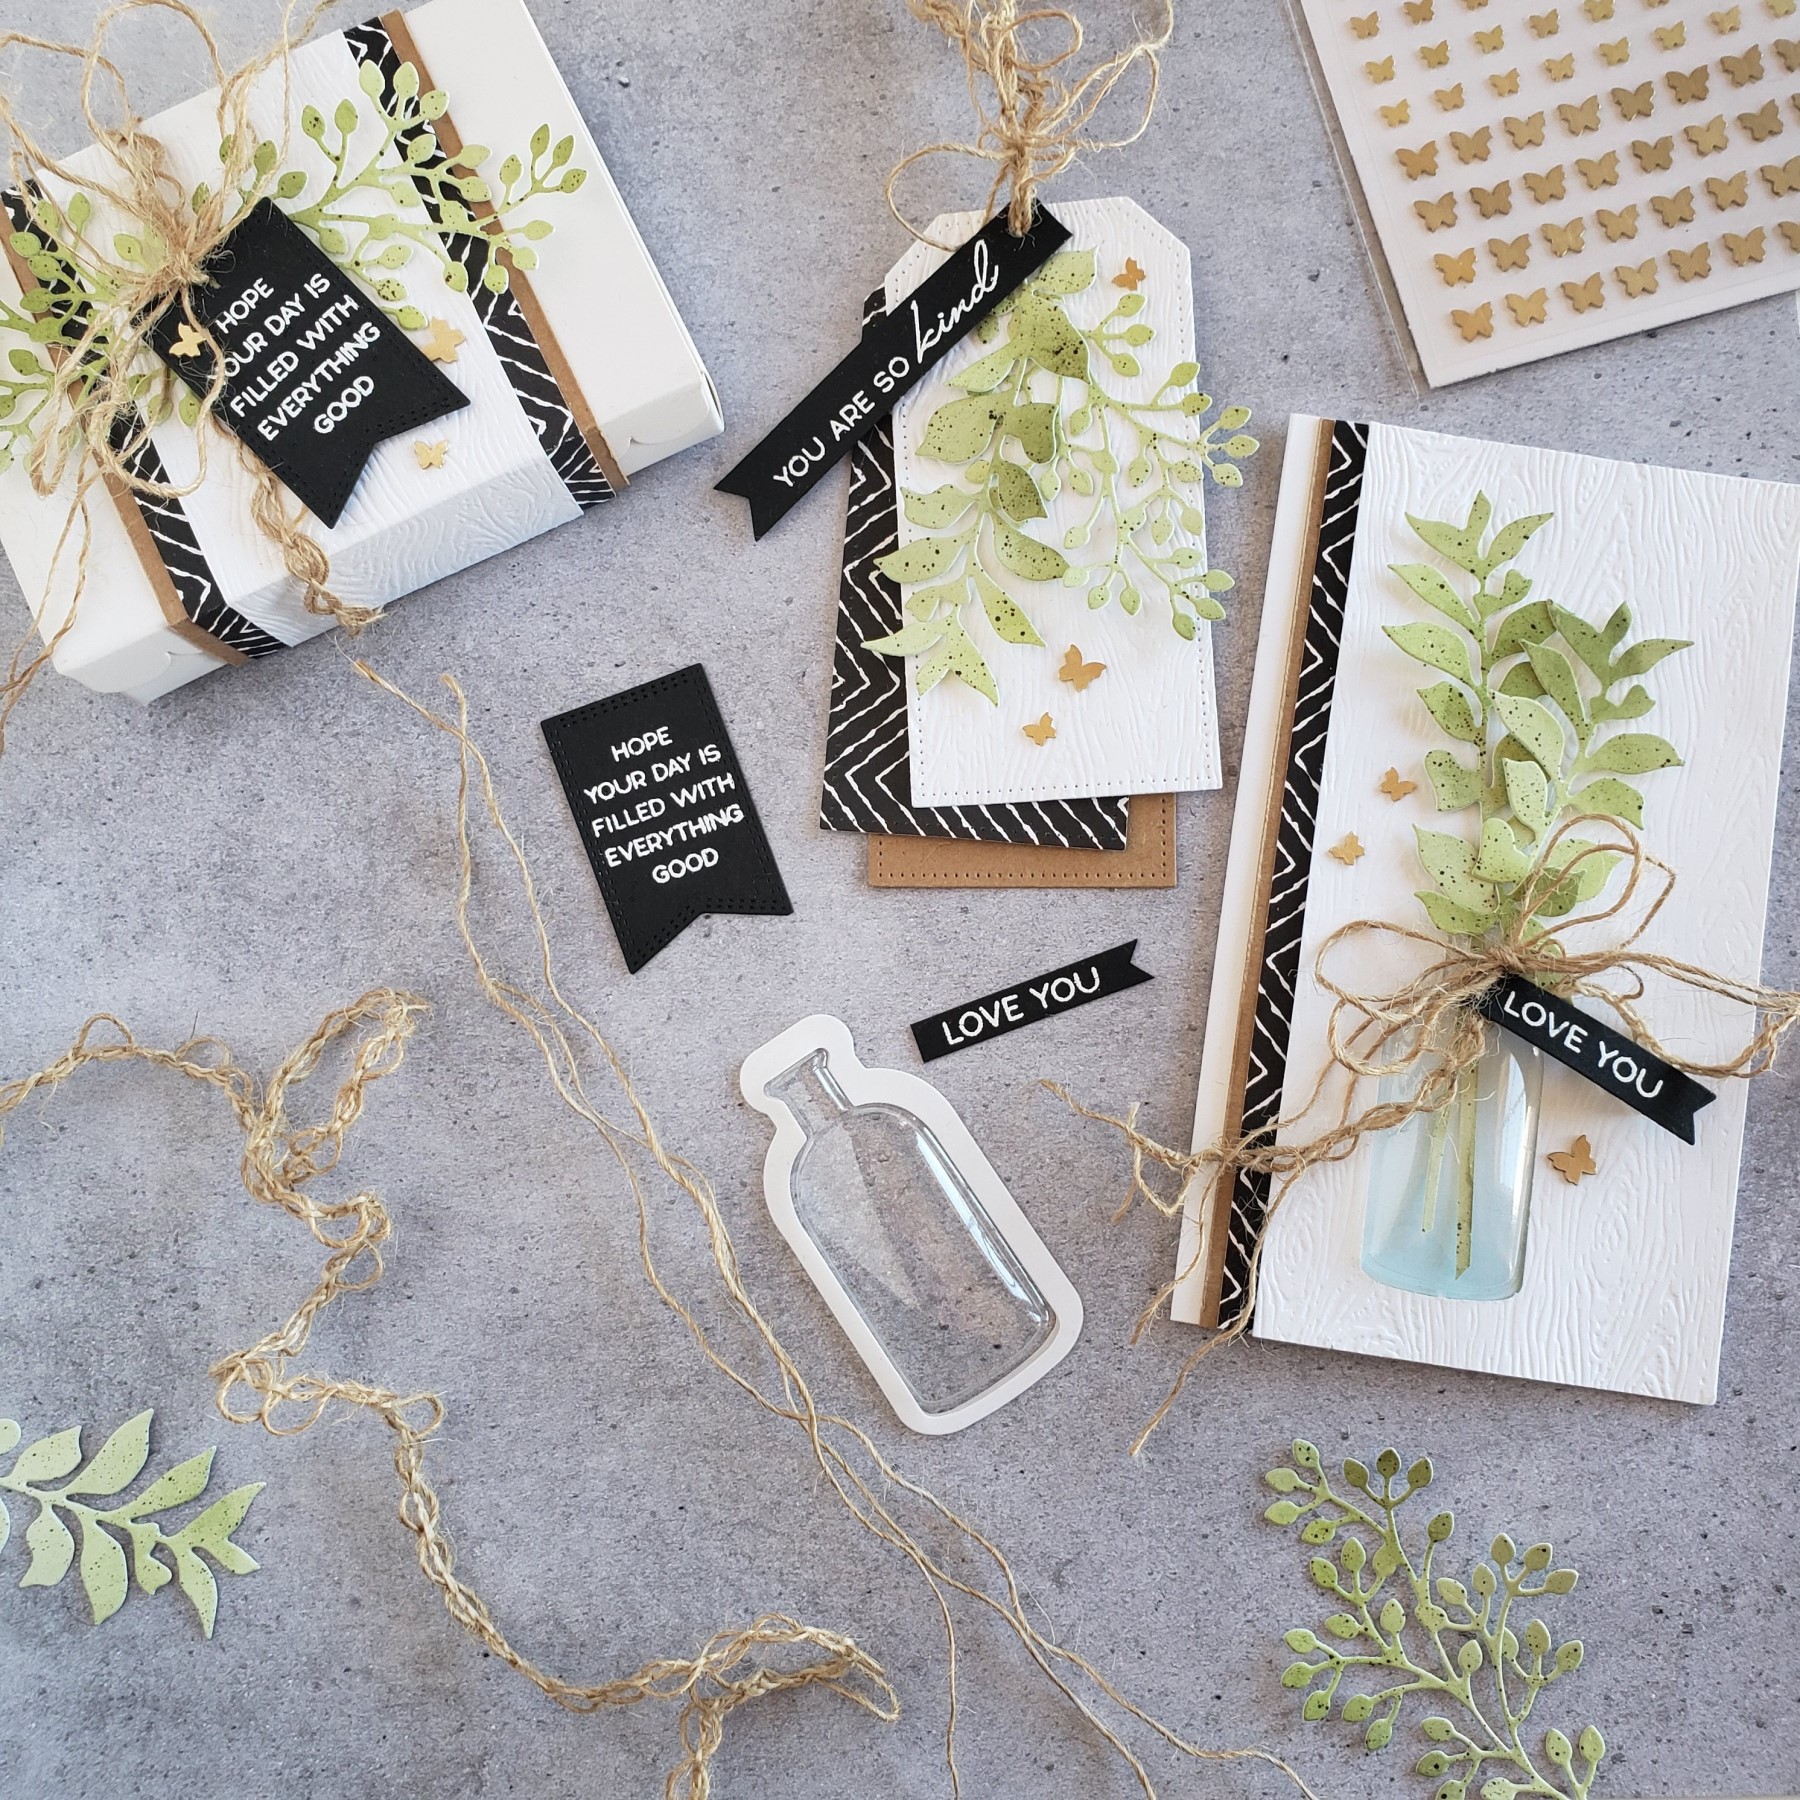
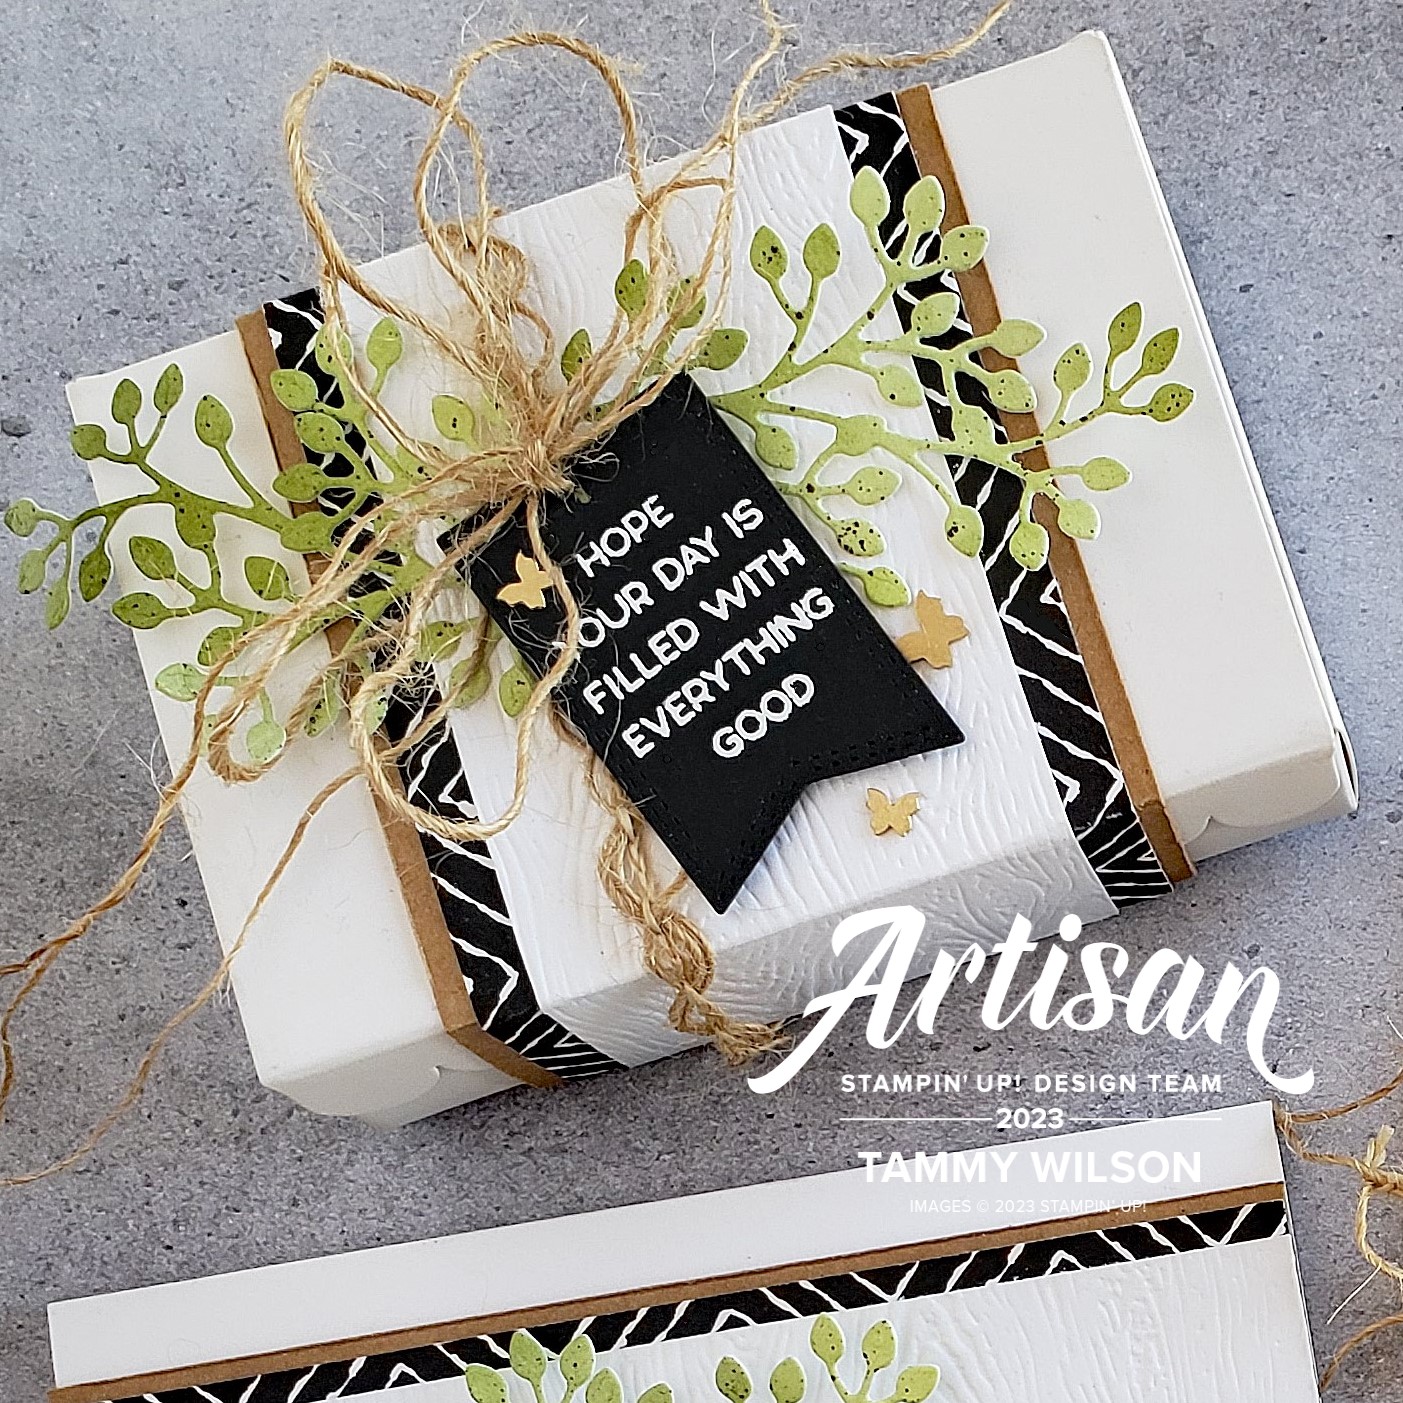


STEP #3: Complete the look with heat-embossed sentiments, Brushed Brass Butterflies, and Natural Wavy Trim. To distress the trim and give it a “gathered,” organic look, pull out one or two strings from the center. You can also use the extra strings to create bows. For even more “wow,” add the die-cut leaves to a Vintage Bottle Shaker Dome.

To place an order through my Stampin’ Up! Demonstrator Website,
click on the shopping cart below…


To place an order, you can click on one of the supply items below:


Oh my, Boho Chic is one of my very favorite style layouts! Love every one of these beautiful layouts! Thank you always for such gorgeous ideas, sweet friend!!! ♥️👍♥️
LikeLike