
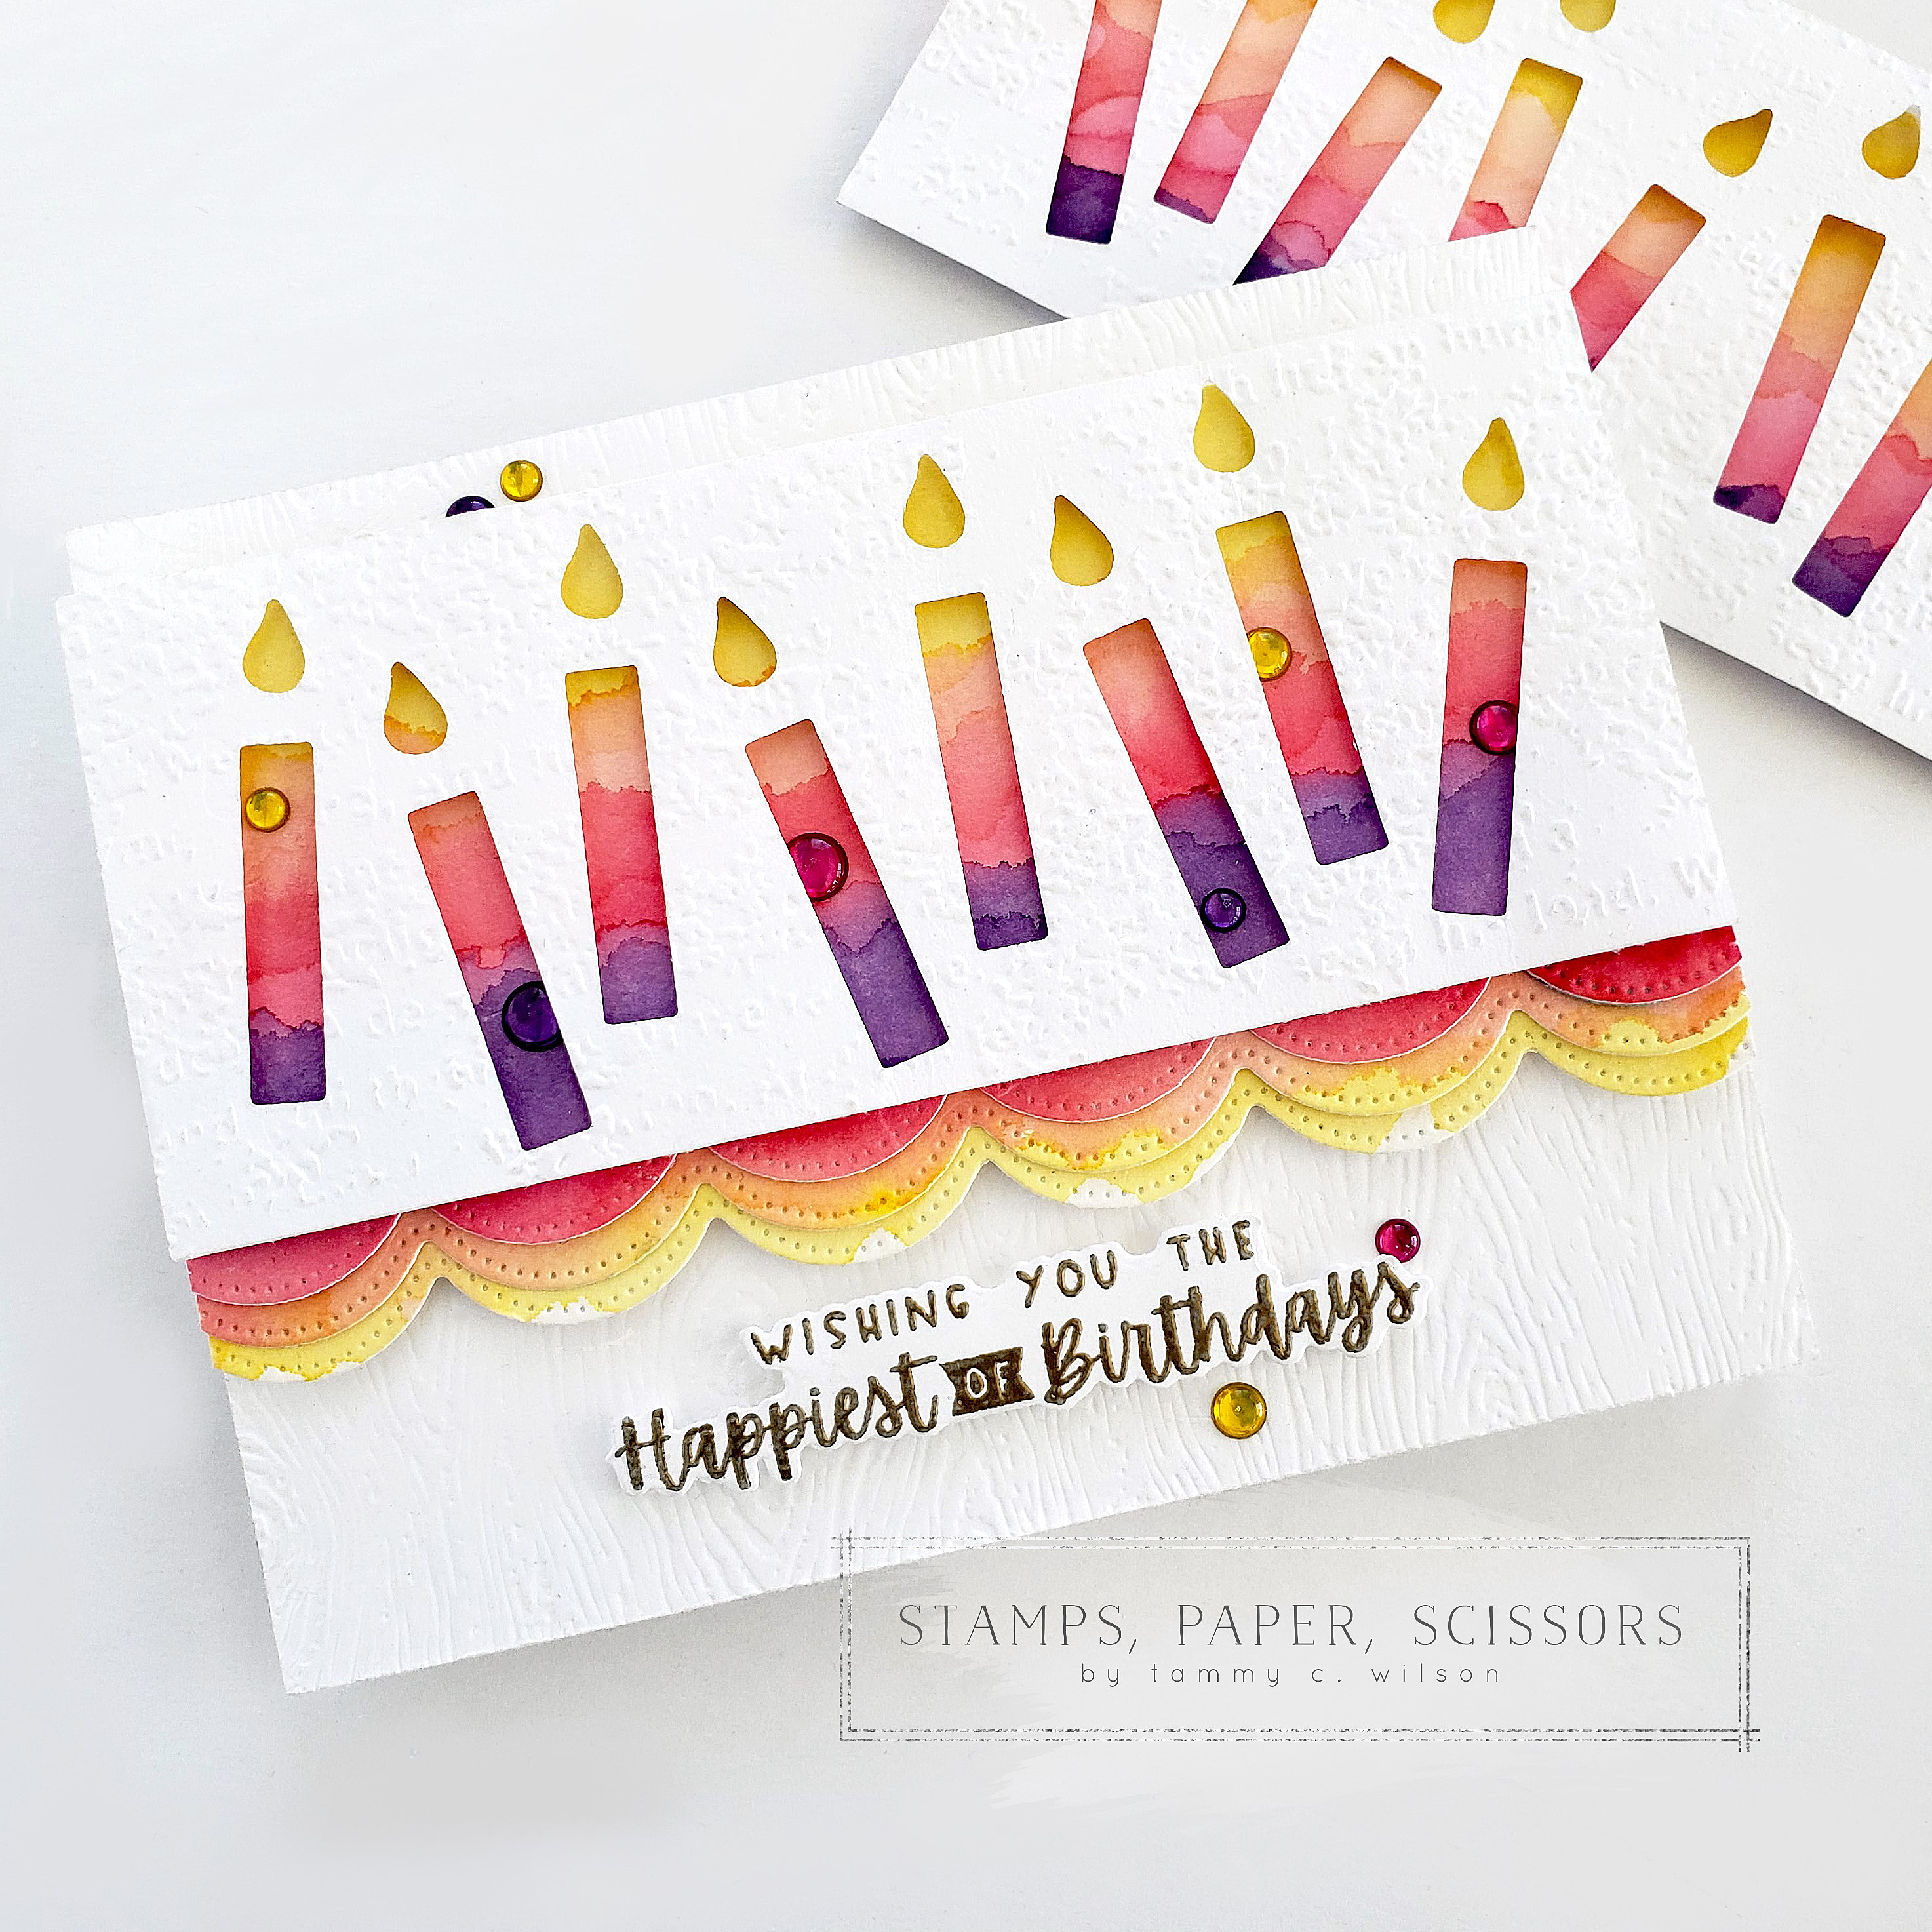
06.09.22…..Happy Thursday, my stampin’ friends! Today, I’m sharing a card that I created with the new Charming Sentiments Bundle! Not only does it include dies the cut out each the wonderful sentiments (…for a “fussy cut” look), it also includes fun, little accessory dies….like the candle and flame that I used for this card. Sooooo much fun! Hope this inspires you to create some fun, colorful birthday cards for your friends, family, and anyone that’s celebrating their special day!
To create this card, I started with Basic White Cardstock, embossed it with the Timber 3D Embossing Folder, and adhered it to a Basic White Thick Cardstock base. Next, I used another piece of Basic White Thick Cardstock, and die cut several candles and flames, using the dies from the Charming Sentiments Bundle. I then embossed this strip of cardstock with the Timeworn Type 3D Embossing Folder, and set it aside for a moment.

To create the colorful background behind the candles, I used a slightly smaller strip of Fluid 100 Watercolor Paper. I then added four vertical “stripes” of color used a Water Painter, along with Daffodil Delight, Flirty Flamingo, Polished Pink, and Gorgeous Grape. Once the paper was dry, I used Stampin’ Dimensionals to adhere the die cut candles on top.
To create the scalloped border along the bottom of the candles, I used the same watercolor steps as above, and the die cut three (3) scalloped borders with one of the Basic Borders Dies. After I layered them together and adhered them along the bottom of the candles, I popped up the entire panel with Stampin’ Dimensionals.
The sentiment (from the Charming Sentiments Bundle) was heat-embossed on Basic White Thick Cardstock, using my Versamark Pad and Gold Stampin’ Emboss Powder. After I cut it out with the coordinating die from the same bundle, I popped it up with Stampin’ Dimensionals. For a bit of bling, I sprinkled on several of the Glossy Dots.
Wishing you creativity always,

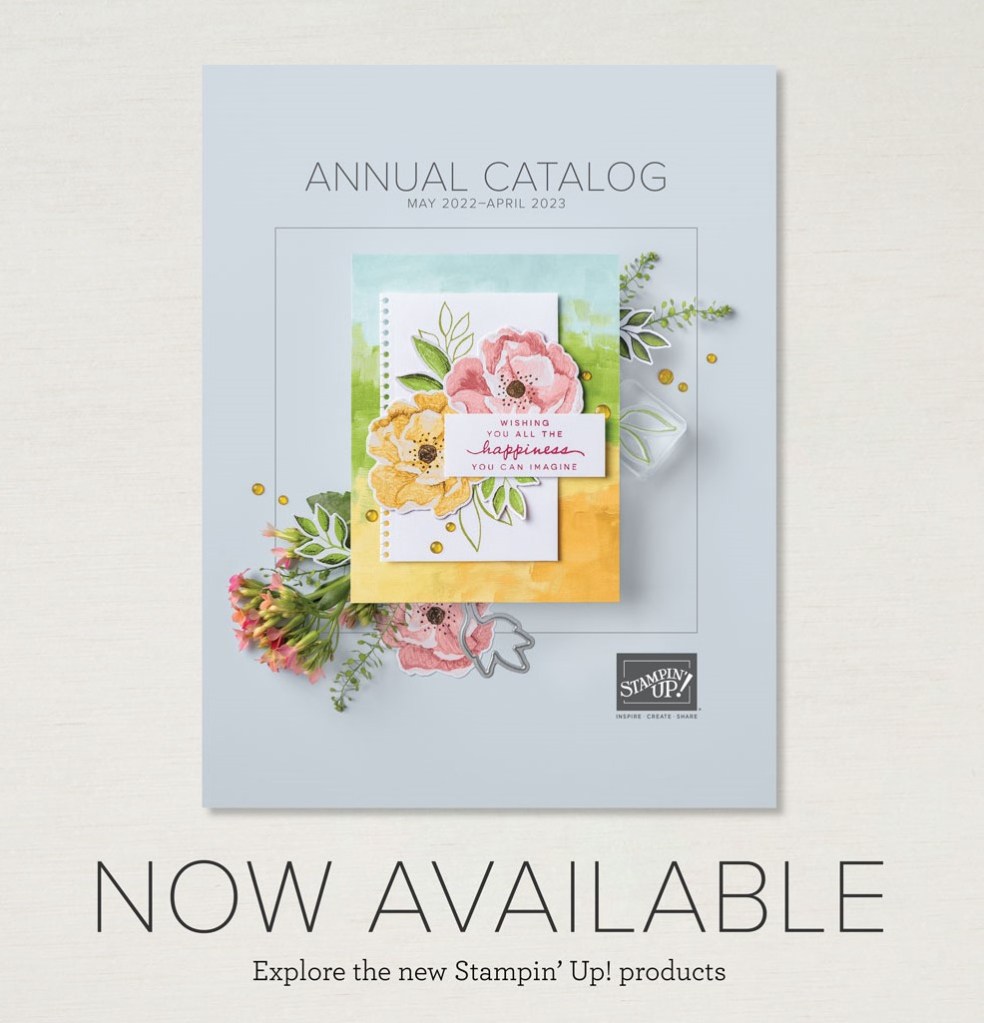
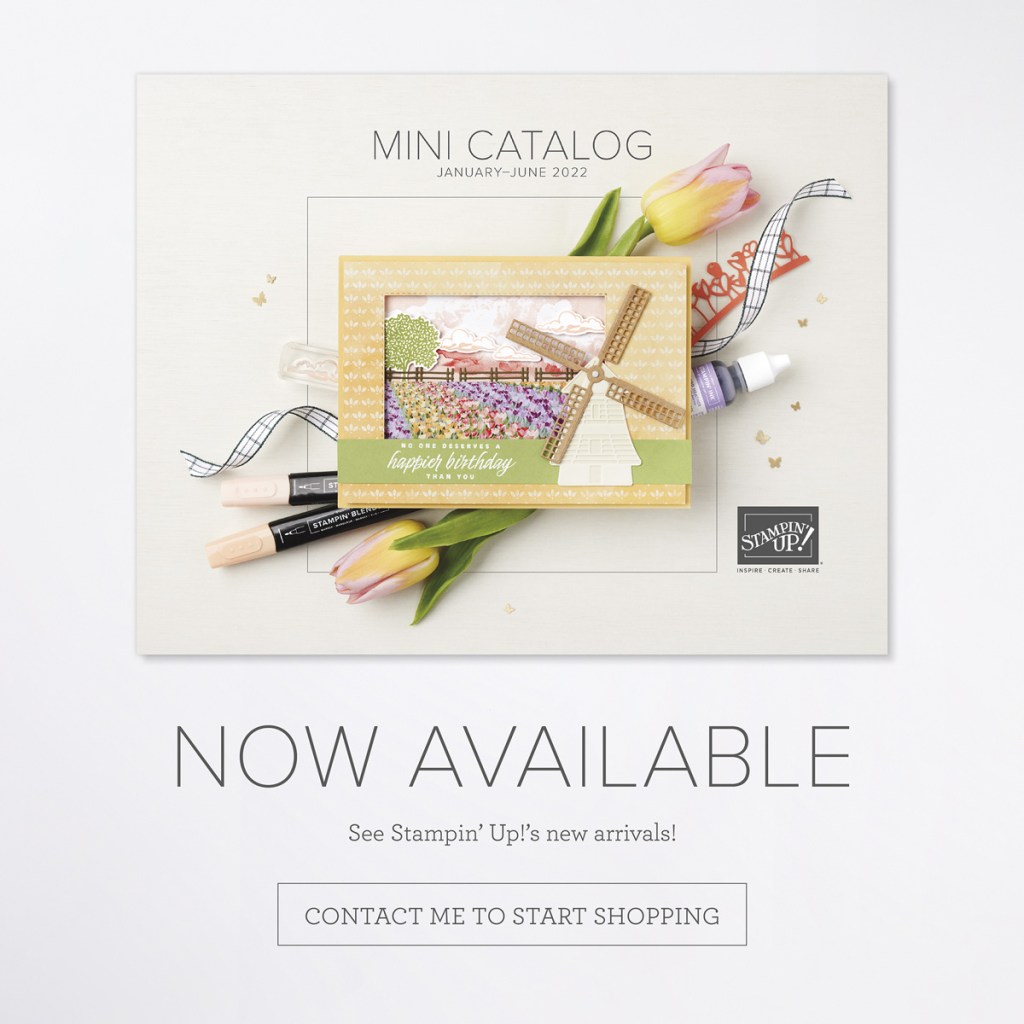

To place an order, click on the catalog image above, or one of the supply items below:


Such a colorful, happy card. Great use of this bundle.
LikeLiked by 1 person
Thank you so much, Wendie! 🙂
LikeLike
Hi, Tammy! I gave this card a try but changed Polished Pink to Melon Mambo and used Coastal Cabana instead of Flirty Flamingo. It turned out okay but I am a very beginner level water painter so it doesn’t look nearly as artistic as yours. Just a clarification…your post says that you used the Basic Borders dies but I used the scalloped edge die from the Scalloped Contour dies and I think our cards look the same.
LikeLiked by 1 person
Hi Kelly! The watercoloring just takes some practice, and trial & error. One thing to watch out for is overlapping colors that are in different color families…greens with reds, etc. Sometimes they can get “muddy”, especially if you use too much water. However, it does help to mist the paper with water first (or brush on a thin layer of water) before you actualy start adding color. Hope this helps a little! 🙂
LikeLike