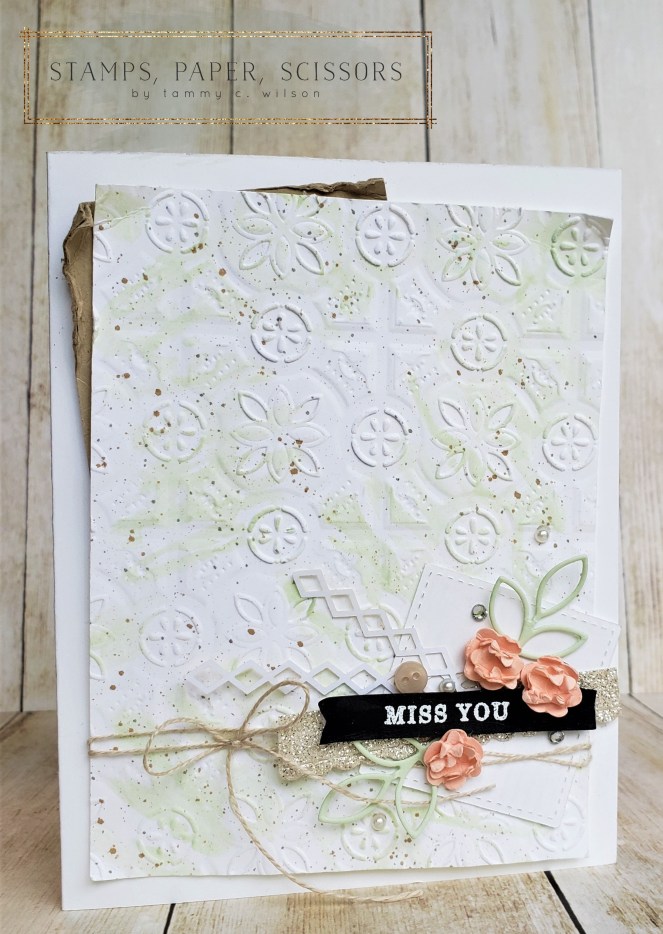
04.14.19…..Happy Sunday, everyone! It’s was such a gorgeous Spring day today….for a couple of precious hours. Now…..the rain clouds are moving in, so I figured it’s another good day to stay inside, and do some crafting and creating. That being said, I wanted to take the time to share this “shabby chic-inspired” card with you this morning. The Tin Tile Embossing Folder made its debut in the 2018 Stampin’ Up Holiday catalog, and I used to for quite a few projects back then. So…..I thought I pull it out once again to create a background for this card. Luckily, this embossing folder is a carry-over item. If you don’t have it yet, I know you’ll want to order it as soon as possible!
For this card, I used Tin Tile Textured Impressions Folder to dry-emboss a piece of Whisper White Cardstock. To add that shabby chic look, I used Soft Seafoam (along with my Aqua Painter) to add a very subtle wash of color to the background. For the speckling, I used a Crumb Cake Stampin’ Write Marker, and flicked the thick end of the marker on the edge of the marker cap. I then layered on a small Whisper White Cardstock square (die cut with one of the Stitched Shapes Framelits, added a bit of Linen Thread, and tucked in a distressed piece of Crumb Cake Cardstock at the top corner of the card. The entire panel was then adhered the panel to a Whisper White Thick Cardstock base.
 For a bit of sparkle, I die cut a small strip of Silver Glimmer Paper along the bottom edge, using one of the Be Mine Framelits. The sentiment was heat-embossed on Basic Black Cardstock, using my Versamark Pad and White Stampin’ Emboss Powder. After I cut out the sentiment, I popped it up with a couple of MIni Stampin’ Dimensionals. (The sentiment is actually a “leftover” piece that I had stamped with the All Adorned SAB set, but it could be substituted with just about any phrase. Most of the sentiments from Itty Bitty Greetings set would work just perfectly!)
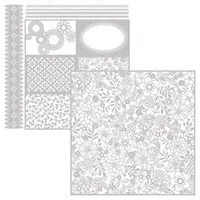
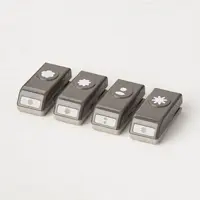
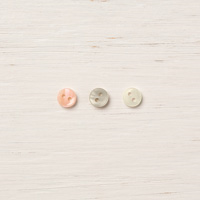
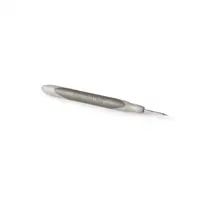
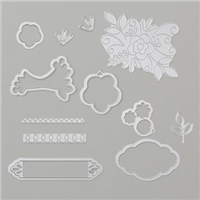
To create the little flowers, I used both Petal Pink Cardstock, along two of the punches from the Bitty Blooms Punch Pack. For each flower, I used the punch with the curved petals for the outer part of the flower, and the punch with semi-pointed petals for the inside of the flower. I distressed each flower quite a bit, and even used my Paper-Piercing Tool….. to pull apart the layers just a little. (Hope this all makes sense!) I used Mini Glue Dots to adhere the flower layers together, as well as adhering each of them to the card base. I tucked in a two small border pieces from the Delightfully Detailed Laser-Cut Speciality Paper, and also added in the delicate Soft Seafoam leaves (die cut with one of the Needlepoint Elements Framelits). For those extra little details, I sprinkled on a few Rhinestone and Pearl Basic Jewels, and tucked in a Needlepoint Nook Mini Button as well.
The Stampin’ Up 2019 Occasions Catalog, as well as the 2018-2019 Stampin’ Up Annual Catalog are all chockful of so many wonderful products! Okay, let’s be honest…..they are absolutely overflowing with some of the most amazing products ever!