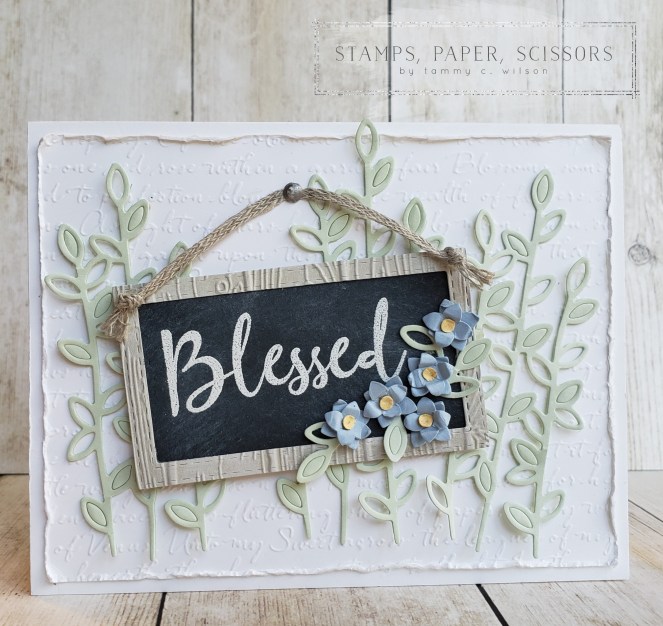
07.27.19…..Welcome to the weekend, my stampin’ friends! Hope you’ve had a chance to do something creative this week. Some of my creativity the last couple of weeks has been inspired by the Stitched Rectangle Dies. They are so versatile, and just perfect for cutting out sentiments and stamped images. However, I’ve also been having a great time using these dies to create mini frames for my cards and projects. That being said, I thought it would be fun to create a framed “chalkboard” for today’s card.
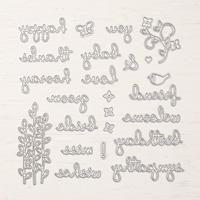
For the background, I used the Scripty 3D Embossing Folder (along with a piece of Whisper White Cardstock), adhered it to a Whisper White Thick Cardstock base, and distressed the edges. The, I die cut four bunches of stems (using the Well Written Dies) from Soft Sea Foam Cardstock. Three of the bunches were used behind the chalkboard. The middle bunch of stems was cut in half, and then spaced apart just bit to create the effect of longer stems. (I used the fourth bunch to cut off individual leaves to tuck underneath the little flowers.)
To create the “chalkboard”, I heat embossed the sentiment (from the To A Wild Rose Bundle) on Basic Black Cardstock, using my Versamark Pad and White Stampin’ Emboss Powder. To add the “chalkboard” effect, I used a cut a small wedge from my Stamping Sponge and dabbed it on my Craft Stampin’ Pad (inked with Whisper White pigment ink). I applied just the tiniest amount of ink to the cardstock, using a light, swirling motion. I also used a clean Stamping Sponge to remove any extra ink. (Since this type of ink dries slowly, this was very easy to do.)
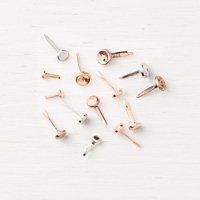
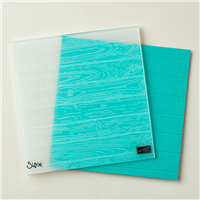
 The frame was creating using two of the Stitched Rectangle Dies, along with a piece of Sahara Sand Cardstock. After I embossed the frame with the Pinewood Planks 3D Embossing Folder, I used my Craft Stampin’ Pad (inked with White White pigment ink) once again, and added a subtle wash of color to the frame. For the “hanger”, I cut a little bit of Braided Linen Trim, and then adhered the frame with a few Stampin’ Dimensionals. For an extra little detail, I added a silver Metallic Brad at the top of the hanger. (To distress the brad, I sanded it just a bit with a fine grade sandpaper.)
The Seaside Spray flowers were die cut, using tiny flowers from the Well-Written Dies. I cut ten flowers, distressed them, and layered them together. I used Mini Glue Dots to adhere the flower layers together, as well as to adhere each of them to the frame. For the center of each flower, I punched out tiny circles from So Saffron Cardstock.
I hope you enjoyed today’s project. Thanks so much for stopping by!
Wishing you creativity always,


 The NEW 2019-2020 Stampin’ Up Annual Catalog is chockful of so many wonderful products! Okay, let’s be honest…..it is absolutely overflowing with some of the most amazing products ever! Watch the video above and get your creative juices flowing!

Click on the catalog above, or one of the supply items below, to place an order today!